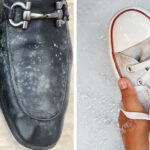
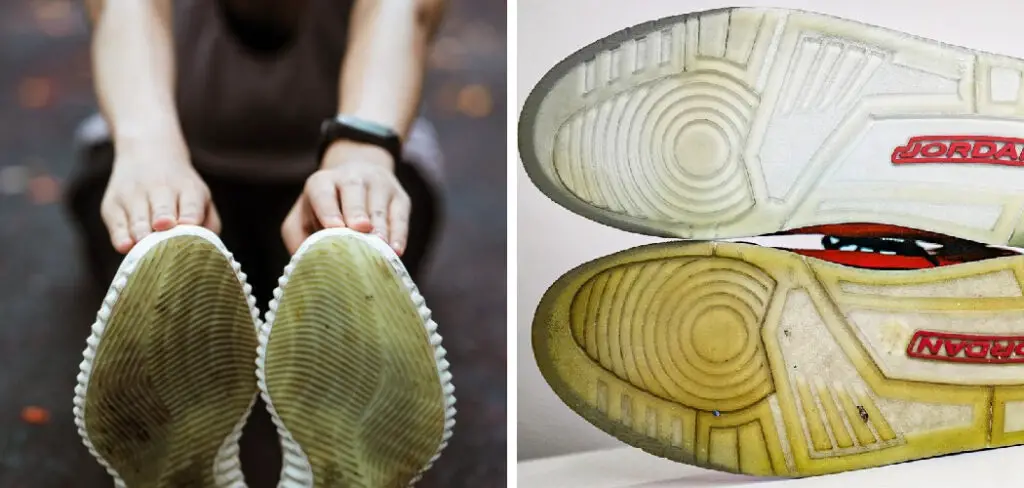
Are your shoes beginning to look yellow, dull, and weathered? Dulled or yellowing soles can instantly devalue the appearance of a shoe. In this blog post, you’ll learn surefire tips on how to remove yellowing from shoes soles so that you can restore the overall look of your shoes — no matter if they’re sneakers or dress shoes!
With an arsenal of affordable materials and supplies in hand, learn everything from DIY methods to professional techniques that will help you salvage those yellowed soles.
Why Do Shoe Soles Turn Yellow?
If you’ve noticed a yellowish discoloration on the soles of your shoes, you may be wondering what caused it. Yellowing is usually caused by exposure to dirt and grime, oils from the skin or sweat, environmental factors such as humidity or rain, and oxidation due to age.
All these elements act together to leave behind a distinct yellow tinge that may be difficult to remove if ignored over time. Additionally, shoes with rubber soles may also turn yellow due to exposure to oil or grease during use.
7 Methods How to Remove Yellowing from Shoes Soles
1. Baking Soda and Water Paste
Baking soda and water can be used to make a paste that can help clean your teeth and freshen your breath. Simply mix equal parts of baking soda and water in a small bowl, stirring until it becomes a paste-like consistency.
2. Vinegar and Water Solution
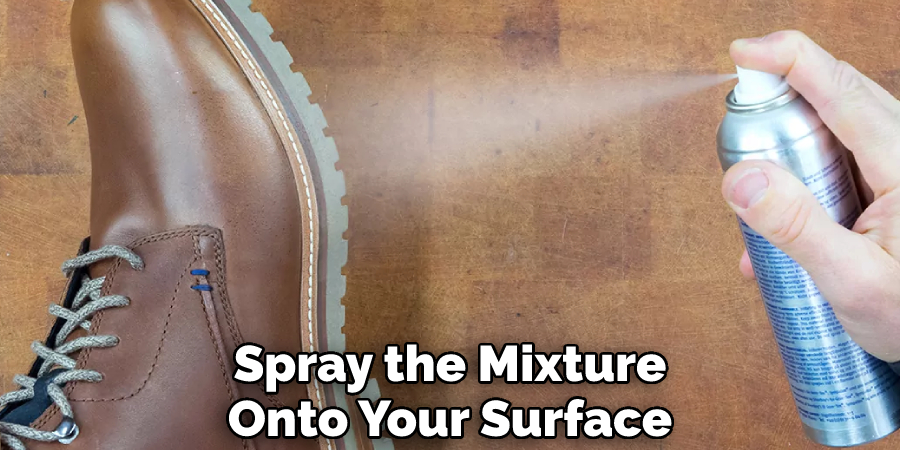
Vinegar is an acidic solution, which means it can be used to help remove dirt and grime from surfaces. To make a vinegar and water cleaning solution, mix equal parts of white distilled vinegar and warm water in a spray bottle. Then simply spray the mixture onto your surface, let it sit for several minutes, and wipe away with a damp cloth or sponge. However, vinegar is not recommended for use on marble, granite, or natural stone surfaces. It can cause etching in the surface and dull the finish. For these surfaces, use a mild cleaning solution of water and dish soap instead.
3. Lemon Juice and Water Solution
Lemon juice is another natural remedy that can be used to help reduce the appearance of dark spots. To use this home remedy, mix equal parts lemon juice and water in a bowl. Dip a cotton ball into the solution and then apply it directly to the affected area on your skin. Leave it on for about 10 minutes before rinsing it with cold water. Repeat this process twice a day for the best results.
Try to use freshly squeezed lemon juice for better results rather than store-bought concentrated varieties. If you have sensitive skin, dilute the mixture with more water to avoid irritation. You may also experience some temporary stinging or tingling after applying the solution to your skin. Be sure to always wear sunscreen when outdoors and limit sun exposure to help protect your skin from further damage.
4. Hydrogen Peroxide and Water Solution
Hydrogen peroxide is another natural cleaning solution that can be made at home. It is often used to clean surfaces and sanitize fabrics. To make a hydrogen peroxide and water solution, combine one part of hydrogen peroxide with four parts of warm water.
This solution can be used on hard surfaces such as countertops, sinks, tile floors, and walls.
Be sure to always wear gloves and safety glasses when handling hydrogen peroxide, as it can be a strong irritant. Also, always test the solution in an inconspicuous area before applying it to larger surfaces to avoid any discoloration or damage.
5. Lemon Juice and Baking Soda
Lemon juice and baking soda make a great natural cleaning solution. The acidity of the lemon helps break down dirt, grime, and grease, while the baking soda acts as an abrasive to scrub away tough stains. To make this solution, mix one tablespoon of baking soda with half a cup of freshly squeezed lemon juice.
Use this solution to clean surfaces such as stainless steel, countertops, and tiles. Be sure to rinse the area with cold water after cleaning and dry thoroughly with a soft cloth. However, avoid using this solution on porous surfaces such as marble or other sensitive materials.
6. Rubbing Alcohol and Water Solution
Rubbing alcohol is a great surface cleaner and disinfectant. To make a simple sanitizing solution, combine five parts of water with one part rubbing alcohol in a spray bottle and use it to wipe down surfaces. Be sure to avoid applying this solution to any unfinished wood surfaces, as the alcohol can damage them.
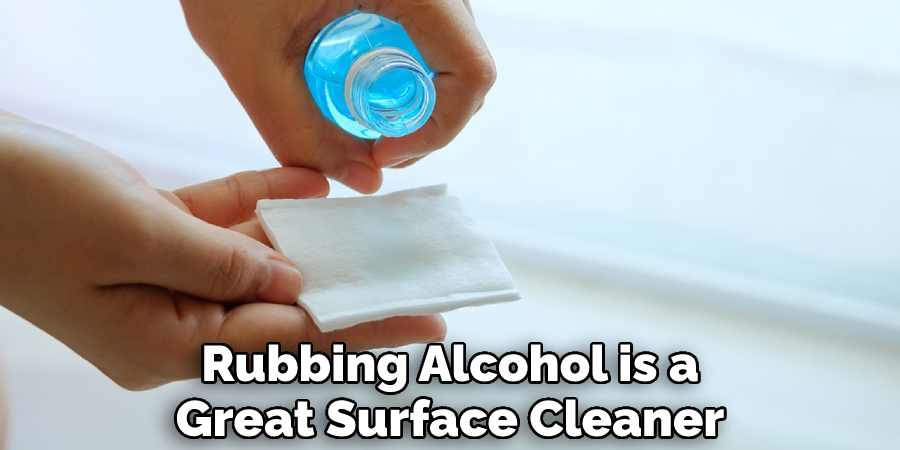
Additionally, do not inhale or ingest rubbing alcohol as it is poisonous. For best results, clean the surface prior to spraying and wiping with the rubbing alcohol and water solution. Allow the solution to air dry once applied. This type of sanitizing solution is especially effective against mold and mildew.
7. Oxygen Bleach Solution
An oxygen bleach solution is an effective sanitizer and disinfectant that is much gentler on surfaces than chlorine bleach. To make a solution, mix one cup of oxygen bleach in two gallons of warm water and apply it to the surface with a mop or sponge. Allow the solution to sit for at least 10 minutes before rinsing thoroughly with clean water.
Oxygen bleach is also great for treating mold and mildew in bathrooms, kitchens, and other areas where moisture accumulates. If the area is heavily soiled, you may need to scrub it with a brush before applying the solution. After use, always rinse and dry the affected area to prevent mold or mildew from recurring.
By following these simple tips, you can easily make your own natural cleaning solutions at home. Not only are these solutions safer for the environment, but they are also gentle enough on your skin and surfaces so you can use them without worry.
The best part is that many of these solutions are cost-effective, so you can save money while still keeping your home clean. So make sure to give these natural cleaning solutions a try in your own home!
Things to Consider When Removing Yellowing from Shoes Soles
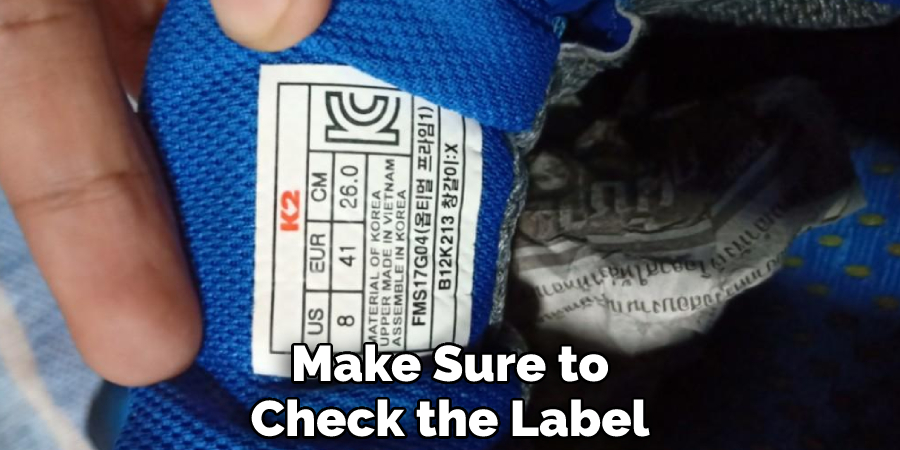
1. Determine the Material of Your Shoe Soles:
Make sure to check the label or manufacturer’s information on your shoes before starting the process of removing yellowing. Different materials like rubber, plastic, and leather may require different methods to restore the original color.
2. Clean Your Shoes Regularly:
It’s important to keep your shoes clean if you want them to remain in good condition for a long time. A regular cleaning routine can help prevent dirt build-up on the soles, which could eventually lead to discoloration or even deterioration of the material over time. Try using mild soap, warm water, and a soft cloth to gently scrub away any dirt particles from your shoes regularly.
3. Consider Using Specialized Products:
If your shoe soles are made out of a tougher material such as rubber or plastic, then you may need to invest in more specialized products to help remove yellowing. There are many shoe care products available that are designed specifically for removing discoloration and restoring the original color of your shoes.
4. Try Home Remedies:
If you want a more natural way to restore the original color of your shoes, there are some home remedies available that can be surprisingly effective. You can try scrubbing away the discoloration with baking soda or toothpaste or use a mixture of white vinegar and warm water to remove any stubborn areas of yellowing from your soles.
5. Take Your Shoes To Professional Cleaners:
If all else fails, then it’s worth taking your shoes to a professional cleaner who may be able to use stronger cleaning products and methods to remove the yellowing. This can be a costly option, but it could be worth it if you want to restore the original color of your shoes.
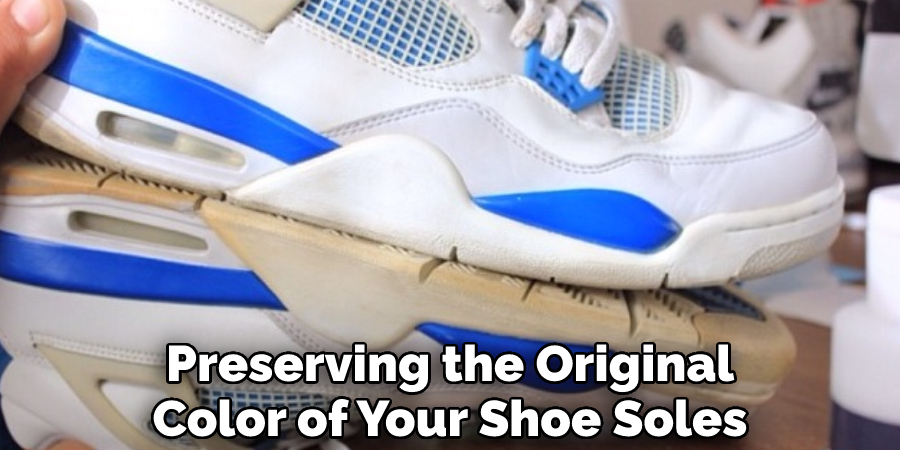
6. Consider Investing in Regular Maintenance:
Finally, it’s important to consider regular maintenance to help keep your shoes in the best condition and prevent yellowing from developing in the first place. Regular cleaning, polishing, and proper storage can all play an important role in preserving the original color of your shoe soles.
By following these tips, you should have no problem restoring the original color of your shoes, so you can enjoy them for many years to come.
Conclusion
If your shoes are in dire need of a makeover, don’t fret. You can easily get rid of that yellowing on the soles of your shoes with one simple household item. By following these steps, you can easily restore the original look of your shoes and make them look new again. So, don’t hesitate to give it a try.
We hope this guide on how to remove yellowing from shoes soles was helpful. Please share it with your friends on social media if you find it useful. And be sure to check back here soon for more informative guides like this one.