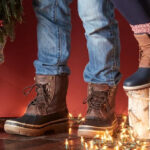
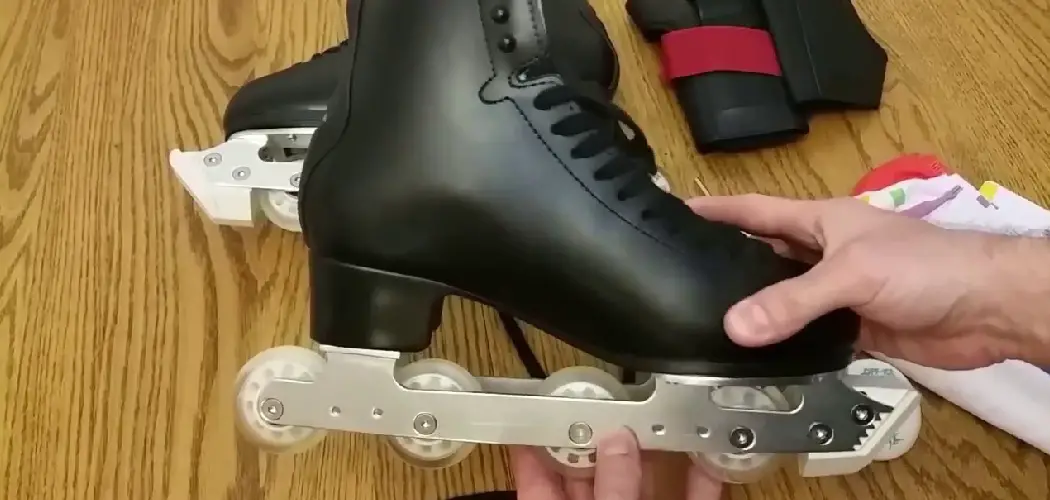
Never mind that your ice skates are already in the trunk of your car. You’re going to need these simple boot covers to keep you from freezing on the rink. Follow these simple steps and you’ll be good to go! Not only will you stay warm, but you’ll look stylish too! This article will teach you how to make ice skate boot covers.
Who knows, maybe you’ll even get a chance to show off your new covers to all of your friends. Skating is a great way to have fun and stay in shape during winter. With a bit of preparation, you can make sure that your experience on the ice is as enjoyable as possible!
What Are Ice Skate Covers for?
When you go ice skating, your first instinct is just to lace up your shoes tightly and start sliding on the ice. However, if you want to be able to dance around or do tricks with ease on the ice rink, then it’s time for you to make yourself some ice skate boot covers.
Things You Will Need
- Ice Skate Boot Covers
- Needle and Thread
- a piece of cardboard
- X-acto knife
- scissors
- measuring tape or ruler
A Step by Step Guide on How to Make Ice Skate Boot Covers
Step One
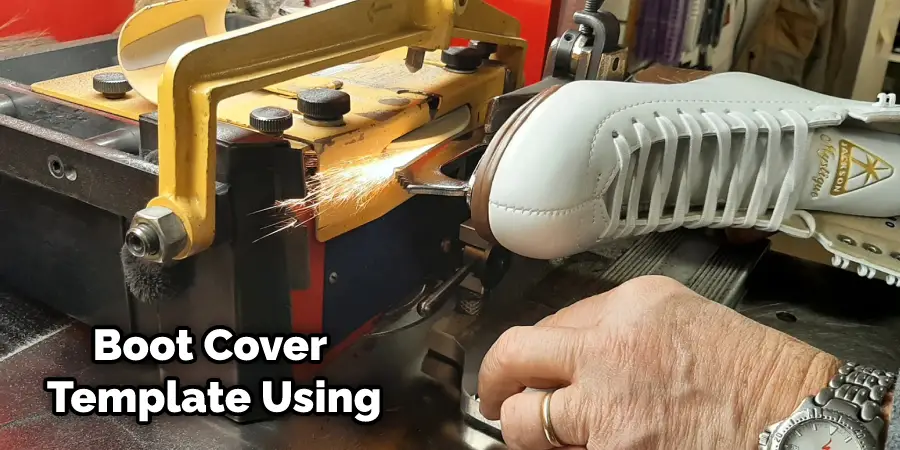
Print out the desired template. These are available in various sizes, but you will need one that fits your shoe size at a minimum. Ice skate boot covers traditionally come in adult and child/kid sizes, if not custom-made for a specific person’s shoe size.
When printing, be sure that ‘Scale’ is set to 100%, so you get the correct sizing for your boot cover project. Take note of the suggested cutting blade if you use an X-acto knife to cut these boot cover templates out because it is essential not to cut yourself.
Step Two
Cut out the boot cover template using an X-acto knife or scissors. Using an X-acto knife, a sharp blade is essential for a clean cut. But, again, be careful when using sharp objects! If you’re using an X-acto knife, make sure you are putting on a hard surface and that your blade is new and sharp. Dull blades are more dangerous because they require more pressure to make a cut, which increases the chances of an accident.
Step Three
Take the cardboard and measure it against your shoe size. If you are making a child/kid’s size boot cover, you will need to make sure the cardboard is cut to fit around the shoe. You can just cut out a rectangle that will cover the top and front of your boots for adult sizes.
When measuring, remember to add an inch or two to each measurement so that there is some extra room for sewing and fitting the cover onto your boots.
Step Four
Use a measuring tape or ruler to measure your leg from the floor up to about your knee and mark where you want Skate Boot Covers. How high you make Ice Skate Boot Covers depends on how cold it is outside and what type of shoe covers you are planning on wearing with them; if they match, ice skate boot covers can be lower than the shoes, but if they do not, you will most likely want Ice Skate Boot Covers that cover almost as much as the actual boot does and go up higher for warmth.
Step Five
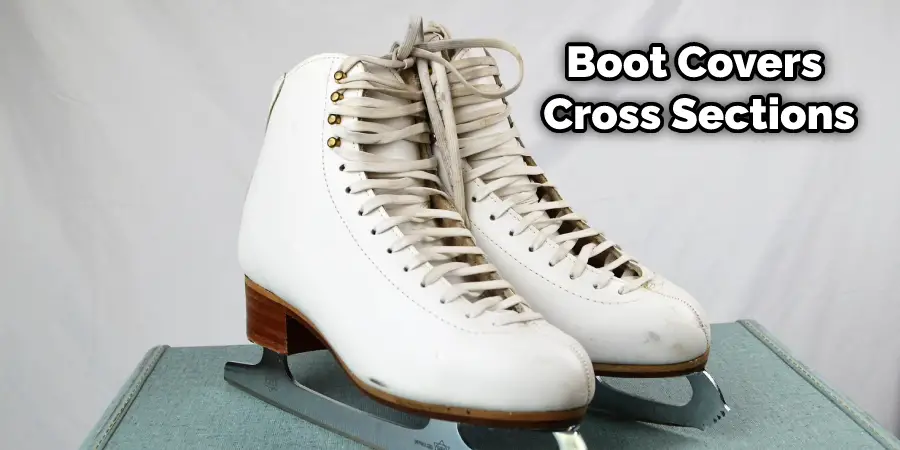
Cut out pieces of cardboard that will form Ice Skate Boot Covers Cross sections at this height. Ice Skate Boot Covers must be cut on a slant going away from the center of ice skate boot covers. Ice skate boot covers for kids should be more rounded, while Ice Skate Boot Covers for adults can have a sharper shape as they are worn over shoes and therefore will not fold as much as Ice Skate Boot Covers for children.
Step Six
Use Ice Skate Boot Covers templates you’ve previously printed out or sketched yourself and trace Ice Skate Boot Covers onto your pieces of corrugated cardboard that you cut out earlier. The half-circle at the bottom of the ice skate boot covers will fit on your leg. Ice Skate Boot Covers are tapered, whereas ice skate boot covers are straight across.
Step Seven
Cut out the Ice Skate Boot Covers using an X-acto knife or scissors. Again, be careful when using sharp objects! If you’re using an X-acto knife, make sure you are cutting on a hard surface and that your blade is new and sharp. Dull blades are more dangerous because they require more pressure to make a cut, which increases the chances of an accident.
Step Eight
At this point, you will want to attach the pieces of cardboard to form one solid Ice Skate Boot Cover. There are many ways to do this, so be creative! One way is to use duct tape, which is sturdy and weatherproof. Another way is to use hot glue, which dries quickly and is weatherproof.
Ice Skate Boot Covers for this method is to use strips of cardboard, gluing them together side by side and lining up the edges as you go. Keep in mind that ice skate boot covers will not be as sturdy as ice skate boot covers, but they work well if you don’t need your ice skate boot covers very often.
Step Nine
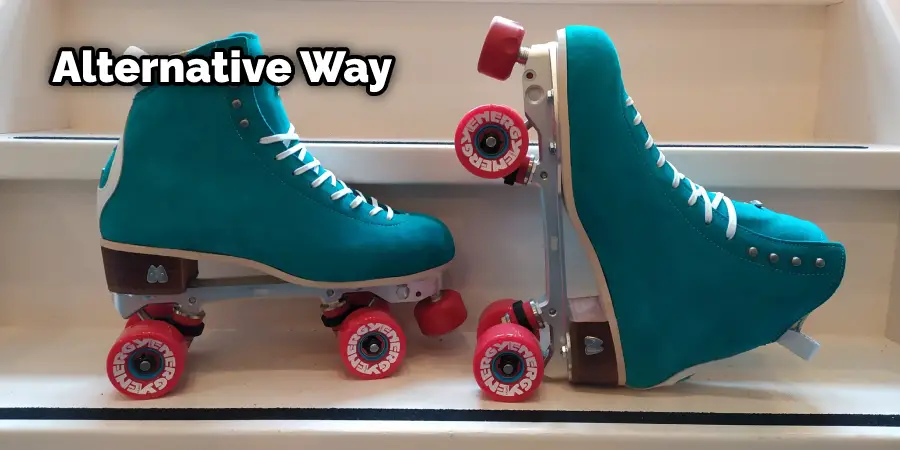
An alternative way is to cut out pieces of corkboard instead of using corrugated cardboard and then spray adhesive to attach the corkboard. Corkboard is more challenging to work with, but it is very sturdy and does not warp as cardboard does in wet weather.
Step Ten
The final step is to sew the upper part of the ice skate boot covers shut. Use a needle and thread, or if you have a sewing machine, this will make the process much easier. Make sure that the stitches are strong and can withstand wear and tear. An excellent way to do this is to zigzag across the seams.
You’re done! Ice skate boot covers can be put on like regular shoes; be sure that they are tightly fastened so that snow and water do not get in ice skate boot covers.
Tips and Warnings
Tips
- Measure the length and width of your boots to ensure a proper fit for the cover.
- Cut out fabric using these measurements. You will also need to cut a long strip of fabric for the closure.
- Sew the fabric pieces together, leaving one end open.
- Turn the cover inside out and sew the end closed.
- Stitch a lace or ribbon loop on the top so you can quickly put the cover on and take it off.
- Put the cover on your boots and tie the closure strip around them for a snug fit.
Warnings
- Puffy paint takes a long time to dry, so be patient.
- Make sure the paint is completely dry before using the skates.
- If you are not careful, the paint could chip or peel off.
Conclusion
Here’s how to make your ice skate boot covers! If you’re thinking of making them for a friend, they’ll love the thoughtful gift. It will save their feet from getting wet and cold when playing outside in wintertime or skating at an ice rink during Christmas time.
You can also use these DIY shoe covers as slippers inside the house when it is too chilly out but not enough to wear boots. These are so easy to make that anyone with basic sewing skills should be able to whip up a pair in less than 15 minutes!