Are you looking for an affordable way to organize your shoes while still having them accessible? Look no further than making a shoe rack out of plywood! Whether you’re an avid DIY enthusiast or just a bit handy with tools, building a stylish, custom shoe rack is easier than you think.
This blog post will provide step-by-step instructions on how to make shoe rack with plywood. With some basic materials and straightforward techniques, this project can be completed in just a few hours without breaking the bank – so let’s get started!
Which Corner Is Best for Shoe Rack?
When it comes to finding the perfect spot for your shoe rack, you should always consider the space available in your home. The best corner for a shoe rack is usually near an entryway where shoes can be easily found and stored away.
You can also find great spots against a wall or in the closet, depending on the size of your plywood. Just make sure the location is convenient and accessible – it will certainly help keep your shoes organized. Additionally, placing a shoe rack in the sunniest corner of your home can help keep the shoes dry, preventing any mold or mildew from forming.
10 Methods How to Make Shoe Rack with Plywood
1. Cut the Plywood into Four Equal Pieces Using a Saw:
You will need four pieces of plywood, each measuring 18 inches by 24 inches. Use a handsaw or electric saw to cut the wood into equal pieces. Pay close attention to make sure your cuts are accurate and even. If you’re using an electric saw, use clamps to secure the wood in place. However, if you’re using a handsaw, make sure to steady the wood with both of your hands.
2. Place Two of the Plywood Pieces Side by Side and Glue Them Together:
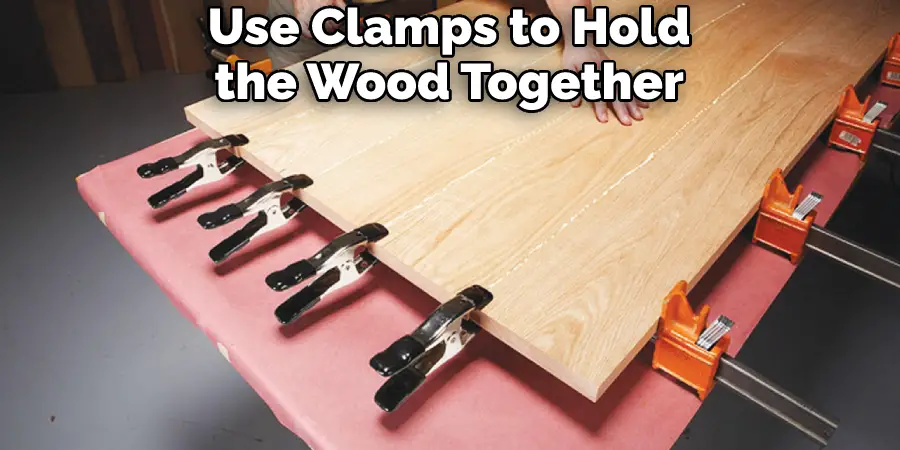
Place two of the plywood pieces side by side and use a strong adhesive to glue them together. Make sure that you leave no gaps between the two pieces. If necessary, use clamps to hold the wood together while it dries.
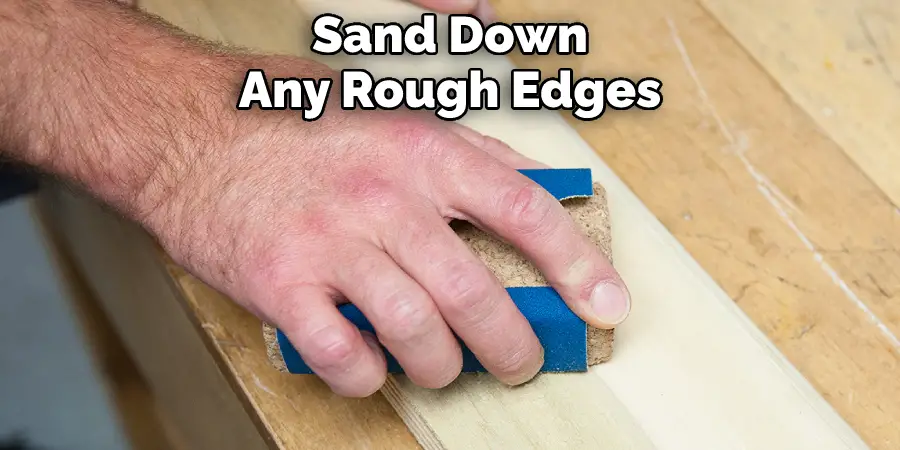
Once the adhesive has dried, sand down any rough edges to give a smoother finish. While you are sanding, make sure to use a face mask or respirator to protect yourself from any sawdust particles. Repeat this process until you have all of the pieces glued and sanded together.
3. Repeat Step Two with the Remaining Two Plywood Pieces:
Repeat the same process with the remaining two pieces of plywood. Once both sets of boards are glued together, let the adhesive dry completely before proceeding. Make sure to use clamps to keep the boards in place while they dry.
When the adhesive is fully dried, move on to Step Three and begin sanding the boards. Sand each side of the boards using fine-grade sandpaper. This will help to ensure that everything is smooth and even and that the plywood pieces are securely attached. Finally, finish off the project by applying a coat of sealant or varnish to protect the
4. Sand the Edges of the Plywood to Smooth Them Out:
Using medium-grit sandpaper, carefully smooth out the edges of the plywood boards. This will help ensure that your shoe rack is safe to use. Once you have sanded the edges, use a cloth to wipe away any residual dust. If necessary, use finer grit sandpaper to get into any nooks and crannies that may have escaped your attention. Finally, make sure you vacuum up any remaining dust.
5. Cut Four Strips of Wood that Are Each 2 Inches Wide:
Using a handsaw or electric saw, cut four pieces of wood that are two inches wide and 24 inches long. These will serve as the support for your shoe rack. Make sure the wood is straight and smooth, with no splinters or sawdust left from cutting.
However, if the wood is not perfectly straight, don’t worry — you can use a sander to smooth any rough edges. Though it’s not necessary, many people will use a router to give the edges of the wood a rounded or beveled look.
6. Place Two of the Strips of Wood on Top of One of the Plywood Pieces:
Place two of the strips of wood on top of one of the plywood pieces. Make sure that they are spaced evenly apart and securely fastened to the plywood. Use clamps to make sure that the wood is held securely in place. Once the strips are in place, predrill holes for screws at each end of the strips.
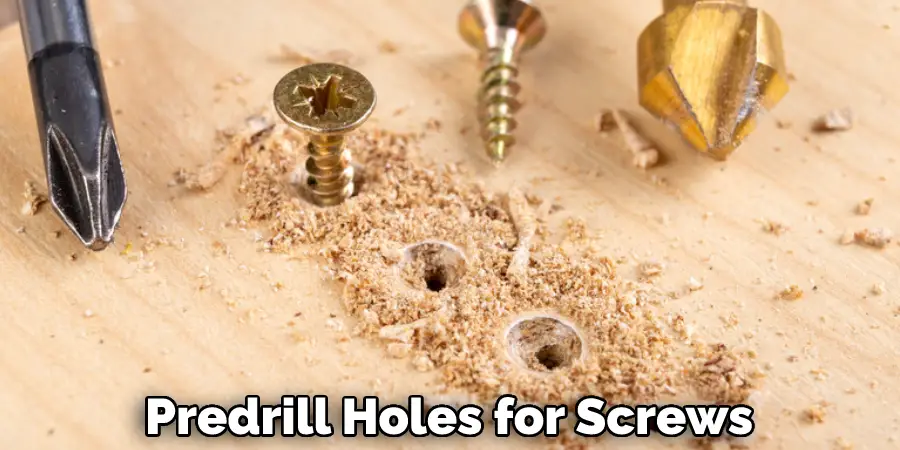
If necessary, adjust the spacing between the strips to ensure that they are even. Drill two screws into each end of each strip and make sure they are tight. Repeat the process with the other two strips for the second piece of plywood. Place this piece on top of the first to form a rectangular frame. Make sure that the edges of the two pieces are aligned. Secure them together by drilling screws on each corner.
7. Glue the Strips of Wood in Place and Allow the Glue to Dry:
Using a strong adhesive, glue the strips of wood in place. Allow the glue to dry completely before proceeding. Make sure the strips of wood are positioned correctly and that all edges line up perfectly. Once the glue has dried, your frame should be sturdy and secure.
Although the frame may not be completely finished, the basic structure is now in place. If you would like to add more details or embellishments, you can do so at this point. However, the frame should be functional and solid without any further additions.
8. Stick the Remaining Plywood Piece and Strips of Wood:
Repeat the same process with the remaining plywood piece and strips of wood. Make sure that they are securely fastened in place and allow the glue to dry before proceeding. Once the glue has dried, use a saw to cut the excess wood around the edges. Use sandpaper to smooth out any rough areas and ensure that everything is flush. Finally, finish off the project with a sealant or stain of your choice to complete the look.
Once you have completed your project, you can enjoy the results of your hard work. Your DIY table will be an attractive piece that is sure to add a unique and personal touch to any room. With the right tools and materials, creating your own custom furniture has never been easier!
9. Cut Eight Strips of Wood that Are Each 2 Inches Wide:
Using a handsaw or electric saw, cut eight pieces of wood that are two inches wide and 12 inches long. These will serve as the feet for your shoe rack. If you need to, measure and mark the pieces with a pencil before cutting. Once all eight pieces have been cut, sand down any rough edges and make sure the pieces are all even. However, be careful not to sand down too much as it will weaken the wood. Once your pieces are all ready, you can start assembling the shoe rack.
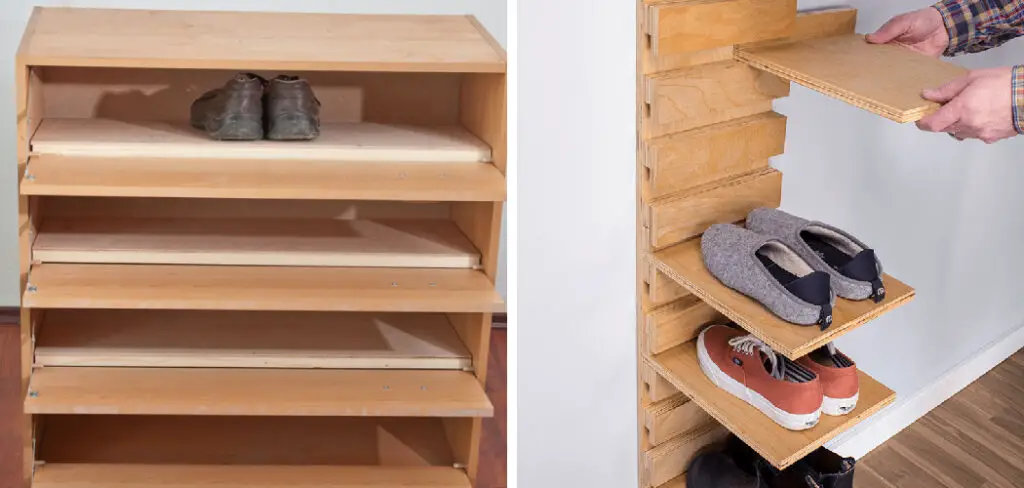
10. Place Four of the Strips of Wood on Top of One of Shelves:
Place four of the strips of wood onto one of the shelves. Make sure that they are spaced evenly apart and securely fastened. Then, repeat the same process with the remaining shelf and strips of wood. If desired, you can also add some extra screws for added stability. Once the frame is complete, you are ready to start adding shelves.
Things to Consider When Making Shoe Rack with Plywood
- Measure the space available to make sure you have enough material that will fit the desired design.
- Choose a plywood that is strong and durable enough to hold shoes.
- Cut the plywood into the desired shape using either a circular saw or a jigsaw.
- Attach brackets to the wall for support if needed.
- Put together the pieces of plywood in order to build the shoe rack. Make sure all edges are sanded and smooth.
- Add a protective finish to the plywood, such as paint or stain, for an aesthetically pleasing look.
Conclusion
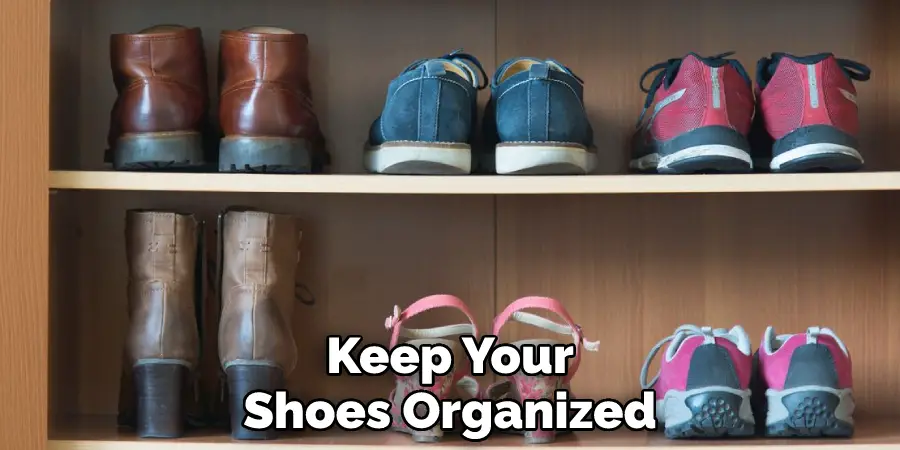
You have learned how to make a shoe rack with plywood. This is an easy project that only requires a few supplies and some time. With this new skill set, you can declutter your home and keep your shoes organized. It’s easy to do and only takes a few hours. Plus, it’s a great way to organize your shoes and keep them from getting scuffed up.
We hope this guide on how to make shoe rack with plywood was helpful. Please share it with your friends on social media if you find it useful. And be sure to check back here soon for more informative guides like this one.