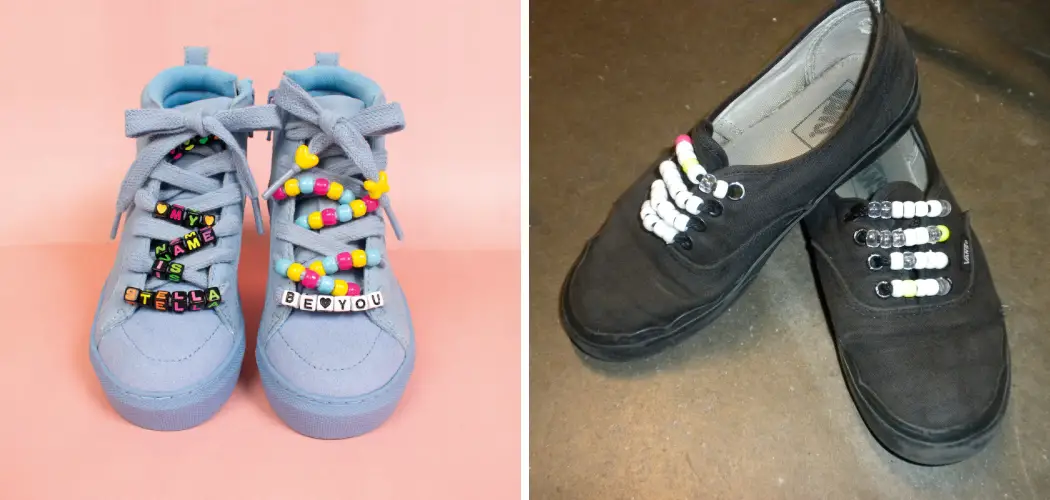
Are you looking for a way to add some personal style and flair to your shoes? Look no further than putting beads on your shoelaces!
Beads are a popular way to add personality and pizzazz to shoelaces; they’re not just for kids! There are many ways to put beads on shoelaces to find the best method. Whether you’re using store-bought beads or making your own, here’s how to put beads on shoelaces stylishly and functionally.
There are many different ways to put beads on shoelaces. In this blog post, we will be discussing the most popular techniques. We will also provide step-by-step instructions on putting beads on shoelaces. So, whether you’re a beginner or an experienced bead worker, you’ll be able to follow along!
What Do Beads on Shoes Mean?
Before we jump into the instructions, let’s first discuss what beads on shoes mean. Beads on shoes are decorative accents that are placed onto shoelaces. They can come in various designs and colors and add personal style to any pair of shoes.
Beads have been used for centuries for decoration, as well as for spiritual and cultural purposes. Adding beads to shoelaces is just one of the many ways that beads can be used in fashion and accessories.
What You Will Need
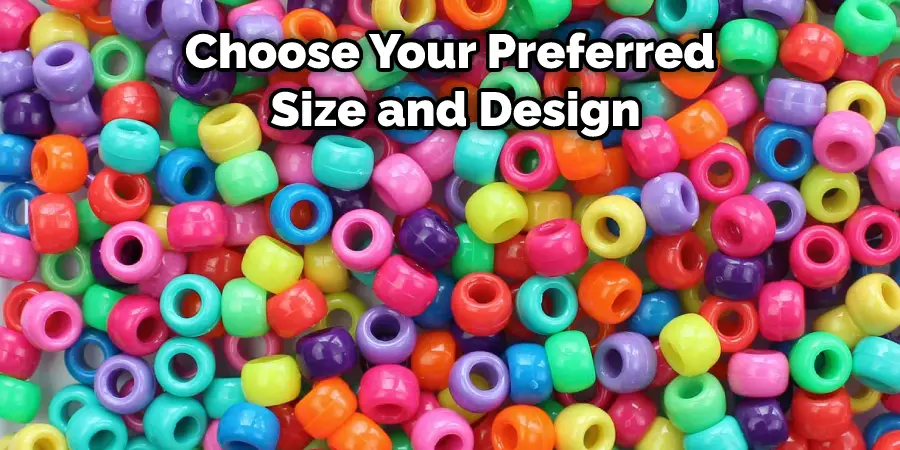
- Beads (Choose your preferred size and design)
- Shoelaces (Make sure they are long enough to accommodate the beads)
- Pliers or tweezers (for manipulating small beads)
- Needle and thread or jewelry wire (optional for securing bead placement)
With your materials gathered, you are ready to start adding beads to your shoelaces!
10 Steps on How to Put Beads on Shoelaces
There are a few different methods for putting beads onto shoelaces, including using a needle and thread, a beading needle and thread, and a bead tip (also known as a crimp). In this blog post, we will discuss the method of using a beading needle and thread.
1. Gather All of Your Materials:
Before you begin, make sure to gather all of the materials that you will need. This includes your beads, shoelaces, beading needle, and thread. Make sure to have enough beads for the length of your shoelaces.
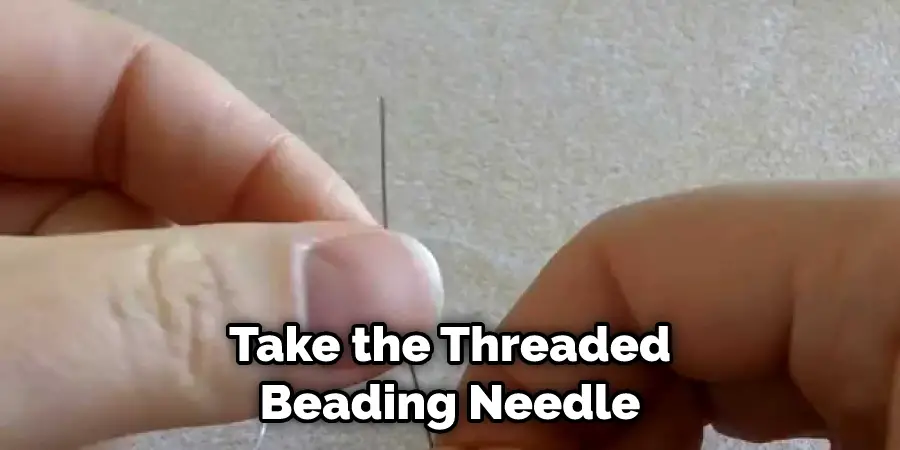
2. Thread Your Beading Needle:
Take your beading needle and thread it with the thread of your choice. Ensure to leave a tail of about 2-3 inches on one end of the thread. This tail will be used to secure the bead placement on the shoelaces at the end.
3. Attach the Beading Needle to the Shoelaces:
Take the threaded beading needle and push it through one end of the shoelace, leaving about 1 inch of shoelace between the end and where the thread is attached. This will act as a stopper for the beads on that end of the shoelace.
4. Begin Adding Beads:
Start adding beads onto the shoelaces, sliding them down towards the attached beading needle. Make sure to leave about 1 inch of shoelace between the last bead and the end of the shoelace. You can mix and match bead designs and colors or stick with one cohesive design.
5. Continue Adding Beads:
Continue adding beads onto the shoelaces until you reach the desired length or until you run out of beads. Make sure to leave 1 inch of shoelace on both ends for stoppers. Because the beading needle is attached, the beads should easily slide down toward the needle.
6. Secure the Bead Placement:
Once you have added all of your beads onto the shoelaces, it is time to secure their placement. Take the tail end of the thread and wrap it around the beads a few times. Then, tie off the thread and trim any excess thread. Repeat steps 3-6 on the other shoelace, securing the bead placement at the end. Now, both shoelaces should have beads attached to them.
7. Use Needle and Thread or Jewelry Wire:
If you want extra security for your bead placement, you can use a needle, thread, or jewelry wire to wrap around the beads and shoelaces. This will ensure that the beads do not fall off of the shoelaces. Be careful not to tie the thread or wire too tightly, as it may damage the shoelaces.
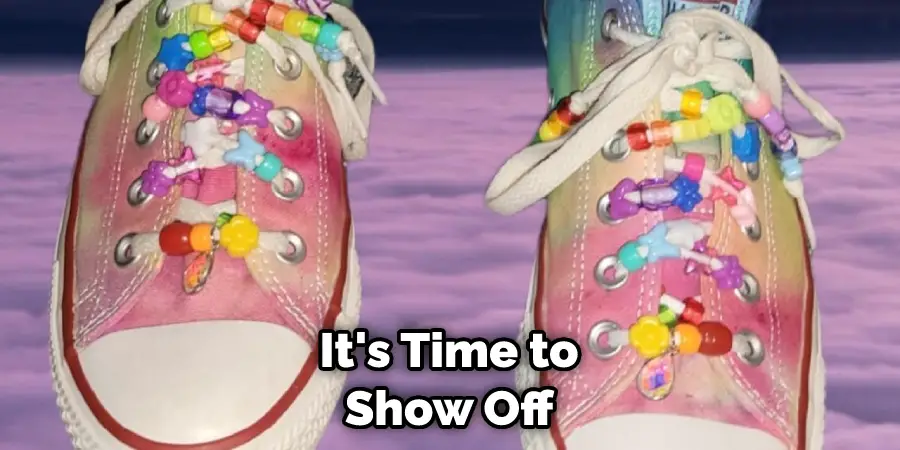
8. Wear Your Stylish Shoelaces:
Now, it’s time to show off your newly beaded shoelaces! You can use them to add some personal style to your shoes or give them as a gift to someone special. Be careful not to pull on the beads too harshly, as they may come off of the shoelaces.
9. Remove Beads:
If you want to change up the design of your beaded shoelaces or if the beads become worn, you can easily remove them with pliers or tweezers. Remember to secure any new bead placement with needle, thread, or jewelry wire for extra security.
10. Replace Beads:
Once you have removed the old beads, you can replace them with new ones and create a whole new design for your shoelaces! Don’t be afraid to get creative and have fun with your bead designs. But always make sure to secure the beads in place.
Adding beads to shoelaces is a fun and easy way to add some personal style to any pair of shoes. Have fun experimenting with different bead designs and patterns. Happy beading!
5 Additional Tips and Tricks
- Use different sized beads to create a unique pattern.
- Use multiple colors to create a color blocked design.
- Try using charms or pendants in addition to beads for added interest.
- Use clear nail polish to further secure bead placement on the shoelaces.
- Add beads onto one section of the shoelace for a more subtle design, or cover the entire shoelace for a bold statement.
These are just a few ideas to get you started, but the endless possibilities! Have fun with your bead designs and make them unique to your personal style. Happy beading!
5 Precautions You Can Take While Beading
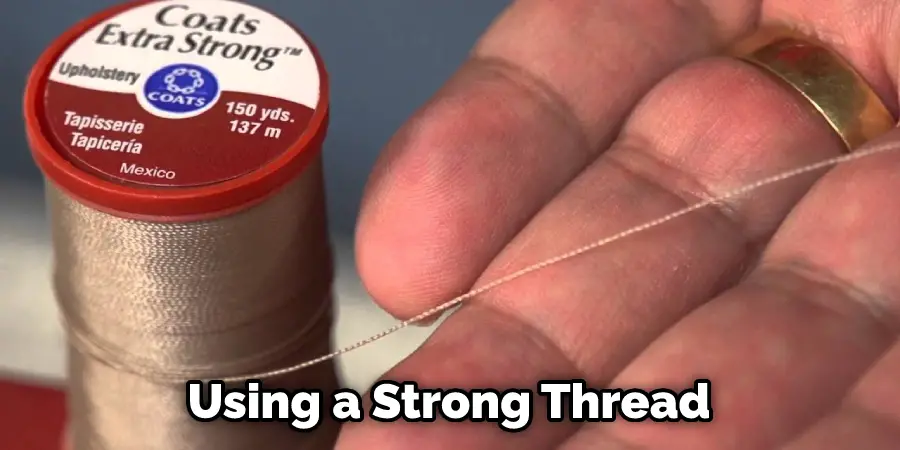
1. Use a sturdy thread:
using a strong thread, such as beading or fishing line, can help prevent beads from accidentally coming off.
2. Secure the end of the shoelace:
using a stopper or knot at the end of the shoelace will act as an extra barrier to keep beads in place.
3. Double or triple thread your needle:
using multiple strands of thread will add extra security and strength to the bead placement.
4. Use jewelry wire:
wrapping jewelry wire around the beads and shoelaces can help prevent them from moving or falling off.
5. Use clear nail polish:
applying a layer of clear nail polish on top of the knots used to secure the beads can add extra strength and prevent them from undoing.
Always take the necessary precautions while beading to ensure that your design stays in place and lasts for a long time.
Different Methods of Putting Beads on Shoelaces
1. Use a Hot Glue Gun:
Apply small amounts of hot glue along the shoelace and place beads onto the glue.
2. Use Jewelry Pliers:
Open jump rings and attach them to both the shoelace and bead, then close the jump ring to secure it in place.
3. Sew on Beads:
Using a needle and thread, sew each bead onto the shoelace in the desired pattern.
4. Use Jewelry Wire:
Wrap the jewelry wire around both the bead and shoelace, securing them in place.
5.Beading Loom:
Use a beading loom to weave and secure beads onto the shoelace.
These are just a few different methods that can be used to add beads to shoelaces. Choose the best method, and have fun experimenting with different designs!
How Can You Manage Long Shoelaces?
- Use shoelace clips or stoppers to secure the excess length of the shoelaces and prevent them from dragging on the ground.
- Double knot or wrap the extra length of the shoelace around the top of the shoe for a cleaner look.
- Cut off excess length with sharp scissors, then use a lighter or match to seal the end of the shoelace and prevent fraying.
- Use lace locks or aglets to neatly cover up the excess length and add some style to your shoelaces.
By taking these steps, you can easily manage long shoelaces and keep them looking neat and tidy.
Conclusion
Now that you know how to put beads on shoelaces, there are all sorts of possibilities for personalizing your shoes. With a little bit of practice, you’ll be able to add beads to any lacing pattern. So get creative and have fun!
With a few extra supplies, you can put beads on your shoelaces in no time! This project is great for kids of all ages and can be done easily. You can experiment with different colors and patterns to create unique and eye-catching shoelaces.
Don’t be afraid to get creative – there are no rights or wrongs when it comes to fashion. Thanks for following along, and we hope you enjoyed this article. Have fun expressing yourself through your accessories!