In order to be a ballerina, you have to have pointe shoes. And in order to have pointe shoes, you need to know how to sew elastic on them. It’s not as hard as it may seem, and this tutorial will show you how it’s done.
So whether you’re a beginner or an experienced sewer, follow these steps, and you’ll be able to put elastic on your pointe shoes like a pro!
Sewing elastic on pointe shoes is a fairly easy process, but it is important to take your time and do it correctly. This article will show you how to sew elastic on pointe shoes.
We will also share some tips on ensuring the elastic stays in place. By following these steps, you can create a custom pair of pointe shoes that fit perfectly and provide optimum support.
What is Pointe Shoe?
Before we dive into the steps of sewing elastic on pointe shoes, let’s quickly discuss what exactly a pointe shoe is.
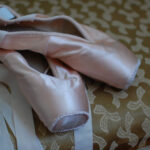
Pointe shoes are a specialized type of ballet shoe that allows dancers to dance on the tips of their toes. The shoes have a hardened box at the toe which helps support and balance the dancer.
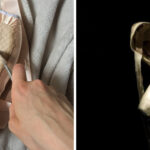
Additionally, pointe shoes have elastic or ribbons attached to them to provide extra support and security for the dancer.
Why is it Important to Sew Elastic on Pointe Shoes?
Sewing elastic onto pointe shoes can not only provide extra support for the dancer, but it also helps create a custom fit for the individual’s foot.
Some dancers may need more support in certain areas, such as the heel or arch, so sewing on elastic can help provide that needed support.

Additionally, some dancers prefer to have their pointe shoes fit snugly and securely on their feet, and sewing on elastic can help achieve this desired fit.
Overall, sewing on elastic can greatly enhance a dancer’s performance and comfort while dancing on pointe.
10 Easy Steps on How to Sew Elastic on Pointe Shoes
Step 1: Measure and Cut the Appropriate Length of Elastic
Before starting the sewing process, measure and cut the appropriate length of elastic for each shoe. Measure the width of the shoe where you want to place the elastic, then add an inch or two to allow for stretching and stitching.
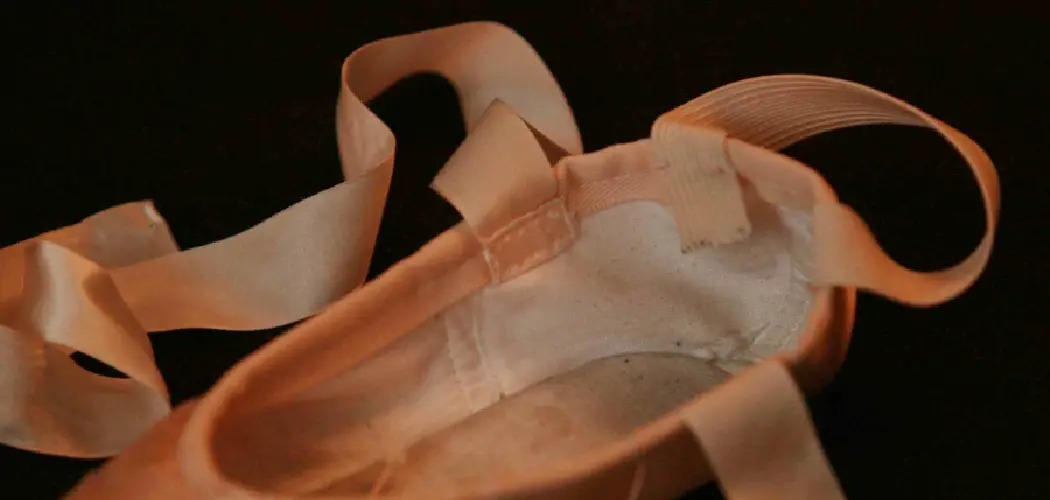
Step 2: Sew One End of the Elastic
Using a needle and thread, sew one end of the elastic onto the shoe at the desired location. Make sure to sew it securely in place, using small stitches and going back and forth several times.
Step 3: Stitch Along the Edge
Once the first end is secured, begin stitching along the edge of the elastic, keeping it close to the shoe. Make sure to pull the elastic slightly as you sew, to keep it snug against the shoe. Because of the stretching and movement in pointe shoes, it is important to ensure the elastic is secure to prevent it from coming loose.
Step 4: Sew on the Other End
Once you reach the end of the elastic, sew it securely onto the shoe in the same manner as step 2. Be careful not to sew too tightly, as this can cause the elastic to bunch or tear. Repeat steps 1-4 for the other shoe.
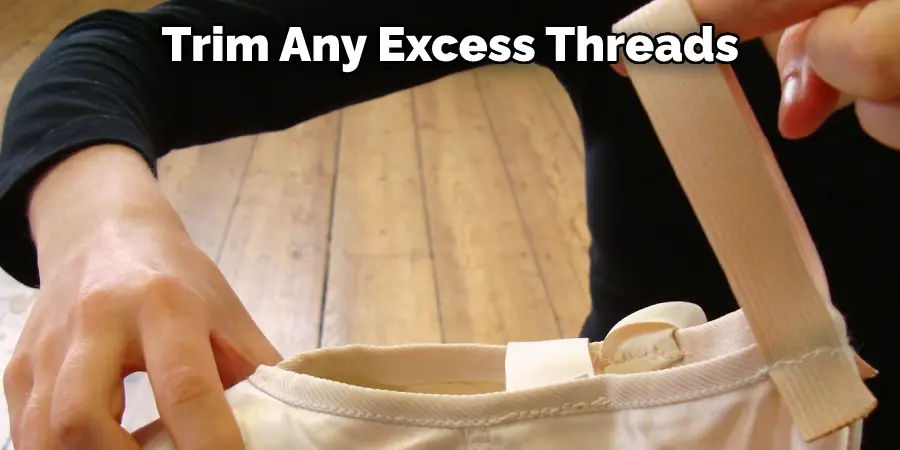
Step 5: Trim Any Excess Threads
Once both shoes are finished, trim any excess threads to clean up the sewing job. Use sharp scissors and be careful not to cut the elastic. If desired, you can also use a lighter to melt and fuse the ends of the elastic for added security.
Step 6: Try On Shoes
Try on your shoes to make sure the elastic is secure and provides proper support. Make any necessary adjustments by sewing on additional elastic or re-stitching existing elastic. Otherwise, you’re all set to dance!
Step 7: Place Padding
Once the elastic is secure, place padding such as lamb’s wool or moleskin over the stitching to make it more comfortable for dancing. It is important to have padding in place before dancing to prevent any irritation or discomfort from the stitching.
Step 8: Sew Ribbons and Elastic Straps
Sew on the ribbon and elastic straps to secure the shoe onto the foot. Follow the manufacturer’s instructions for placement and stitching. Carefully try on the shoes to make sure they fit properly, and the straps are secure.
Step 9: Trim Excess Material
Trim any excess material from the ribbons and straps, being careful not to cut too close to the stitching. Because these straps will be under tension while dancing, make sure they are securely attached to the shoe.
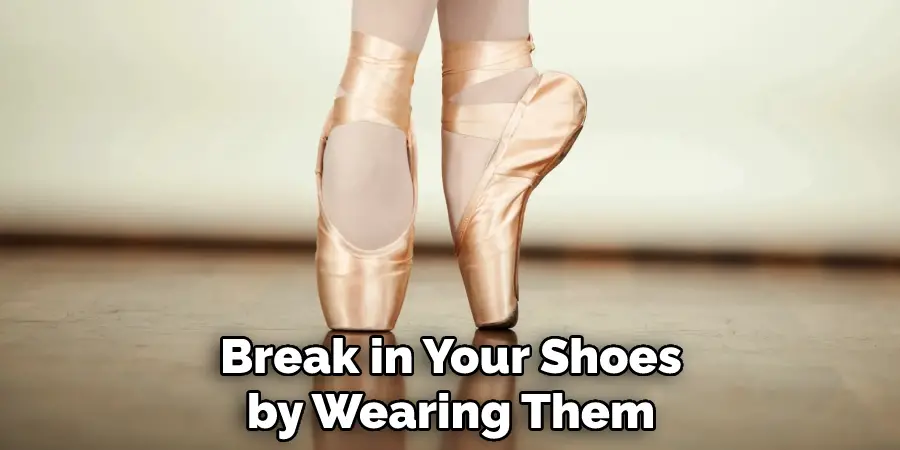
Step 10: Break in Shoes
Finally, break in your shoes by wearing them around the house and practicing some ballet moves. These custom fittings will ensure that your pointe shoes feel comfortable and secure while dancing.
Sewing elastic on pointe shoes may seem daunting at first, but with these steps, you can easily create a custom fit for optimum support and stability. Happy dancing!
5 Additional Tips and Tricks
1. Use High-quality Elastic: It may be tempting to use cheaper, lower-quality elastic, but it can break more easily and won’t provide as much support.
2. Experiment With Different Placements of the Elastic: Try sewing it on the sides or across the top of the shoe for varying levels of support.
3. Use a Thimble While Sewing: This can help protect your fingers and make it easier to push the needle through the layers of fabric.
4. Use a Doll Shoe: Before sewing on your own pointe shoes, practice with a doll shoe or old pointe shoe to get the hang of stitching and placement.
5. Ask for Help: If you are unsure about any aspect of sewing elastic on your pointe shoes, don’t be afraid to ask a dance professional or experienced friend for assistance. It’s better to be safe than sorry when it comes to the support of your shoes.
These tips can help ensure a successful and comfortable sewing experience for your pointe shoes. Happy dancing!
You Can Check It Out Make Your Own Pointe Shoes with These 10 Pointe Shoe Decorating Ideas
5 Precautions You Can Take

- Be cautious when using a lighter to fuse the ends of the elastic, as it can easily catch fire.
- Use sharp scissors to trim excess threads and material, being careful not to cut the elastic or yourself accidentally.
- Make sure all stitching is secure before dancing in your shoes to prevent any tears or breakage.
- Don’t sew too tightly, as this can cause discomfort and bunching of the elastic.
- Check that all ribbons and straps are securely attached before dancing to prevent them from coming loose or causing injury.
Taking these precautions can help ensure a safe and successful sewing experience for your pointe shoes. Happy dancing!
Different Attractive Sewing Ideas
- Adding decorative accents to the elastic, such as beads or rhinestones.
- Sewing on ribbons in a criss-cross pattern for added support and style.
- Experiment with different colors of elastic or ribbon for a fun pop of color on your shoes.
- Replacing traditional elastic with clear elastic for a sleek and modern look.
- Adding fabric flowers or other embellishments to the ribbon straps for a unique touch.
Getting creative with your pointe shoe elastic sewing can add personality and style to your shoes. Have fun with it!
Do You Sew Ribbons or Elastics First on Pointe Shoes?
There is no right or wrong answer to this question, as it ultimately depends on your personal preference and technique. Some dancers prefer to sew their ribbons on first and then attach the elastic, while others do it in the opposite order. Experiment with both methods to see which works best for you.
It may also vary based on the ribbon type and elastic used. Ultimately, what matters most is that your ribbons and elastics are securely attached and provide the necessary support for dancing. Happy sewing!
How Often Should Elastic Be Replaced on Pointe Shoes?
This can vary based on the dancer’s individual usage, wear and tear of the shoes, and the quality of the elastic being used.
Typically, it is recommended to replace elastics every 6-8 weeks or when they start to feel loose or worn. Checking and replacing elastics regularly for the proper support and safety while dancing in pointe shoes is important.
Additionally, it is also important to regularly check all ribbons and straps for any fraying, tears, or looseness and replace them as necessary.
You Can check It Out To Best Insoles for Standing All Day on Concrete
Conclusion
Sewing the elastic on your own pointe shoes can be a great way to save money. You’ll need to take some time to Sew it securely so it will last longer. Be sure to use a strong thread and needle, and make small stitches. Start by hand-sewing the elastic onto the shoe, then finish by securing it with machine stitching. With practice, you’ll be able to sew your own pointe shoes like a professional!
Now that you know how to sew elastic on pointe shoes investing in a good quality pair of scissors is the best way to ensure neat and professional-looking results. With proper care, your pointe shoes will last longer and perform better – giving you a chance to focus on your passion for dance.