Peloton shoes can be a bit tricky to put together at first, but with a little patience and some handy tips, you’ll be able to do it like a pro! In this blog post, we will give you a step-by-step guide on how to assemble peloton shoes. We’ll also provide some helpful tips on how to make the process go more smoothly. So, without further ado, let’s get started!
Why Should You Assemble Peloton Shoes?
There are a few reasons you should consider assembling your own Peloton shoes. First, it’s a great way to save money. If you’re unfamiliar with Peloton, they’re a high-end exercise bike company that also offers monthly spin classes you can take from the comfort of your home. While the bikes themselves are relatively affordable, the same can’t be said of the company’s proprietary shoes, which start at around $100.
If you’re willing to put in a little elbow grease, however, you can assemble your own pair of Peloton shoes for a fraction of the cost. Second, it’s a great way to get exactly the features you want in a shoe. Third, while Peloton offers several different models of shoes, they don’t allow for much customization.
By assembling your own pair, on the other hand, you can choose the materials, colors, and styles that best suit your needs. Finally, it’s simply a fun and satisfying project. If you enjoy working with your hands and are looking for a new challenge, assembling your own Peloton shoes is a great way to go.
How to Assemble Peloton Shoes: A Step-by-Step Guide
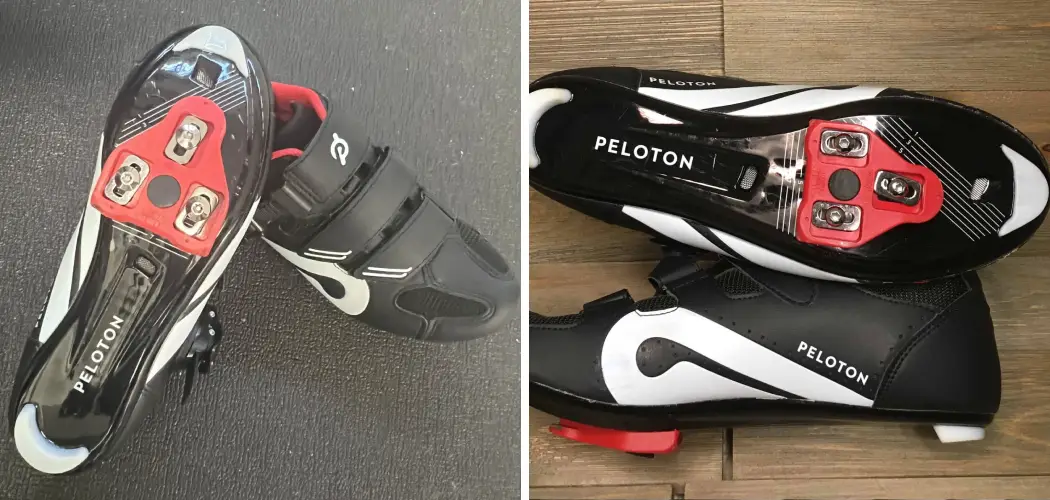
Peloton shoes are a type of cycling shoe that is designed to be used with Peloton bikes. They are made to be very comfortable and provide a great deal of support and stability while riding. While they may seem complicated to assemble, following these seven steps will have you ready to ride in no time:
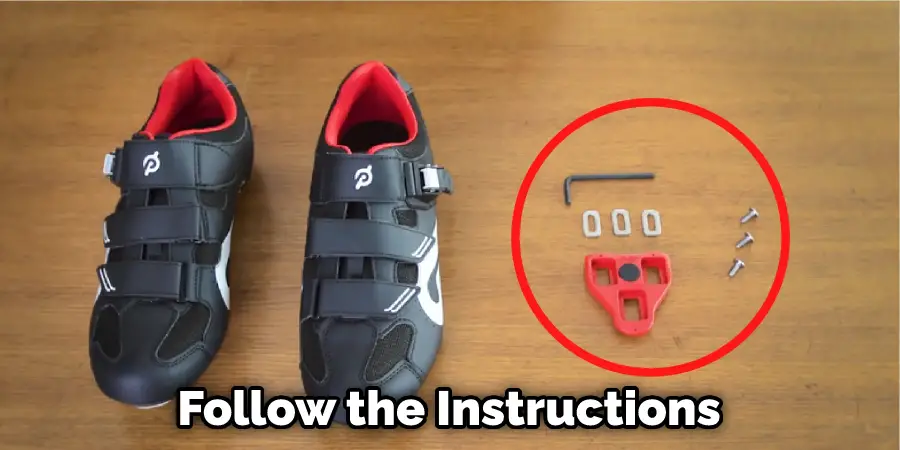
1. Follow the Instructions that Come with The Shoes
The first and most important tip is to follow the instructions that come with the shoes. The Peloton shoes are designed to be assembled in a specific way, and following the instructions will ensure that they are assembled correctly.
2. Use the Correct Tools
Another important tip is to use the correct tools. The Peloton shoes come with a toolkit that includes all of the tools necessary for assembly. Using other tools may damage the shoes or make them more difficult to assemble.
3. Be Careful Not to Over-Tighten the Screws
When assembling the Peloton shoes, it is important to be careful not to over-tighten the screws. Over-tightening the screws can damage the shoes and make them more difficult to wear.
4. Make Sure All of The Parts Are Aligned Correctly
Another tip is to ensure all parts are aligned correctly before tightening. This will ensure that the shoes are assembled correctly and prevent any parts damage.
5. Take Your Time and Be Careful
Assembling the Peloton shoes is not a race, so it is important to take your time and be careful. Rushing through the assembly process can lead to mistakes and may damage the shoes.
6. Check All of The Parts Before Starting the Assembly

Before starting assembly, it is important to check all the parts to ensure they are all accounted for and in good condition. This will prevent any issues during assembly and ensure that all the parts are there and ready to be used.
7. Get Help if Needed
If you have difficulty assembling the Peloton shoes, don’t hesitate to ask for help from someone who has done it before or from customer service. They will be able to walk you through the process and make sure that you are assembling the shoes correctly.
That’s it! You’ve now learned how to assemble Peloton shoes. Following these seven steps will ensure that your shoes are assembled correctly and that you’re ready to ride.
What You Need to Know Before Assembling Your Peloton Shoes?
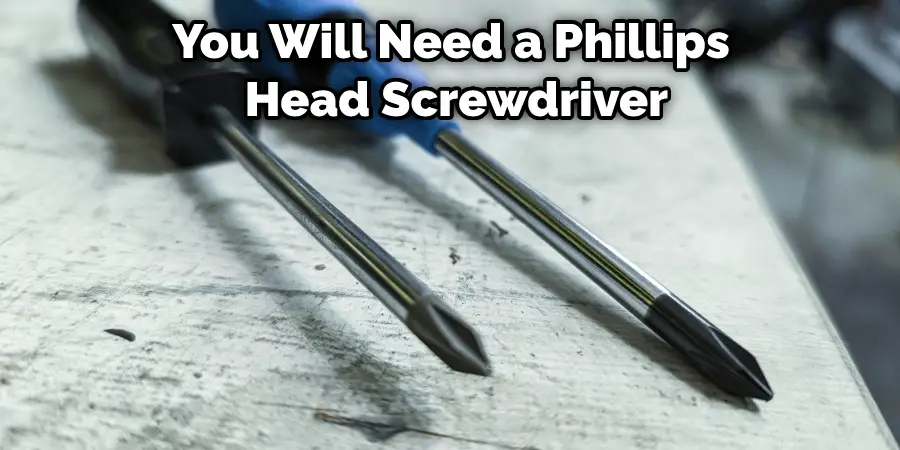
Before you start pedaling your way to fitness, you should know a few things about assembling your Peloton shoes. First, make sure that you have the proper equipment. You will need a Phillips head screwdriver and a 6-millimeter Allen wrench.
Next, gather your materials. You will need the shoe cleats, the bolts that came with your Peloton, and the washers that came with your Peloton. Once you have everything you need, it’s time to get started.
Remove the back cover of your Peloton shoes using the Phillips head screwdriver. Next, insert the bolts into the holes in the shoe’s sole, ensuring the washers are between the bolt and the shoe.
Finally, use the Allen wrench to tighten the bolts until they are snug. That’s it! You’re now ready to clip into your Peloton and start pedaling.
How to Tell if Your Peloton Shoes are Assembled Correctly?
One of the most important aspects of using a Peloton bike is having properly assembled shoes. If your shoes are not assembled correctly, you could experience problems with your pedals or even injure yourself. Fortunately, there are a few easy ways to tell if your Peloton shoes are properly assembled.
First, check to see if the cleats are securely attached to the shoes. Second, make sure that the cleats are positioned correctly on the pedals. Finally, test the shoes by pedaling a few times to ensure they feel snug and secure. By following these simple steps, you can ensure that your Peloton shoes are properly assembled and ready for use.
5 Mistakes You’re Making When Assembling Your Peloton Shoes
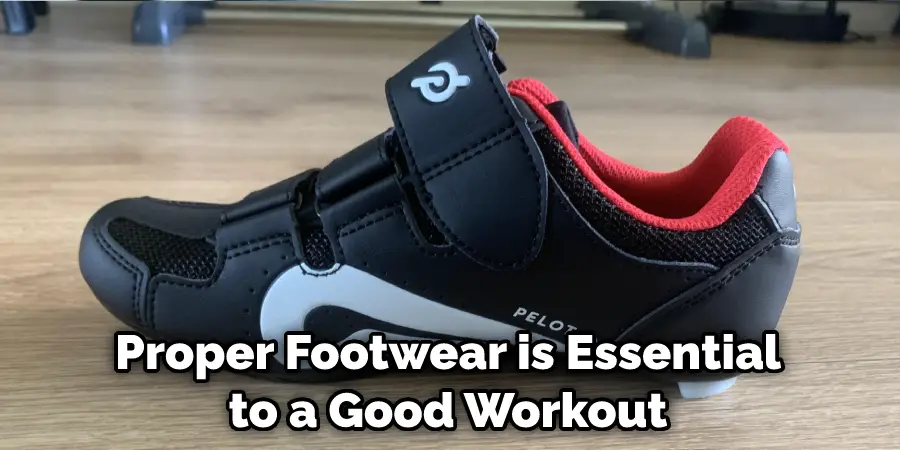
As anyone who has ever taken a spin class knows, proper footwear is essential to a good workout. Yet, many people still make common mistakes when choosing and assembling their peloton shoes. Here are five of the most common mistakes:
1. Wearing the Wrong Shoes: Peloton shoes have very specific requirements to work properly with the bike. Yet, many people still try to wear regular sneakers or running shoes. This can lead to slipping and decreased stability, which can be dangerous.
2. Not Tightening the Cleats Correctly: The cleats on peloton shoes must be tightened correctly to ensure a secure connection with the pedals. If they are too loose, you will likely slip; if they are too tight, you may not be able to release your feet from the pedals easily, which could lead to a fall.
3. Not Adjusting the Seat Height: The seat height on a peloton bike should be adjusted so that your legs are slightly bent when pedaling. This gives you the most power and prevents knee pain. Yet, many people forget to adjust their seat and end up pedaling with their legs fully extended, which is much less effective and can cause joint pain.
4. Not Adjusting the Handlebar Height: The handlebars on a peloton bike should be about shoulder height when seated on the saddle. This allows you to maintain good posture and prevents back pain. However, many people forget to adjust their handlebars and ride too low or too high with them.
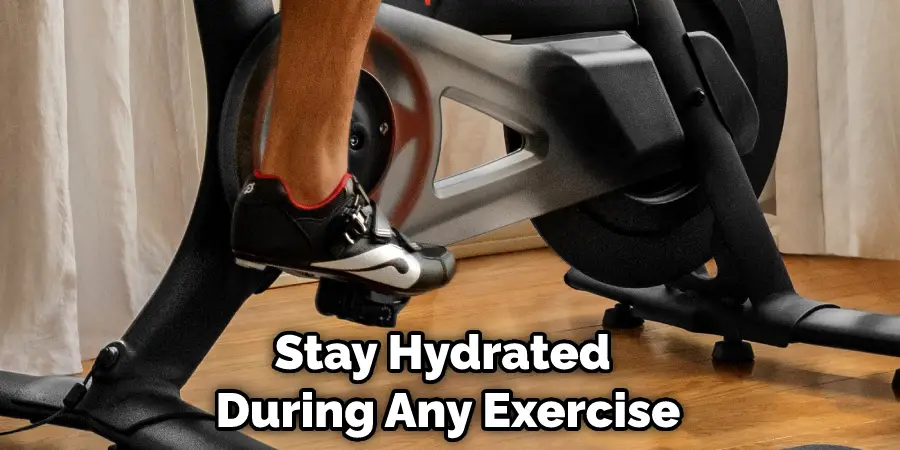
5. Forgetting to Hydrate: It is important to stay hydrated during any exercise, but it is especially important when cycling because you will be sweating more than usual. Yet, many people forget to bring water with them or don’t drink enough during their ride. This can lead to dehydration, which can cause headaches, dizziness, and fatigue.
You Can Check It Out Use Mgk Shoe Cleaner
Troubleshooting: What To Do If Something Goes Wrong While Assembling Your Peloton Shoes?
As much as we all hope that every new purchase goes smoothly, sometimes things can go wrong. So if you find yourself amid a tricky Peloton shoe assembly, don’t despair. Here are a few troubleshooting tips that may help get you back on track.
Check the packaging first if your shoes seem to be missing a part. Sometimes small parts can become stuck in the folds of the packaging material. Then, contact Peloton’s customer service team if you still can’t find the part you’re looking for. They should be able to send you the missing part or provide instructions on how to proceed.
If the parts you have don’t seem to fit together properly, double-check the instructions to make sure you’re following them correctly. Sometimes it can be easy to mix up similar-looking parts. If you’re still having trouble, contact customer service for assistance.
Assembling your Peloton shoes doesn’t have to be an ordeal. With a little patience and some troubleshooting, you should be able to get your shoes up and running in no time.
How To Deal With Common Issues When Assembling Your Peloton Shoes?
While the Peloton bike is a great workout tool, the shoes are the most important parts of the experience. So to get the most out of your workout, it’s important to ensure that your shoes are properly assembled. Here are some tips on how to deal with common issues when assembling your Peloton shoes:
If you’re having trouble getting the cleats into the shoes, try using a rubber mallet to tap them into place lightly. Make sure that the screws are tightened securely but don’t over-tighten them, or you may strip the threads. If your shoes feel too tight, try loosening the straps slightly. The key is finding a balance between a tight and comfortable fit.
If you’re still having trouble, plenty of online tutorials and videos can walk you through the process step-by-step. With a little patience and practice, you’ll be able to get your shoes assembled correctly in no time.
Why Won’t My Peloton Shoes Clip Into the Bike Pedals?
Many Peloton riders find that their shoes won’t clip into the bike pedals, regardless of how they adjust the cleats. There are a few possible reasons for this. First, check to ensure the cleats are properly aligned with the pedals. If they’re off even by a few millimeters, it can be difficult to clip in.
Additionally, ensure that the pedal’s spring tension is set correctly. If it’s too loose, the pedal might not engage with the cleat; if it’s too tight, it can be hard to release the shoe from the pedal. Finally, it’s worth noting that some shoes are simply incompatible with Peloton pedals.
If you have difficulty clipping in, try using a different pair of shoes. With a little trial and error, you should be able to find a shoe-pedal combination that works for you.
Conclusion
Now that you know how to assemble peloton shoes, you’re one step closer to starting your fitness journey. You’ll be cranking out miles on your Peloton bike and feeling great about yourself in no time. So what are you waiting for? Get assembling!