Do you want to get rid of some creases in your leather boots?
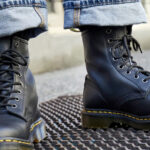
Our leather boots come out of storage as the colder weather creeps in. But oftentimes, even with proper storage, our boots come out with unsightly creases. Here’s how to remove creases from leather boots and make your boots look good as new.
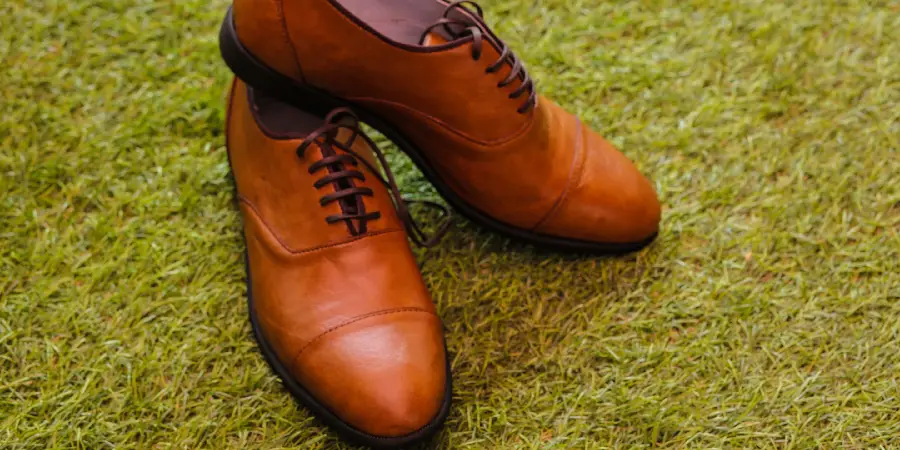
There’s nothing worse than putting on a pair of freshly polished leather boots only to have them immediately covered in unsightly creases. Luckily, there are several ways to remove these pesky wrinkles and make your boots look as good as new.
In this blog post, we’ll walk you through different methods for fixing creased leather boots – so read on to find out how to get your footwear looking sharp again! Keep reading for more information!
Do Creases in Leather Go Away?
First things first – do creases in leather go away on their own? It’s natural for leather to relax and mold to your feet over time, but sometimes this can result in creasing.
Unfortunately, the answer is no – creases in leather will not go away on their own. So if you want to remove them, you’ll have to take action yourself.
The good news is that, with the right tools and techniques, you can remove creases from leather boots and restore them to their original shape.
Overall, the key to removing creases from leather is to moisturize and soften the leather, then gently manipulate it back into shape.
What Will You Need?
Before starting, gather these tools and materials:
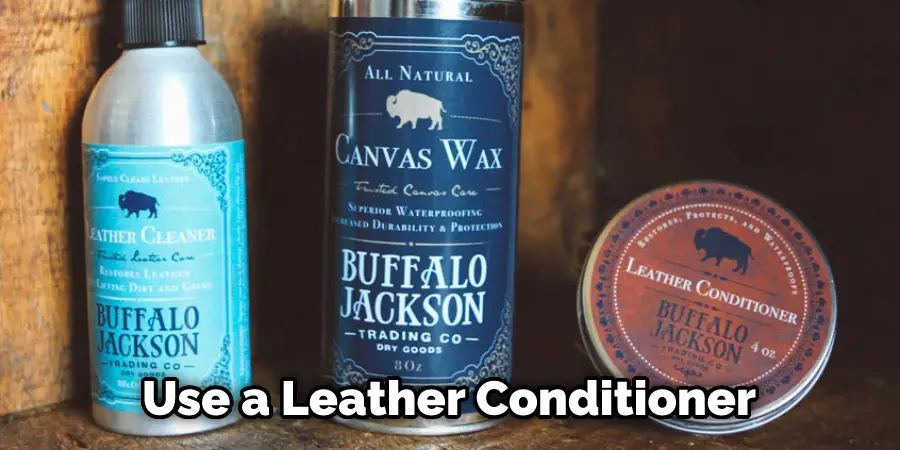
- Leather conditioner
- Rag or cloth
- Hairdryer
- Boot tree (optional)
With these materials on hand, you’ll be ready to tackle those creases in your leather boots.
10 Easy Steps on How to Remove Creases From Leather Boots
Step 1: Conditioning and Massaging
The first method is to condition the leather with a moisturizing leather conditioner. Apply the conditioner generously to the creased area, using a rag or cloth to rub it in evenly. Let it sit for 10-15 minutes before massaging the creases gently with your fingers.
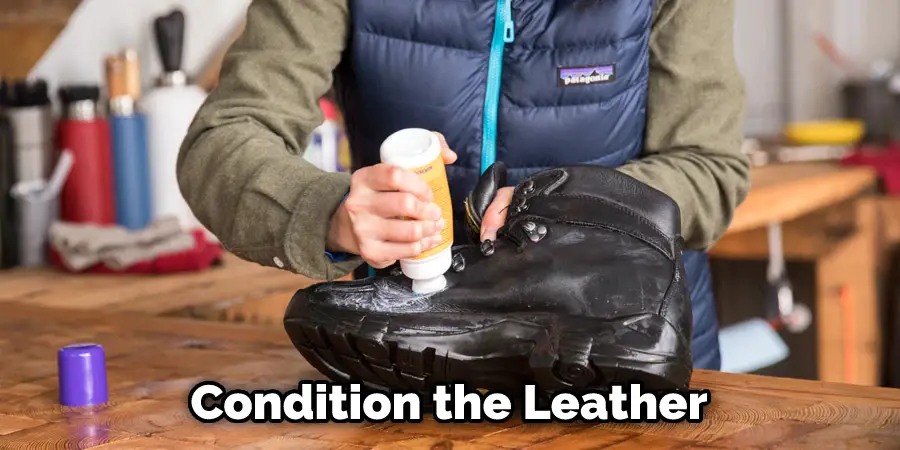
You can also use a boot tree to help shape and stretch the leather while it’s conditioning – just insert it into the boot while the conditioner is setting in.
Step 2: Heat and Pressure
For this method, use a hairdryer to apply heat to the creased area for about one minute. Then, using your hands or a boot tree, apply pressure to the area while it’s still warm. Keep applying heat and pressure until the crease begins to smooth out.
Step 3: Stretching with Water
For this method, moisten the creased area with a damp cloth or rag. Then, use your hands or a boot tree to stretch the leather back into shape while it’s wet. Let it air dry before wearing it again.
Step 4: Hot Water Soak
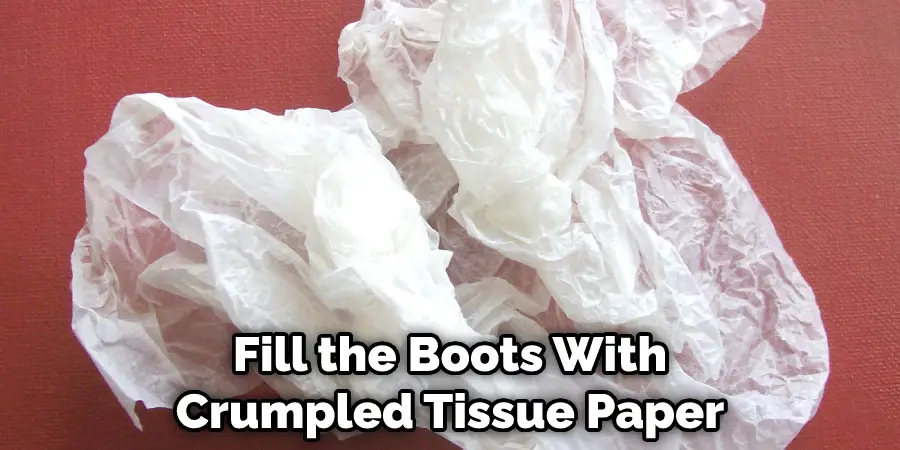
Fill a small tub or basin with hot water and add a few drops of mild soap. Submerge the leather boots in the water for 1-2 minutes, then remove them and pat dry with a towel. Stuff the boots with newspaper or tissue paper to help them hold their shape while they dry.
Step 5: Ironing
Place a towel or cloth over the creased area and use a clothing iron set to its lowest heat setting to press the wrinkle out gently. Ensure not to leave the iron in one spot for too long, as it could potentially damage the leather. You can also try using a steam iron for added moisture.
Step 6: Stuffing and Freezing
Fill the boots with crumpled tissue paper or newspaper to stretch them out, then place them in a plastic bag and put them in the freezer overnight. The cold temperature will help tighten and smooth out the leather. Be careful not to leave them in the freezer for too long, as this can potentially damage the leather.
Step 7: Stuffing and Drying
This method is similar to fill the boots with crumpled tissue paper or newspaper to stretch them out, then let them sit in a warm room for several days until they dry completely. You can use a boot tree to help maintain its shape while drying.
Step 8: Commercial Products
Commercial products are also available, such as crease-filler or leather stretching spray, that can be used to remove creases from leather. Follow the instructions on the product for the best results. It may take several applications to see results.
Step 9: Professional Shoe Repair
If all else fails, take your leather boots to a professional shoe repair shop and have them professionally stretched and restored. It may cost a bit more, but it’s worth having your boots look new again.
Step 10: Prevent Future Creases
To prevent creases from happening in the future, make sure to regularly condition and moisturize your leather boots with a quality leather conditioner. Store them on boot trees or stuffed with tissue paper or newspaper when not in use, and avoid wearing them for extended periods of time without giving them a break to rest.
Following these tips will help keep your leather boots looking smooth and wrinkle-free for longer. Happy crease free boot wearing!
5 Additional Tips and Tricks
1. Use a Hair Dryer: Heat the crease and then use a leather conditioner or oil to smooth it out.
2. Use a Damp Cloth: Dampen a cloth with water, wring it out, and place it over the crease. Use a leather conditioner or oil to smooth it out while the leather is still warm and pliable.
3. Use a Leather Stretching Product: Apply the product to the crease and use your hands or an object like a rolling pin to stretch out the crease while it dries.
4. Stuff Boots With Newspaper: Fill the boots with newspaper and leave overnight, allowing the paper to fill out any creases in the leather.
5. Invest in Quality Shoe Trees: Using shoe trees will help prevent future creases by maintaining the shape of your boots while not in use.
Always make sure to properly clean and condition your leather boots to keep them looking their best.
5 Precautions You Can Take
- Avoid wearing your boots for extended periods of time, allowing them to rest and recover in between wears.
- Avoid harsh cleaners and solvents that could damage the leather material.
- Have your boots professionally cleaned and conditioned at least once a year to ensure they stay in top shape.
- Always test a small, inconspicuous area first before applying the product to the entire surface.
- Use a leather crease filler or cream specifically designed for leather to fill in and reduce the appearance of creases.
Remember, taking proper care of your leather shoes will prevent creases from forming in the first place!
You Can Check It Out To Repair Muck Boots
What Causes Leather to Crease?
Leather is a natural material that can crease or wrinkle over time due to wear and tear, improper storage, or lack of conditioning. Additionally, leather creases can form when the material is stretched or bent repeatedly in one area, such as when wearing tight-fitting shoes.
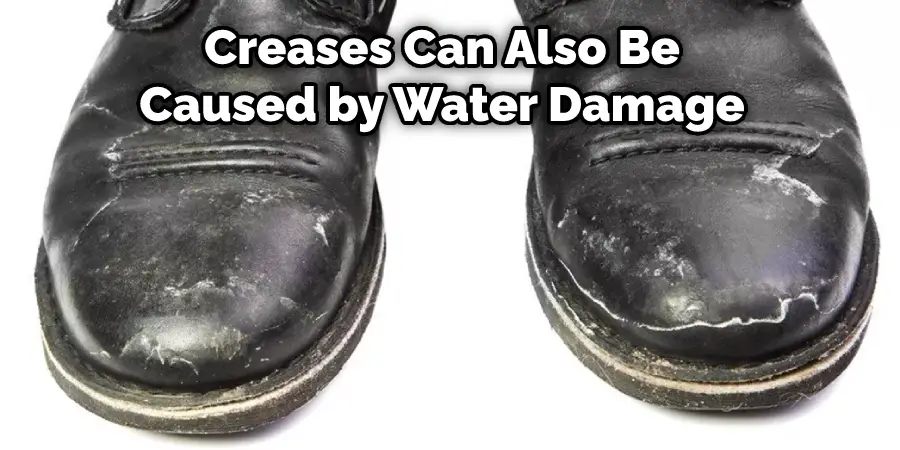
Creases can also be caused by water damage. As the leather dries, it may shrink and cause wrinkles to form. It’s important to properly clean and condition your leather items to prevent damage and keep them looking their best for longer.
Additionally, some leathers, such as full-grain or top-grain leather, are more prone to creasing due to their tighter grain structure. Consider this when purchasing your leather items and choose a softer, more flexible leather if you want to minimize the likelihood of creasing.
Keeping your leather items well maintained and stored properly can help prevent and reduce the appearance of creases.
Follow the manufacturer’s guidelines for cleaning and conditioning, and consider using shoe trees or stuffing with tissue paper or newspaper when not in use to keep them from losing their shape. Taking these precautions will ensure your leather stays smooth and wrinkle-free for longer.
What Are the Best Crease Protectors?
Some crease protectors specifically designed for leather include Leather Nova’s Leather Crease & Wrinkle Filler and Chamberlain’s Leather Milk Crease & Wrinkle Refiner. These products work to fill in and smooth out the appearance of creases on leather surfaces.
Additionally, taking proper care of your leather items by properly cleaning and conditioning them can help prevent creasing from occurring in the first place. Overall, maintaining your leather items well will keep them looking their best for longer.
Conclusion
If you want to know how to remove creases from your leather boots, there are a few different methods that you can try. You can use a hair dryer, iron, or steam to remove the creases.
If you don’t have any of those things on hand, you can also try using a dab of water and then stuffing your boots with newspaper. Whatever method you choose, make sure to test it on a small area of your boot first before doing the whole process.
Now you know how to remove creases from leather boots, but remember to invest in quality shoe trees and regularly clean and condition your boots to prevent creases from forming in the first place.
Hopefully, these tips will help keep your leather boots looking their best for longer. Happy shoe-maintenance!