Are you an avid climber whose shoes are looking a bit worse for wear? Do you want to extend the life of your rock climbing shoes? If your climbing shoes have seen better days and you’re considering throwing them out the window, don’t!
Resolving them is an easy way to maintain the integrity, traction, and fit of your shoes for longer. It’s also much cheaper in comparison to buying a new pair altogether – not to mention environment-friendly!
It is important to know how to resole climbing shoes. In this blog post, we’ll go through all the steps required for resoleing your old climbing shoes so that they can continue supporting you on multi-pitch scrambles or rough bouldering sessions.
Tools You Will Need
- Shoe repair glue
- A marker or pen for tracing the soles of your shoes
- Utility knife
- Sandpaper
- New rubber sole sheet
How Do I Know When My Climbing Shoes Need to Be Resoled?
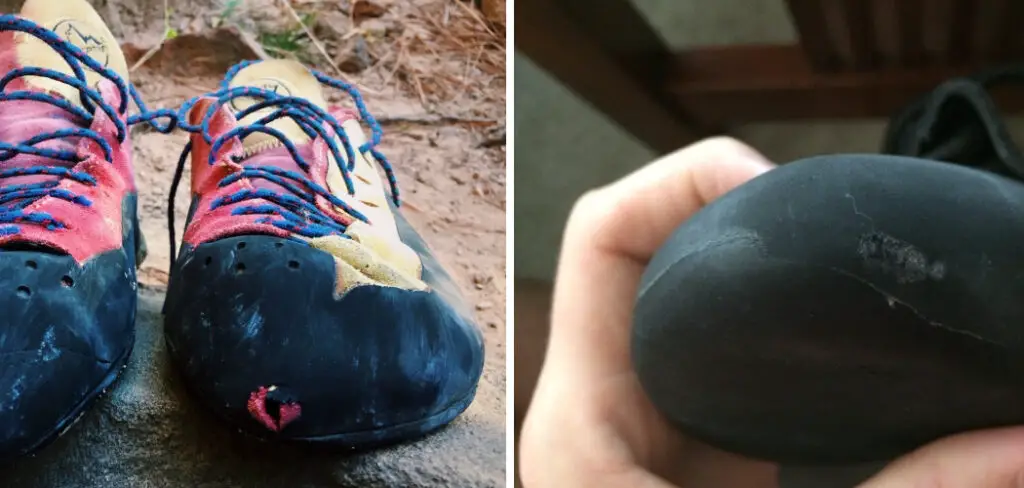
Identifying when your climbing shoes need to be resoled can be tricky and often depends on the climber’s individual preferences. Generally, if you feel that the grip on your toes or heel has been compromised, it’s likely time for a resole.
After extensive climbs or when you start to notice small scuffs and cuts either in the sole, or even the midsole of your shoes, the rubber may have softened, resulting in a lack of edging power and sensitivity.
Additionally, if there are deep grooves across the entire surface of the sole from heel hooks and toe hooks then this will most certainly require a resole. You should consult with an expert before making a decision. They are always happy to help out!
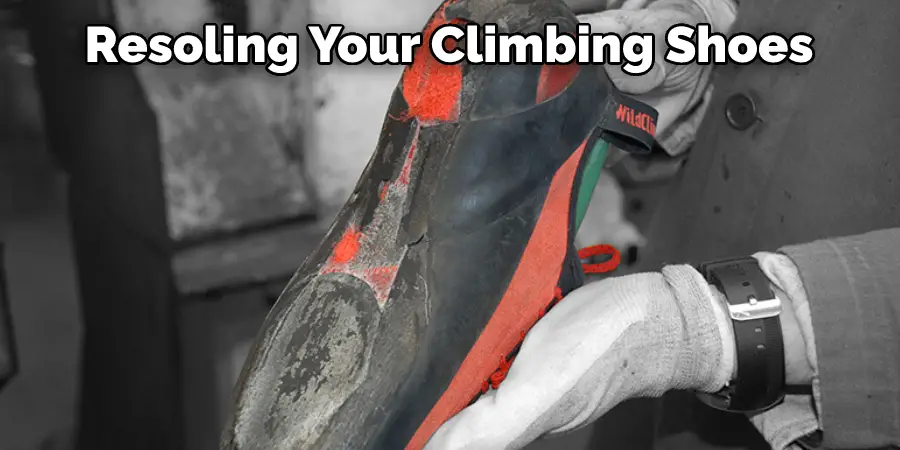
6 Easy Steps Guide on How to Resole Climbing Shoes
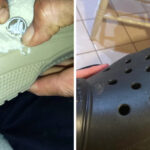
1. Remove the Old Sole
If you’ve been putting off replacing the worn-out sole on your climbing shoes, now is the time to finally get around to it! Starting the process can be done quickly and easily, beginning with removing the old sole.
This portion will involve a utility knife. You’ll want to cut along the edges of the sole before pulling it away from the shoe. Once that is complete, the shoe will be ready for further preparation and application of either a new rubber sole or adhesive patches.

Although it’s slightly intimidating at first, changing out a climbing shoe sole is simple once you know how to do it!
2. Trace Its Outline
After having your old sole removed and calculating the precise measurements, it’s time to begin cutting the replacement rubber sheet. Use a marker or pen to trace along the old sole’s outline onto your new rubber sheet.
Make sure to take note of any additional cutouts you may have had in the old sole, such as for shoelaces or design elements, then transfer them carefully onto the new sheet.
Use a utility knife to precisely follow your traced shape and cut out your new sole. With a bit of practice, it can be done with ease.
3. Sand the Edges
Sanding the edges of the new sole is a very important step when it comes to replacing your shoes’ soles. Doing so ensures a secure grip on both surfaces and allows for the shoe glue to achieve optimal adhesion. You want all of the surfaces to be as even, smooth, and clean as possible.
So you don’t encounter any bumps or slips when walking in them. Investing a few extra minutes in sanding down new soles can make all the difference in ensuring your shoes last for years to come.
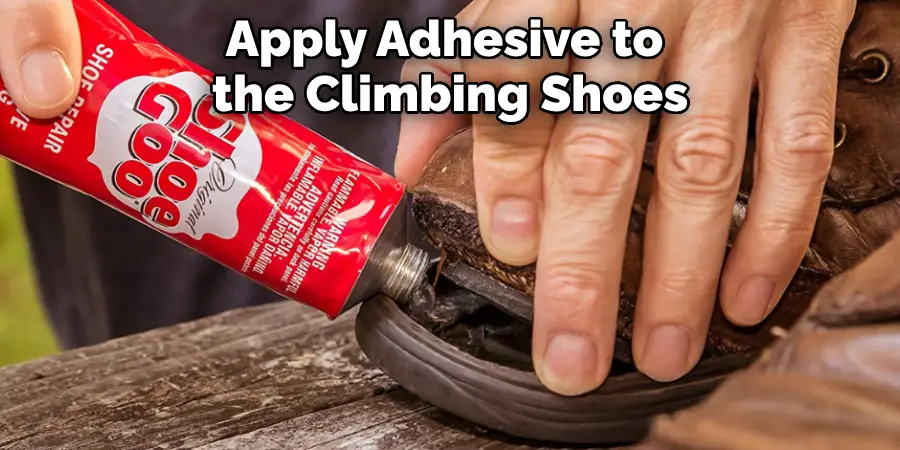
4. Apply a Generous Amount of Shoe Repair Glue
When applying shoe repair glue to your soles, use a generous amount. This ensures that the two surfaces (the edges of the old soles and the newly cut pieces) have properly adhered together. Doing this right is key to lasting results and added comfortability.
Be sure to spread the glue evenly across both surfaces until they are completely covered. Also, don’t forget – before applying any glue, make sure that you have cleaned up all dirt and debris from both surfaces as any particles left behind may weaken the strength of the adhesion once set.
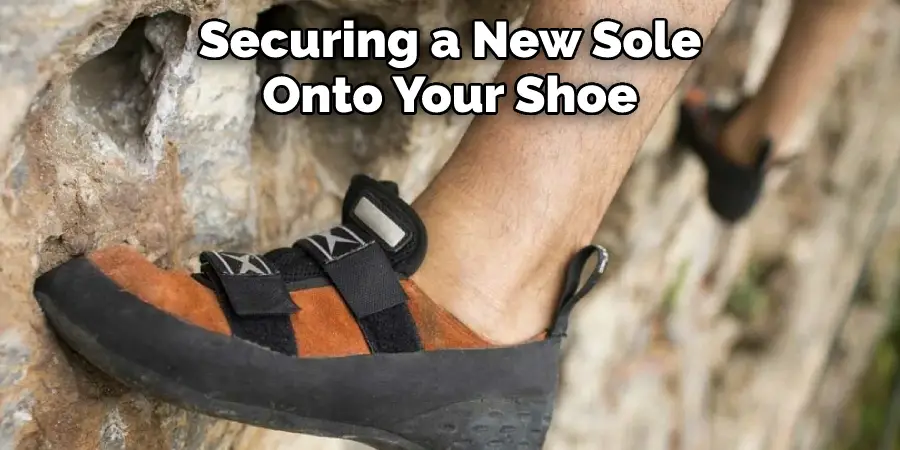
5. Place the New Sole Onto the Shoe
Securing a new sole onto your shoe can be a simple task if done correctly. To do this, ensure that the old sole has been removed and the area is clean and free of debris. Place the new sole onto the shoe in its correct position and press down firmly for at least one minute to ensure that it has bonded properly.
If you have access to an iron, use it on the lowest setting to apply more pressure while it adheres – however, do not leave it unattended as there is still a risk of fire or scorching. Once complete, take a look at your handiwork; with any luck, your shoes should be just like new!
6. Let Your Shoes Dry
Letting your climbing shoes dry overnight before you use them may seem like an extra step, but it can be incredibly important. A warm and dry place to leave them will give the glue a chance to set and achieve a strong bond between the rubber component of the sole and the shoe upper.
This guaranteed security will make sure that your feet stay safe as you traverse up and down rocks, allowing you to stay focused on climbing rather than worrying about the integrity of your shoes. To avoid any less-than-ideal sticky situations, make it a point to dry out those shoes!
7 Additional Tips for Resoling Climbing Shoes
1. One of the most important tips for resoling climbing shoes is to not wait too long. If you wait until the soles are completely worn down, it will be much more difficult to get a good grip on the new soles.
2. There are many different types of climbing shoe soles available on the market, so it is important to choose the right one for your needs. If you do a lot of bouldering, for example, you will want a sole that is thicker and more durable.
3. Before you begin resoling your shoes, it is important to clean them thoroughly. This will help to ensure that the new soles adhere properly and last longer.
4. Once your shoes are clean, you will need to remove the old soles. This can be done with a sharp knife or razor blade. Be careful not to cut yourself, and make sure to remove all of the old sole material from the shoes.
5. After the old soles have been removed, you will need to apply adhesive to the shoes. There are many different types of adhesives available. Be sure to choose one that is designed for use with climbing shoes.
6. Once the adhesive has been applied, you can attach the new soles. Start by aligning one edge of the new sole with the edge of the shoe, then press it into place.
7. After both shoes have been resoled, it is important to allow them time to dry completely before using them again. This usually takes 24-48 hours, depending on the type of adhesive that was used.
Frequently Asked Questions
How Much Does It Cost to Get Climbing Shoes Resoled?
If your trusty climbing shoes have started to wear thin and you can’t bear the thought of replacing them, there is an alternative – getting them professionally resoled. Resoling will cost a fraction of the price of buying new climbing shoes, but the amount that you pay can vary greatly depending on the cobbler that you choose.
Factors such as the construction material, type of sole, condition of the shoe, and location can all add to the cost of resoleing some shoe cost as little as $30 while others set you back almost $200. If you’re on a tight budget then it’s worth shopping around for a good deal.
What is the Best Adhesive to Use for Resoling Climbing Shoes?
When it comes to resoling your climbing shoes, selecting the right adhesive is essential. A high-quality adhesive should be able to stand the rigors of the rock wall and have superior flexibility to reduce any risk of cracking or breaking. Look for an adhesive that is specifically designed for outdoor equipment like outdoor shoes and hiking boots.
The best adhesives usually contain a combination of rubber, vinyl, and silicone which will provide superior adhesion capabilities and increase the lifespan of your shoe. Additionally, make sure to read any instructions on the packaging for further details on how to use it correctly.
Ultimately, taking the time to choose the best adhesive for resoling your climbing shoes can help you get more wear out of them in the long run!
Conclusion
If you find that your shoes are giving you trouble while you’re climbing, don’t despair. It might just be a matter of getting the right size shoe or breaking them in properly. You should carefully determine how to resole climbing shoes.
With a little effort, you can get your climbing shoes to work for you instead of against you. And who knows? Once you have the perfect pair of shoes, you might just find yourself scaling new heights.