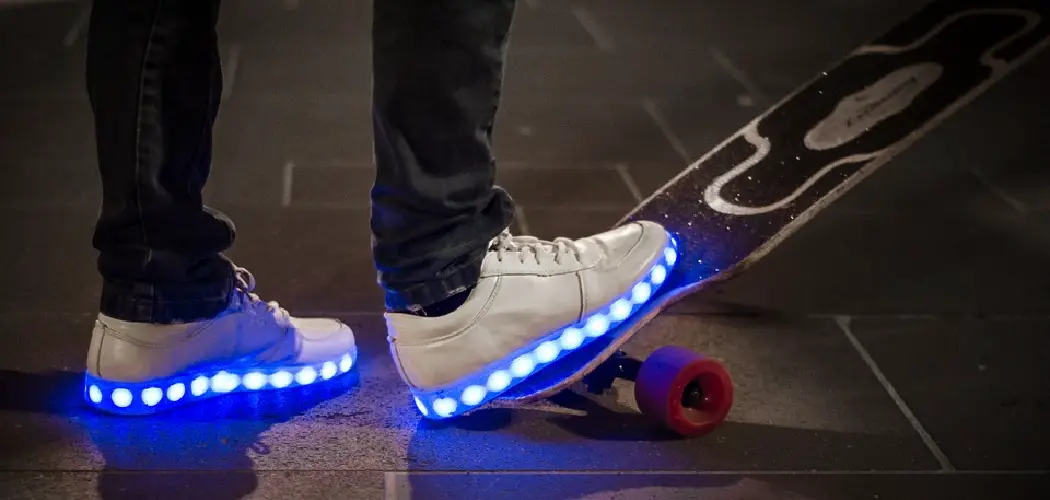
The shoes that light up are the popular trend now, and everyone seems to be wearing them. They come in all colors and styles, so it’s no wonder they’re such a hit. If you want to join in on the fun but don’t know how to charge light up shoes, don’t worry!
This article will show you how easy it is. Plus, once you know how to do it, you can keep your shoes charged and ready for any occasion. So read on to learn more! Charging light-up shoes is pretty straightforward. But some people don’t know how to do it.
A Step by Step Guide on How to Charge Light Up Shoes
Step 1: Prep Work
Before doing anything, gather the necessary materials, including:
- Light up shoes (obviously)
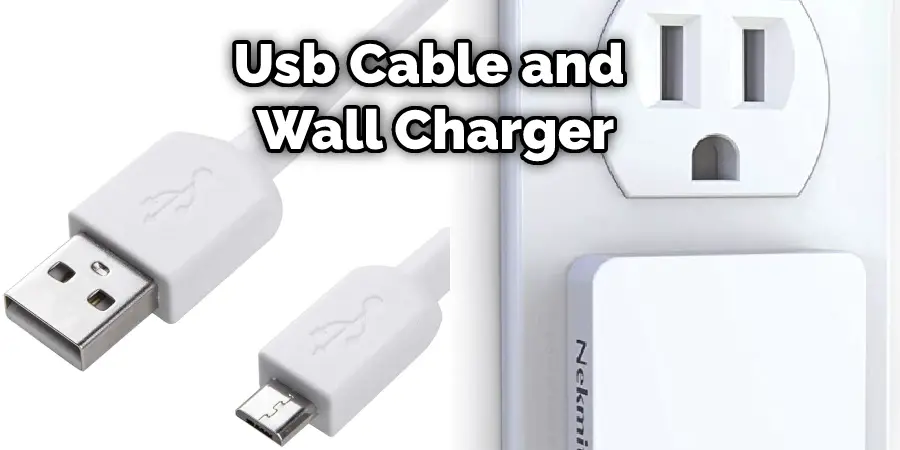
A USB cable will allow power to enter your shoe and charge it. If you do not have a USB cable, then get one from any computer or laptop that you can find.
Step 2: Connecting the Cables
Connect the USB cable to one of your shoe’s ports. After thoroughly analyzing your light-up shoes, you will realize that there are two holes on each shoe: one on the top and one underneath. The hole nearest to the front of the shoe is for input, so plug in your USB cable here.
Then connect a power adapter to allow electricity to flow from a wall outlet into your light-up shoes. If you don’t have an adapter, buy yourself an emergency charger or phone charger from any nearby electronics store.
Step 3: How It Works
After doing the necessary prep work, you will have two devices connected to your light-up shoes – a USB cable and a wall charger. When the shoe is placed in a dark environment, the lights inside will automatically turn on.
How it works is when you plug both devices into a power source, they will send electricity from an external energy source through your light-up shoes’ built-in circuits. The circuits are programmed with buttons that allow you to switch between various colors or change their brightness levels.
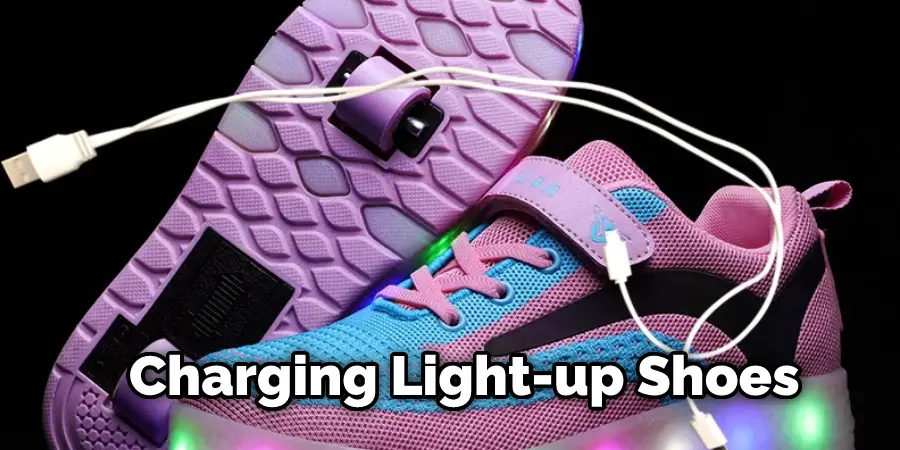
Step 4: Charging Your Shoes
Now that your USB is opening in the sole plug it into a USB-compatible computer or laptop and wait for about 3-5 hours until charging is complete. If you do not want to wait so long, you can buy an AC/DC power adapter online or at any electronics store. Also, there are rechargeable batteries, so if you get new ones, then make sure to charge them up before using them with your shoes.
It would help if you used these batteries because they will save you some money in the long run. Lastly, keep your cables organized by either rolling them together or just laying them out neatly where you can find them when need be.
Step 5: Putting Everything Back Together
After fully charging your shoe, it is time to put everything back together. After disconnecting the cables from your boots, connect them back into their respective openings, and your shoe’s lights should turn on almost immediately. Use a light source to ensure that the battery has been properly installed. If not, do what you did before or get a new one from where you got your other materials from.
Step 6: How to Use
To turn your light-up shoes on or off, all you have to do is press the button on top of each shoe. Pressing this button will switch the current color of the lights inside, allowing you to choose between four preset colors (red, green, blue, and white) and two brightness levels. Just releasing the button will turn the shoe off.
Another aspect of charging light-up shoes that people always ask about is how long they last before running out of battery power – depending on which brand you buy; some may last for up to 3 hours while others might only work for 1 hour or 45 minutes. If your light-up shoes run out of juice, plug both devices into a wall outlet or a power bank to recharge them.
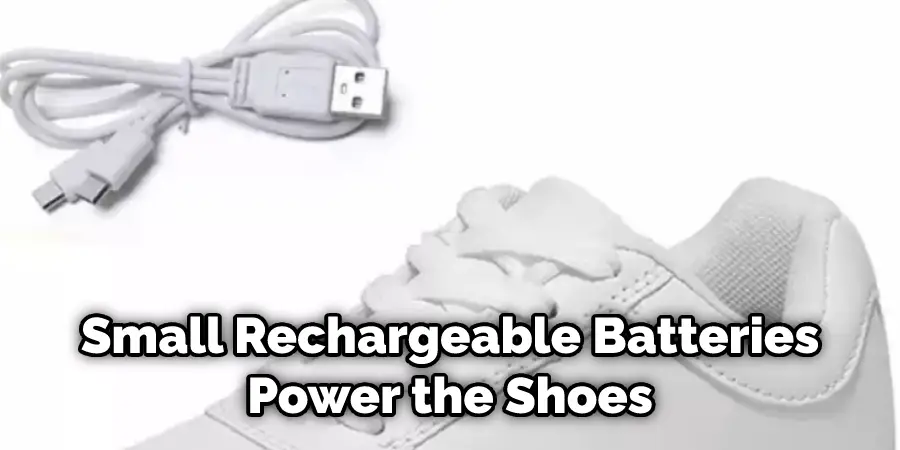
How Are Light Up Shoes Powered?
Small rechargeable batteries power the shoes. The heel of the shoes contains a light-up section which can be found under an access flap on the exterior. To charge your light-up shoes, you will need first to open this battery housing area, once inside remove the old batteries, and replace them with new AA alkaline 1.5v batteries. Ensure that they are securely fastened, then close the flap again.
It’s important not to wear your light-up shoes in wet conditions as this could damage them, but if it does get wet, we recommend you try and dry it out quickly before turning it off and on again.
After you have charged up your light-up shoes for approximately 3 hours, the LED lights will automatically turn on. The next time you would like to use your light-up shoes, make sure that you charge them up for another 3 hours before wearing them.
Most people who own a pair of these shoes find that they can quickly get through anywhere between 2 and 6 months of usage before they start to fade away or lose their brightness entirely.
Hence, it’s possible to keep recharging them repeatedly to ensure they remain in tip-top condition! If you’re using your L.U.S.T shoes for dancing or playing, you can quickly expect them to last around 1-2 months before they lose their shine.
The great thing about light-up shoes is that even when the batteries run out after two months of use, you can easily replace them with brand new ones, and your shoes will become as bright again as it was the first time you used them! If this sounds like something you’d be keen on owning, continue reading to learn more about the range of colors available in L.U.S.T lights.
Conclusion
Light-up shoes are lovely and flashy, but if they are not charged, they will not turn on. However, charging light-up shoes is surprisingly simple once you get the hang of them. All you need is some prep work, some cables, a power source, and some time to sit back while your shoe charges. We hope that our article was helpful for anyone who wants to know how to charge light up shoes!