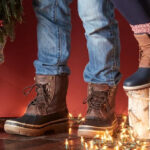
If your wading boots take up too much space in your closet and you have a hard time getting them to dry after each use. Try using some methods to help speed up the drying process. In this article, we will be discussing how to dry wading boots in the most efficient way possible. So, whether you are short on time or just want to make sure your boots are ready for your next fishing trip, read on for some helpful tips!
Many anglers struggle when it comes to getting their wading boots dry. Anglers often find themselves in a tough predicament, whether they are taking too long to dry or just not drying at all. There are many different tricks you can use to help ensure that your wading boots won’t take days to dry out after each fishing trip properly.
Things You’ll Need
- Large pan
- Paddle or spoon
- Drying rack
- Newspaper/drying towels
- Scissors
- Fabric Softener Sheet
- Drying Rack
- Shampoo!
A Stepwise Guide on How to Dry Wading Boots
Step 1: Determine How to Best Cut the Fabric
The first step toward drying your wading boots is to determine how best to cut open the boot. How you do this will depend upon whether or not your waders are made of Gore-Tex, Nylon, Neoprene, Rubber, or Cloth. For plastic boots that are glued together rather than sewn, you can simply use a pair of scissors to carefully cut them open at the top of the However, nott.
Not all models may be able to be cut in, however. If you’re unsure about which method is right for you before you get started cutting away, try placing your hand inside the boot and feel for any resistance while moving your fingers around–if there is resistance at any point along with the interior of the boot, then it is probably sewn together and not glued.
If that proves true, then you can carefully cut a line down the boot’s exterior with a pair of scissors, being careful to avoid any area where a seam actually exists. This might be a little difficult with some models, but you should be able to do it without breaking or harming your waders in any way.
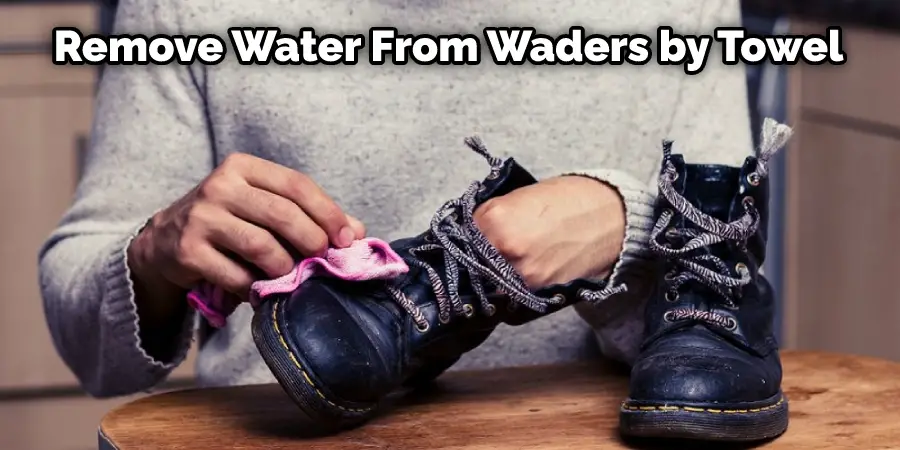
Step 2: Pour Water From Waders
Once you’ve cut the top of your wading boot off, allow any water inside to pour out onto a towel. Once it’s all emptied, cover the hole in the rubber with your hand and roll up the rest of your wader. If they’re wet on the outside, you can lay them down flat on their side so that any additional water can come out of them.
With just one pair of hands, it may be challenging to do this by yourself–especially if you’re taller than average–but once done, place your newly rolled-up waders into a large pan with high sides or a large baking dish. Be aware, however, that smaller boots will not be able to hold all of the water that more giant boots can. So stand on them and press down to get any remaining water out if you need to.
Step 3: Add Shampoo or Fabric Softener Sheet
You’ll need to add a small amount of fabric softener or shampoo to your waders (or boots) to help remove and eliminate the odors and bacteria lingering inside. How much you should use will depend upon how many boots you’re trying to clean. If you only have one pair, then pour enough shampoo into them that it reaches about mid-shaft–if they’re wet on the outside, make sure not to overfill them with liquid.
However, if you have more than one pair, measure out 1/2 cup of either shampoo or fabric softener sheet per boot and mix it all until it’s thoroughly blended. Then, pour in a small amount at a time, stirring it constantly with a paddle or spoon until everything is mixed together.
Step 4: Prepare Drying Rack
Though not an absolute necessity, having a drying rack for your wading boots makes the entire process that much easier and simpler to manage. How big the rack needs to be will depend upon how many boots you have–if you have just one pair, then any size will work fine. However, if you have more than one pair of boots to clean, consider making or buying an enormous rack so they can all dry side-by-side without being crowded together.
If you have a drying rack, place it on a stable work surface and be sure that there’s plenty of room surrounding it so you can access each boot as it dries.
Step 5: Place Waders on Rack
When placing your boots on the drying rack, first begin with the outside of the left wader, followed by the inside of the right wader–do this from both sides. If done correctly, you should now have a pair of boots with an “X” through them to hold them up properly.
How high or low you set your boots will depend on their owner’s height. Short-legged people might need their boots hung higher than tall folks who don’t mind having theirs dangle from a lower height. Since you’ll be putting two boots in one drying rack, the top of both waders must be touching when hanging from rack support or hook.
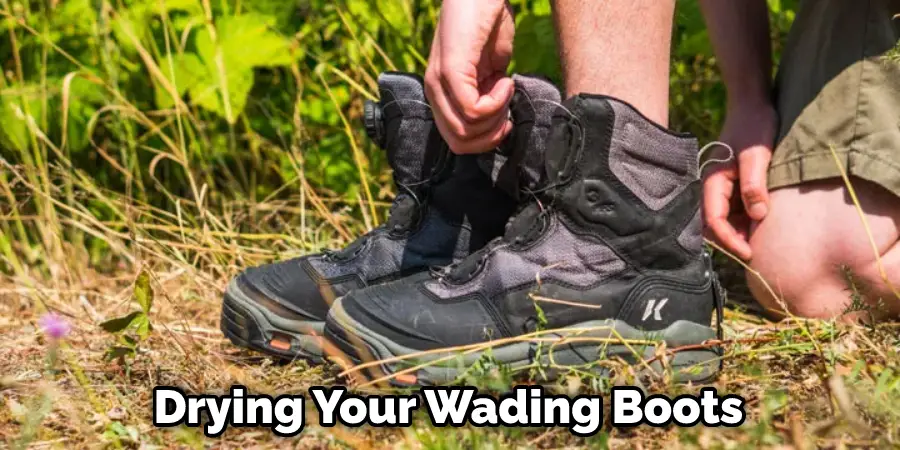
Step 6: Wait for Boots to Dry
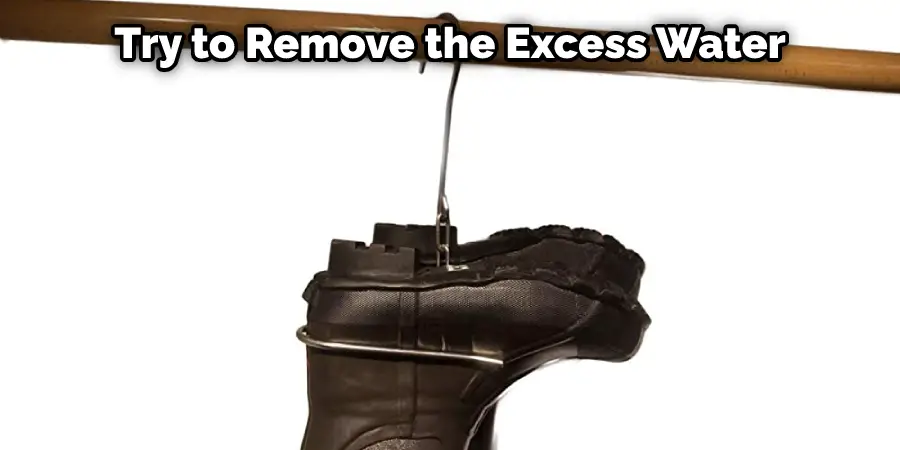
Place your boots inside an open area where they will receive plenty of ventilation but not be walked on. How long it takes for them to dry depends upon the materials used in their construction–some waders are made from neoprene fabrics that are fast-drying while others may take a bit more time. Be sure to check the boots every hour or so until you’re satisfied with their dryness level. If any areas remain wet, try to remove the excess water by pressing down on it with a towel.
Consider putting the waders into direct sunlight during warmer weather or using a commercial fan specifically designed for this purpose for faster drying times. How long it takes will depend on how wet the boots were when removed from the water, but it shouldn’t take more than a few hours before they’re scorched.
Step 7: Place Boots on Floor and Store Wet Waders
Once your boots are dry, remove them from the drying rack and lay them flat on a floor or other work surface. You should place them down to rest with the wet side of each boot facing up so any excess water can drain out onto the ground instead of pooling inside. Once they’ve had time to drain, you should flip over both waders, so their outside surfaces are facing downward–be sure not to do this step until after they’ve been placed on a clean and stable floor!
Now that your wading boots have had ample time to dry, it’s finally safe to put them away for future use. How you want to store your boots is entirely up to you–some people prefer to keep them inside cloth bags while others store them in plastic containers. How you plan to use your waders again should influence the type of “home” you give them, along with how often you will be using them and other factors.
It would help to place unscented talcum powder into each boot before storage to ensure further they don’t get damp during transit or while being handled by other people. How much talcum powder you’ll need depends upon the size of each boot, though its safe bet is about 1/2 cup for a single pair. Be sure not to overdo it, though–too much powder can cause skin irritation, so only use what’s necessary!
Once your boots have been rubbed down with the powder, loosely stuff them with paper towels or other dry materials to help absorb any remaining moisture. How much you put into each boot will again depend upon their size, but try not to go overboard–at this point, your goal is to keep them from getting waterlogged while in storage.
Step 8: Place Boots Back in Wader Bag
When storing your boots for future use or long periods, they must be placed inside a bag or container explicitly made for waders. How well these bags are sealed against outside moisture and other contaminants will determine if your waders can last longer than one season–be sure never to store boots without checking the tags on the bag first!
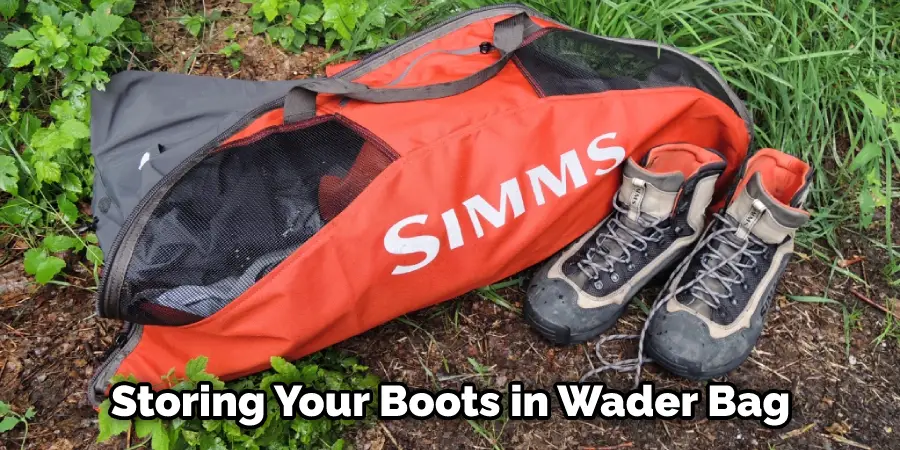
According to the experts at the Orvis Company, one of the best ways to repel water from wader bags is by using a scented spray such as those made specifically for hunting clothing. How you apply it will depend upon its type and user preference, but remember that less is more when it comes to how much you use–overdo it, and your boots may smell like chemicals rather than neoprene! These steps will help in how to dry wading boots.
Conclusion
The final and most crucial step in the drying process is applying a waterproofing agent. This will help seal any leaks that may have formed while your boots were underwater. It’s also good to use an insulating spray on these areas after you dry them off.
If any other parts of the boot need attention or repair (such as seams loosened by water), now would be the time to take care of it before storing it away for winter. After all this hard work, pat yourself on the back because you successfully dried out wading boots! We hope you have learned how to dry wading boots