You know that moment when you get a new pair of shoes, and the first thing you do is walk around in them to make sure they’re comfortable. You also know that feeling when your feet are killing you because the shoe doesn’t fit right or it’s too tight. What if I told you there was a solution to this problem. Well, there is! And here’s how.
This blog post will tell you what Shoe Goo is, why it can help with your new shoes, and how to use it. Then, read on for more details about how to make Shoe Goo dry faster, so your feet feel better!
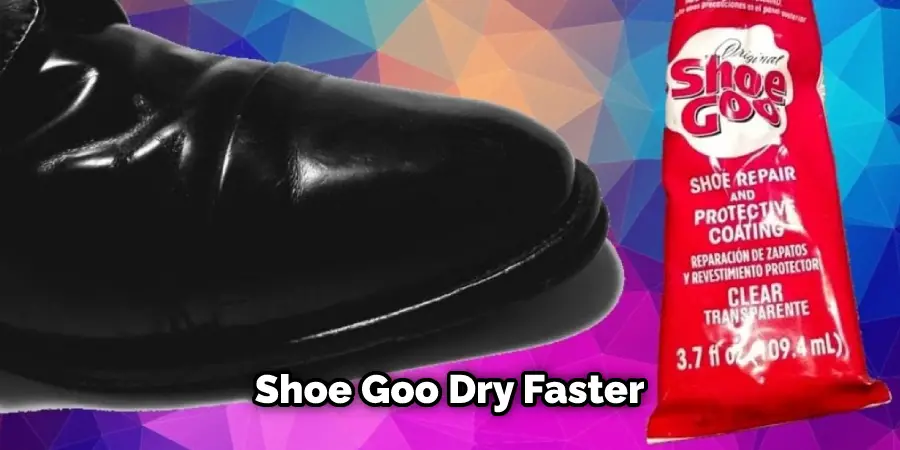
Things You’ll Need
- Shoe Goo
- Lighter
- Paintbrush
- Newspaper
- Fan
A Step by Step Guide on How to Make Shoe Goo Dry Faster
Step 1: Prepare the Surface
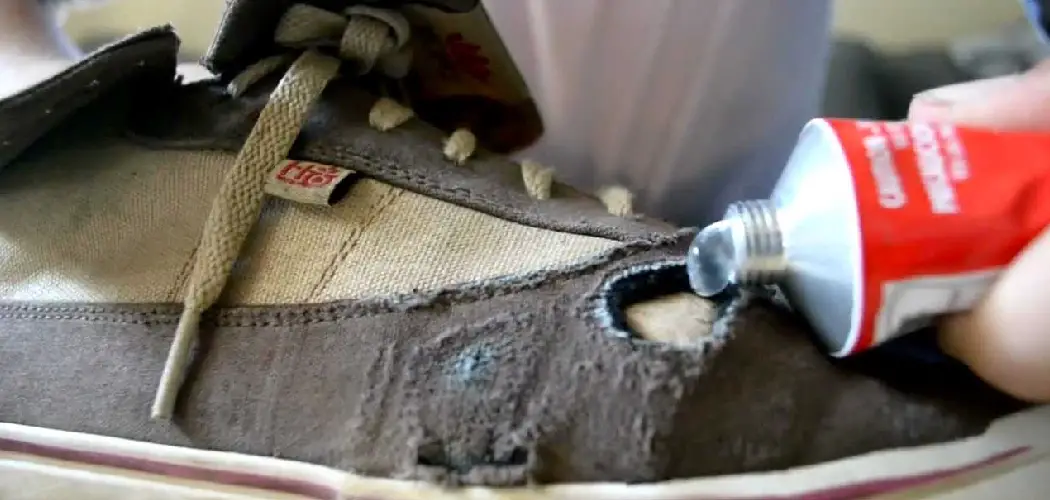
Before preparing for a faster drying time, make sure you have all the ingredients needed on hand and a clean work surface. You’ll want a smooth flat surface free from dirt, dust, and debris that could fall into the mixture while mixing or be transferred onto the finished product later on. Mixing bowls should be large enough to hold the entire mix without over, if possible. Next, take the cap off of the Shoe Goo and puncture the foil seal with the sharp end. Then, mix the Shoe Goo with the paintbrush until it is an even color.
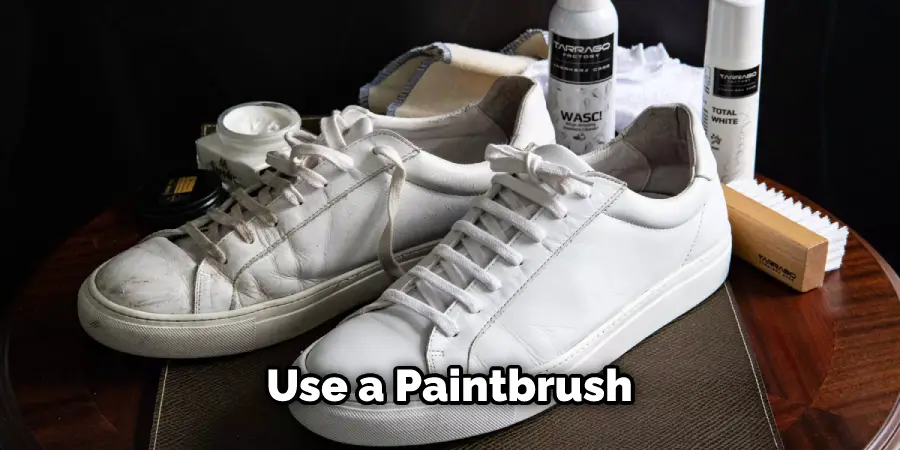
Step 2: Use a Paintbrush
Use a paintbrush to apply a very thin layer of Shoe Goo onto your desired surface. If you want to attach something that’s been broken back together, apply the thin layer of shoe goo on both surfaces where you’re going to be connecting them. If you’re using wood as your base material and sanded adequately, this step will not be necessary since there should already be a clean surface before applying the shoe goo itself.
Step 3: Check
Look for any bubbles in your first thin coat of shoe goo once applied evenly on whatever object you are repairing. Bubbles will cause the Shoe Goo not to adhere correctly and can also be a potential point of failure. If you find bubbles, use a lighter to carefully pop them (make sure there’s no one around when doing this).
Step 4: Let the Thin Coat Dry
Now it’s time to let the thin coat of Shoe Goo dry. This usually takes around 1-2 hours, but this can vary depending on your environment’s humidity and temperature levels. You can do other things like working on another project or taking a break during this time. Just make sure the surface you are working on is not disturbed. This step is vital in how to make shoe goo dry faster.
Step 5: Apply a Second Thin Coat of Shoe Goo
After the first thin coat has dried, apply another one using the same method as before. This will add extra strength and protection to whatever you repair or attach. Allow this coat to dry entirely, too (usually 1-2 hours).
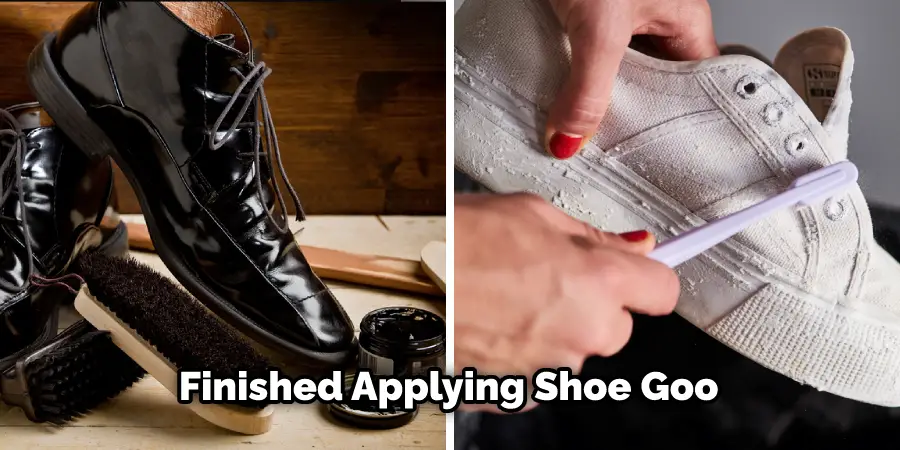
Step 6: Apply a Thick Coat of Shoe Goo
This step is to apply a thick coat of Shoe Goo. This will give the best protection and usually dries within 24 hours. Make sure you cover any repaired or attached areas with the thin coats of Shoe Goo. Let it dry completely before using the object again.
Step 7: Clean the Cap for Storage
Once you have finished applying the shoe goo and it has dried completely, clean the tip of the cap with a paper towel. Ensure there is no Shoe Goo residue left on it before putting it on the lid again. If you don’t clean this using solvent, you may not be able to open up your jar ever again because once dried; shoe goo can be tough to remove!
Step 8: How to Use Shoe Goo Again
When you need to use more of the shoe goo in the future (maybe for another project), make sure that everything has been cleaned off properly and there’s no dust stuck underneath or around it. Make sure whatever surface has been bonded is clean and dry, too. Then, follow Step 1-7 again, and you’re good to go! These steps will help in how to make shoe goo dry faster.
You Can Check It Out to Why Does My Cat Lay on My Shoes
Tips and Warnings
Tips
- Apply a hairdryer to the Goo while it is still wet. You can also use a heat gun on a low setting if you have one.
- Place the Goo in an area that will get direct sunlight. The UV rays from the sun will help to dry it faster.
- If you are in a hurry, you can place the Goo in the freezer. It will take a little longer to dry, but it will work.
- If you have an oven with a low setting, you can place the Goo in there to help it dry faster. Just keep an eye on it, so it doesn’t overheat.
If all else fails, you can purchase a “Fast Drying Shoe Goo” product. This will help speed up the drying process.
Warnings
- Do not place the Goo in the oven if you are using one store-bought variety. You will ruin it!
- Do NOT use a high setting on your hairdryer. It may damage your Goo.
- Be very careful with applying heat to your Goo. It will be ruined and unusable for future projects if you overheat it.
How Do You Make Shoe Goo Dry Faster?
Shoe Goo is a brand name contact cement or sealer used to attach rubber soles and heels to leather, canvas, vinyl shoes. The product comes in an aerosol can. This product creates powerful bonds that are water-resistant once it has dried, which takes about 20 minutes.
The manufacturer’s instructions vary slightly, but all require cleaning the surfaces, degreasing with acetone, putting on gloves, and masking off any areas not being glued together with masking tape before applying Shoe Goo glue. How Long Does It Take For Shoe Goo To Dry? Once used, let dry for 30 minutes before wearing your shoes again to allow the solvent fumes to dissipate from the surface.
Frequently Asked Questions
What Is Better: Regular or Heavy-duty Shoe Polish for Making Shoe Goo?
Regular shoe polish is better than heavy-duty for making shoe goo. Heavy-duty contains more oil, making it take longer to dry, so your foot can stick to the dried goo. Regular will harden faster and not allow your foot to stick as much.
But, if you are using the goo to fix something broken, then heavy-duty might be a better choice because it will be more durable.
Which Type of Shoes Should I Use When Making My Shoegoo?
The best type of shoes are sneakers or work boots. Shoes with rubber soles are the best for this project because they allow you to get a nice, clean edge when cutting and trimming. You also want to use a shoe that has soles at least 1/4 inch thick so it can endure prying and pull. Also, try and find a shoe made of leather, vinyl, or some other waterproof material. An excellent place to find these shoes is in thrift or second-hand stores, such as Goodwill or Salvation Army.
Is There a Faster Way to Make Shoe Goo?
When it comes to repairing shoes with Shoe Goo, the faster, the better, this is because the adhesive dries quicker, making the repair more durable.
Yes! There are a few ways that you can do this. One way is to use a hairdryer. While this may seem like an obvious solution, many people forget about it. Another way is to use a fan. If you have one available, placing it next to the shoe you are repairing with Shoe Goo can help speed up the drying process. Finally, you can also try using a heat gun. If you have access to one of these tools, using it on the Shoe Goo can help it to dry much more quickly.
Using one of these methods can help speed up the drying process and get your shoes back to normal as quickly as possible.
What Are the Benefits of Using Shoe Goo?
Shoe Goo is an adhesive that is used to seal and repair shoes. It can also be used to fix tears and rips in clothing. Shoe Goo dries clear, so it will not show on most fabrics. It is also waterproof to repair rain boots or other water-resistant items. Shoe Goo is available in a tube or a pen-style applicator.

Conclusion
I hope you have gone through the article on how to make shoe goo dry faster. Get the most out of your shoe goo with these quick tricks. The best thing you can do is to apply a thin coat and allow it to dry before applying another layer, if necessary. If you need a thicker coating for more protection or weatherproofing, use a brush or roller instead of dipping your fingers in the jar!
Keep an eye on how long it takes for each application to dry as well- this will help you know when it’s time to move on from one step in order not to waste any product. Don’t worry about leaving some moisture at the end either- that’s what makes Shoe Goo so great! In general, You should be able to walk around comfortably after two hours but plan by adding several extra hours to your schedule before wearing the shoes again.
You can Also Check It Out To How to Keep Feet Dry in Work Boots