A broken high heel can be a devastating experience for any shoe lover. It is hard to find the right shoes that are comfortable and stylish, so when you do finally find one, it is important not to let them go too quickly.
The heels on your perfect pair of shoes don’t need to be vertical all the time; they just need to offer enough stability than walking in them doesn’t feel like trying to balance on ice skates. We understand your pain and will happily share our expertise so that you know how to fix a broken high heel.

How to Fix a Broken High Heel?
Try this simple and inexpensive technique to fix your high heels. All you need is a candle, some sandpaper or emery board, liquid nail polish remover (nail polish remover), cooking oil/vegetable oil, an old toothbrush and the broken heel of your shoe.
Step One:
Put on oven mitts- it might get a little messy! Heat up the front edge of one side of the heel with the lit end of the candle until melted plastic starts coming off into a bubbly mess. Try not to let ashes from the heated land in your shoes because they will leave black marks on them when they cool down again; alternatively, use small pieces of sandpaper if you don’t have access to a candle.
Step Two:
After the edge of your heel has cooled down and hardened, use the old toothbrush to scrub at it with some cooking oil or vegetable oil so that any plastic left from melted edges can be removed easily. The heat will also help soften up any dried glue residue on this part as well- if you have black marks here, they should disappear now too!
Don’t forget to get under those little indentations where toes are supposed to go in for bonus points (some people might call these “stitches”).
Step Three:
Now take a look inside- is there anything still sticking out? If so grab that sandpaper again and do some more scraping until everything is gone. One last step is to brush off the metal dust and excess oil from your heel with a cloth or paper towel.
Now the most important part apply the adhesive/glue to the shoe and to the heel, then let it air dry for about 5-10 minutes and then press them together carefully. If it’s done properly, take some rubbers or strings and tie them up and leave them for a day so they can a proper form like brand new shoes.
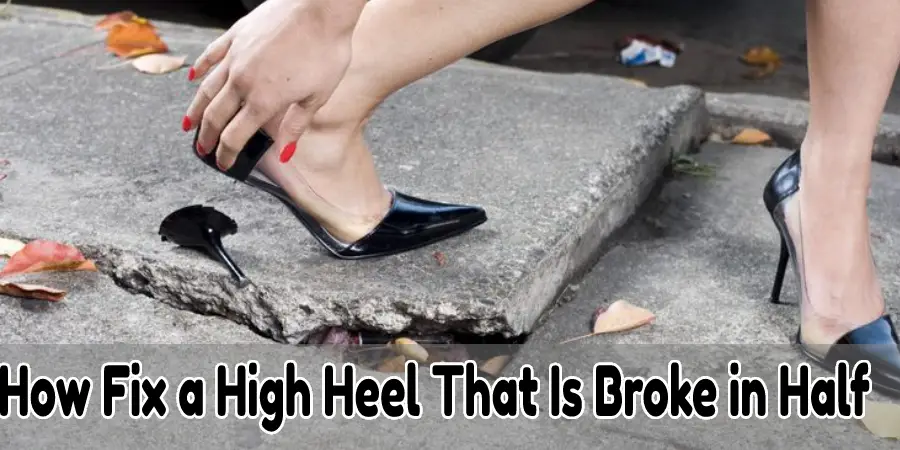
How Fix a High Heel That Is Broke in Half?
Step One:
Take a look at the heel and decide if you want to fix it or just throw out your shoes. If you do not mind cutting up some leather, then proceed to step two.
If there are any metal pieces sticking out, scrape them off with sandpaper as much as possible without scraping away too much of the heeling material. Make sure that all of the glue has been scraped off from inside the shoe so that no adhesive is left behind on either part before continuing; this will ensure that everything stays in place once glued together again.
Second Step:
Brush any excess dust particles off both parts of the broken high heel (heels) using a dry cloth or paper towel – be careful because doing this may loosen the glue that has already been applied.
Third Step:
Apply a small amount of adhesive onto the edge, inside, and outside parts of each end of the heel (heels) using a toothpick or other similar object. Be sure to get all three areas before proceeding on to step four – this will keep them from breaking again in the future!
Fourth Step:
Gently place both pieces back together without forcing anything; if you can’t put it back together because some part is missing, then skip one shoe until you find another piece with a matching size and shape.
Surrounding any newly attached edges with an extra layer or two should be enough for most applications but additional layers may also be necessary depending on how much was removed during initial repairs. Gently place both pieces back. If the above steps fail, you can always buy those heels matching both of your shoes and put them as we have shown above. This will often save you precious time.
You Can Check It Out to Stop Shoes Rubbing the Back of Your Heel
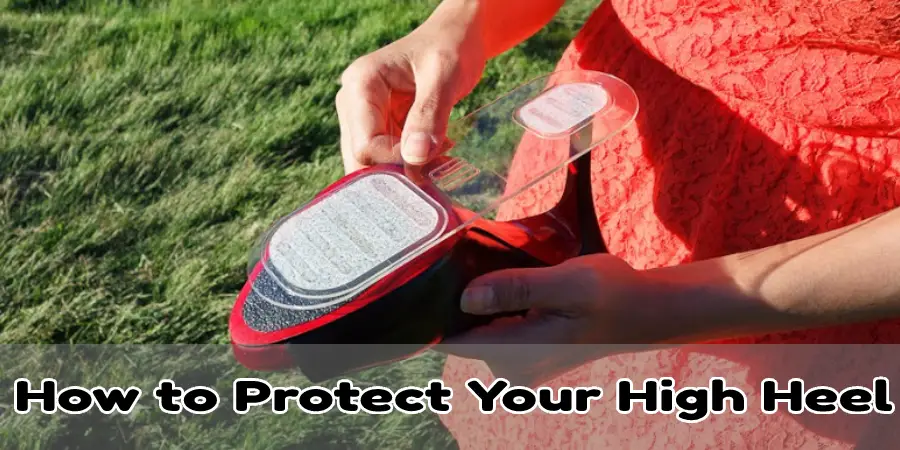
How to Protect Your High Heel Shoes?
There are various ways to protect your high heels shoes. One of the most effective methods is by using a shoe tree, which helps to maintain their shape and keep them from developing odors. You can also use shoe inserts that reduce pressure on certain points in order to prevent pain or numbness in the feet, as well as heel guards that act like mini-cushions so the sole doesn’t rub against the ground and risk damage.
Lastly, you should always store your high heel shoes with tights or socks inside instead of just throwing them back into an open closet where dust will accumulate over time.
Frequently Asked Questions:
Which Is Better, Fixing the Shoe or Throwing It Away?
If you’re going to fix a broken high heel shoe, it’s best not to throw the shoes away. Your cobbler can replace the part of your shoe that is broken and then sell them for more money since they are one-of-a-kind.
If you break your shoes often, though, throwing them out may be better than constantly fixing them because many times, when heels get repaired too much or replaced with new ones, they eventually crack again anyways.
The only time repairs might not work if there has been severe damage done due to misuse or neglect (i.e., cutting off toes) but this also depends on how skilled the person doing the repair is as well as what type of material was used in place of the material that was cut off.
But in general, if you break your high heel and it’s not too bad of a crack or it doesn’t extend to the other side of the shoe where there is no more heel left, then repairs will work for a while before they need fixing again with new heels as needed.
Does This Mean That You Would End Up Spending More Money in the Long Run if You Opt to Get a New Pair of Heels?
The upside of getting a new pair is that you don’t have to worry about the heel being broken or bent and it will look nicer. The downside of buying new heels, if they are not cheaper than what you would spend on repairs over time, is that eventually your other shoes may start looking worse because they won’t be in such good shape anymore due to wearing them more often in order to wear your high-heeled shoeless frequently.
If this does happen then all of your shoes could end up needing replacing which means spending even more money on something else unless you want everything to match (which some people do). This way of thinking also assumes that there has been no economic downturn since when deciding between repairing older heels instead of purchasing newer ones.

Would You Recommend Buying an Expensive High-heel Than Risking Ruining Your Shoes With This Diy Hack?
No, I wouldn’t recommend it. With some slight adjustments to the shoe, you can fix it without needing an expensive fix that may end up not working anyway because of a lack of skill or knowledge. There are also plenty of shoes on sale right now which will work for almost any occasion, so there’s no need to purchase something more pricey just in case your high-heels did break and then get ruined by this simple DIY hack.
The best solution is not always the most costly one but rather finding what works for you and your needs at a price point where you won’t feel guilty about spending money on something like new heels when they do break down with time, as all things eventually do. The mindset behind repairing old heels instead of investing in new ones is a way to keep costs down and save money until you find something that works for your personal needs.
Conclusion
Today we learned how to fix a broken high heel, and having the right tools on hand is key. If you have any other questions or comments about our blog post today, leave them in the comment section below!