Cracked Rainbow Sandals can be frustrating, but they don’t have to stay that way. This article will show you how to fix cracked rainbow sandals quickly and easily. With just a few supplies and a little time, your sandals will be as good as new! So grab your supplies, and let’s get started!
Rainbow sandals are genuinely unique and beautiful pieces of art. However, they’re also quite fragile. Due to how these sandals are made, cracks can quickly develop in them over time. It may seem like fixing Rainbow Sandals would require a high degree of skill, but all you need are a few simple supplies and tools.
Things You’ll Need
- Filler of your choice
- Sandpaper or a nail file
- Spatula, butter knife, or something similar for smoothing filler under straps
A Stepwise Guide on How to Fix Cracked Rainbow Sandals
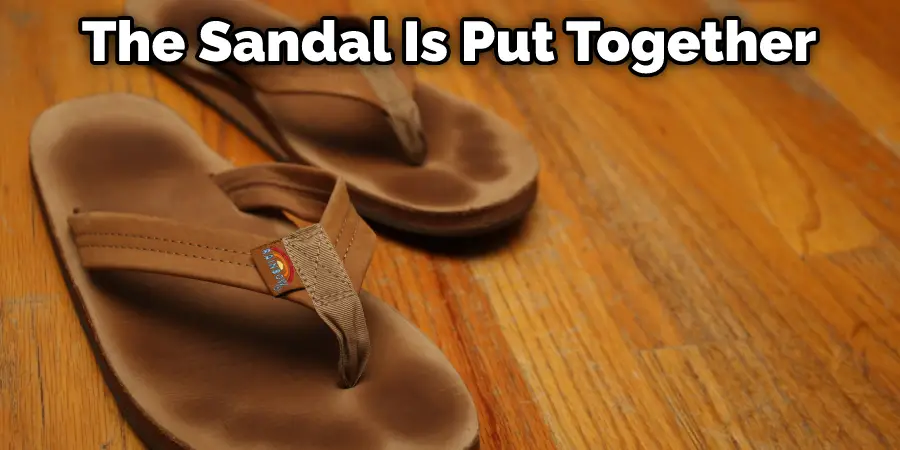
Step 1: Determine How the Sandal is Put Together
The first step in fixing cracked rainbow sandals is determining how they are put together. How the sandals are constructed will decide what materials you need and what order you should use them.
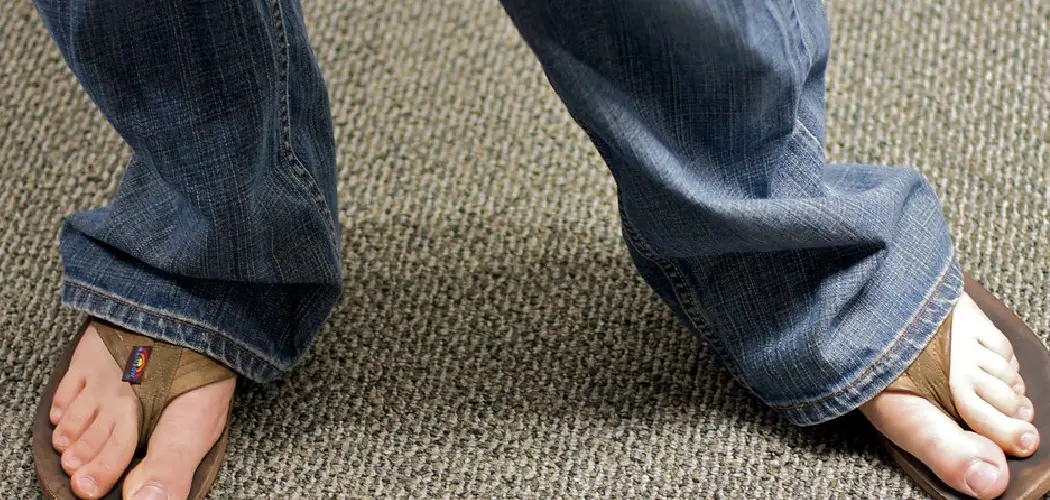
If your sandals have a platform under the ball of your foot:
First, find where the straps attach to the shoe and remove any glue or staples that may still hold these pieces together. You can then take off any parts that do not seem necessary for repairing, such as buckles on glittery shoes or embellishments on shoes with Velcro closures. Once this has been done, return all removed pieces to their original position inside your footwear, making sure everything fits securely.
Next, check whether or not you have anything stuck between the ball of your foot and the platform. If there is a piece stuck, gently remove it from underneath your shoe, careful not to rip any fabric. Depending on how deeply it is embedded into your shoe, you may need something small and sharp to get under the strap, but try to use as little force as possible to avoid further damaging your footwear.
If there is no piece stuck underneath the ball of your foot:
First, loosen up all of the straps by sticking a long metal object such as a screwdriver or spatula underneath each one and moving it around until they become looser. Once this has been done, put some paper inside where each strap will sit before you begin to reattach them to the part of the shoe above your foot.
This will prevent any paint or dye from staining your skin when you remove each strap, making putting the straps back on a lot easier.
Before you reattach the straps, smooth out wrinkles in both layers of fabric using a wet rag—be sure not to get water over any hardware if there is any. Once the wrinkles have been removed, take off all of the loosened straps and set them aside for later. It will help if you put anything stuck between your shoe and platform before stitching up any holes with thread and needle.
Step 2: Surface Cleaning
After determining how the sandals are put together, you should clean both sides of your footwear before making any repairs. This will make sure that there is no debris in your thread when you sew back up any holes, and it will also give you a better idea of where to fill anything worn away.
First, wipe down both sides using a wet rag or sponge, whichever has the least amount of residue on it. Once this has been done, wait for about fifteen minutes for any remaining water to evaporate because if there is too much moisture in your shoes when you apply filler, they may become deformed (most kinds of stuffing need time to dry).
If all surfaces are still damp after fifteen minutes, let them sit longer—be sure to check often, so you don’t let them dry out.
Step 3: Fixing the Front of the Sandal
After cleaning both sides, you should focus on repairing any worn areas in the front of your footwear where there is a gap between the ball of your foot and the platform. Before applying anything to this area, remove any hardware that might slide around because filler will lock it into place when it dries.
If, after removing everything, there are still deep cracks or holes, you may need to move on to another step before continuing. If not, however, continue with the following steps:
First, mix whatever filler you have chosen until it reaches a smooth consistency. You can then apply this mixture into all parts of your sandal, wearing away, so avoid getting any on fabric or hardware.
Use a toothpick—or even your fingers if you don’t have anything else—to push filler underneath neat rows of stitching. If there is one large hole where there used to be two or more small holes, cover it with enough filler, so it becomes flush with the rest of the shoe’s surface.
Step 4: Reinforcing Those Busted Straps
After filling in any holes and cracks, you should reinforce straps that broke by stitching small pieces of leather to the underside where they connect with a metal ring or a part of a sandal holding up.
How you place these patches will depend on how broken your sandals are because strapless sandals have straps in different places than sandals with straps up the back of your heel and ankle—so keep this in mind when choosing where to put them.
First, decide which areas need reinforcing, then cut out slightly smaller pieces than the holes left by missing fabric. You should use any piece of leather leftover from your filler mixture for this, but if not, you can also try cutting sleeves from socks or using strips from old T-shirts. However, if raw denim fabric is all you have, you may need to first cut it into smaller pieces for better molding.

Once you have these strips, place them where there are holes or long cracks on the underside of your sandal, with the rough side of the fabric facing up and towards the front of your footwear. Next, use a thin strip of cloth—or even more leftover leather from previous steps—to wrap around both sides of each strip to hold it in place, then finish by stitching down any areas worn away.
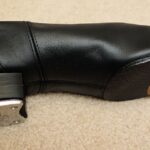
Step 5: Fix Cracks in the Bottom of Your Shoes
Cracks on the bottom of your shoes are common because these surfaces come into contact with rough or sharp terrain so that you can cover them up a couple of ways. The first option is to use leather filler because it will mix well with the existing surface material, making it less visible when applied over the top—however, this method can look unrealistic if your sandals have worn away large portions around the crack.
The second way would be to take off all hardware then use spray paint that closely matches your footwear color. If you choose this option, make sure you apply several coats over broken areas before letting them dry entirely because thinner layers might wear through quickly. How you paint cracks depends on where they appear, so choose the easiest way to cover these areas for best results.
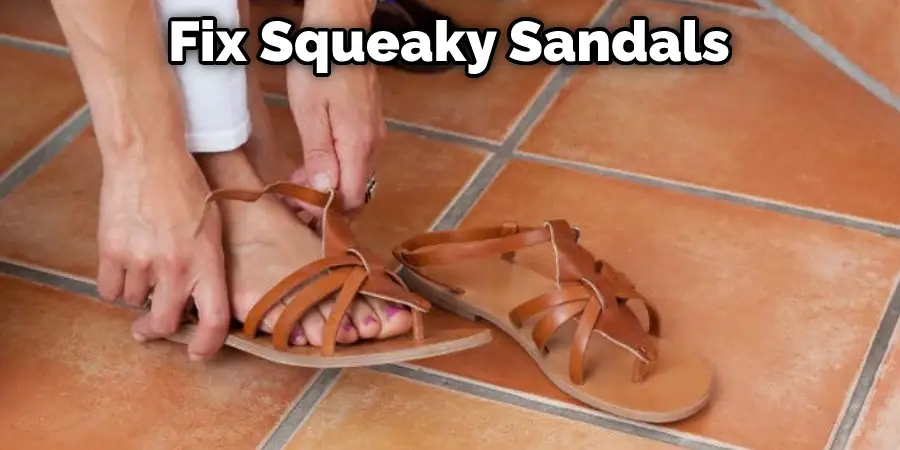
Step 6: Fix Squeaky Sandals
If there is a place inside your footwear that constantly squeaks while you walk, it’s usually because the interior padding has worn away and is hitting some piece of hardware or another surface. A quick fix would be to buy new replacement padding and either cut it down to size yourself or stretch it around the whole area.
If, however you cannot find new replacement padding—or can’t get it into place even with effort—there are still ways that will do the trick without any extra materials. use some double-sided tape (the kind that doesn’t leave residue), then hold it in place with a strip of cloth until it doesn’t move anymore.
How you place the tape will depend on how your sandal is made, but usually, this material adheres well to exposed edges or even inside between exposed fabric and plastic parts. These steps will help in how to fix cracked rainbow sandals.
Once you have finished any of these steps, make sure to test your shoes again by moving around as usual because if there are visible cracks or squeaks when you walk, they may still be weak in places.
Because wearables like sandals don’t last long enough for repairs to matter, most people who do go through these extra efforts usually enjoy them simply for their own sake; so if your footwear looks better now than when you first bought them, then take that as a bonus!
Conclusion
Although it can be a hassle to find a way to fix cracked Rainbow Sandals, it is definitely worth the effort. With just a few simple supplies and some know-how, you can have your sandals looking as good as new in no time. So don’t throw them out – fix them up and enjoy wearing them all summer long! We hope you have learned how to fix cracked rainbow sandals.