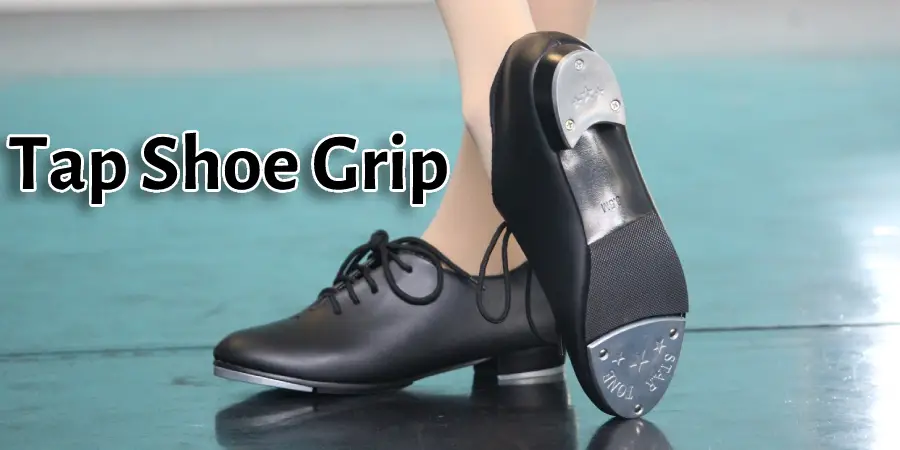
It’s important to grip the tap shoes to dance on them. The grips are made of rubber and help you get a good hold on the shoe so that it doesn’t slip out from under your foot when you’re dancing. But, some people don’t understand how important it is to have a good grip on their tap shoes or what they need for this type of shoe. For this reason, today, I will discuss an easy technique on how to attach grips to tap shoes.
Important Tips for Attaching Grips to Tap Shoes
As a beginner, the most serious difficulty for you is how to attach grips neatly to tap shoes. They are not fixed well enough and will come off with a slight contact on the floor or wall. So here we have discussed the important tips to fix tappers grip properly without causing any damage to your tap shoes:
Tap Shoes Need Separate Grips from Other Shoes:
Tap shoes need a special mechanism or hard-wearing material that keeps their shape irrespective of their pressure. Since they are used in dance performances that require skillful footwork and fancy movements, including jumps, these shoes must be attached specifically made gripper. Regular shoe grips cannot serve the purpose; instead, they are more likely to come off when you deal with sudden body movements.
Buy the Correct Size of Gripper:
The size of grippers is measured in millimeters from the heel tip to the ball of the foot by measuring 0.5 mm on both sides, and that needs to be carefully checked when buying the tapper’s grip. Any error in measurements can lead to difficulty in fitting and ultimately falling down your shoe during performance. So it is better to avoid buying large or small shoe grips for tap shoes; otherwise, they can create problems.
Read Directions Carefully Before Attaching Grips:
It is necessary that before applying any material on your tap shoes, read its label first so as not to attach a material that may get stuck on your shoes for a long time and damage them. Materials like glue and resin can get hard when dried and are difficult to remove from tappers. Some materials also take time to attach properly, so you cannot hurry now.
Know the Differences Between Glue, Resin and Stick Grips:
There are various types of tap grips available such as glue-on, stick-on, or self-adhesive taps, which have different ingredients with proportionate strength. Glue-based taps look good but sometimes take extra time and effort to be cleaned off, while resins give an extra stronghold, which is not easy to remove. In addition, these kinds of materials often create difficulties when it comes to contact with shoelaces; while sticks-on taps are easy to apply and clean off easily, but due to their softness, they may get worn out sooner.
Always Use the Correct Tool to Attach Grips:
When you glue on tap grips, you need to use tweezers not to miss any part of the shoe sole. The improper tool used for gripping tappers can lead to the spreading of glue or other material overshoes, which is tough to clean up properly. Also, if you use blunt tools like big fingers, they press hard on your feet and often hurt them.
A Process on How to Attach Grips to Tap Shoes
Things you will need:
A sheet/clear plastic (the clear plastic works better) Scissors Tape Adhesive An Exacto knife or box cutter A hammer Pencil and paper Hole punch or a drill
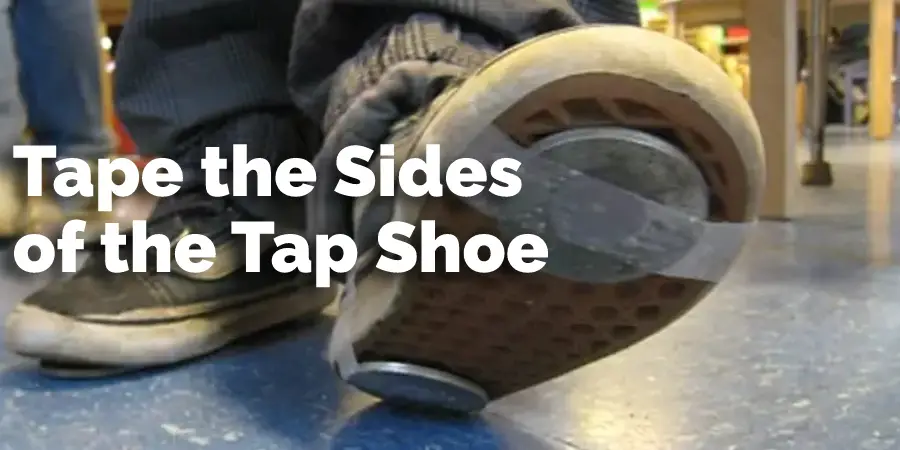
Step 1:
Tape the sides of the tap shoe together with clear tape. Make sure to cover as much of the shoe as possible. This will ensure that once you are finished, all parts are covered by tape.
Step 2:
Get your paper and pencil ready and write out how many pieces you need cut out. Use enough paper for each part, so you do not have to use different pieces for each step. For example, if one piece is on top of the other, then just make it longer than needed so half is over the other piece already and then cut in half again but leave more space between them than you would normally have because you want to be able to see through where they meet when looking at them from outside.
Step 3:
Take your Exacto knife or box cutter and start cutting parts out. Use the paper pattern as a guide for where you cut. When you have finished drawing it on the paper, then trace over it with a pencil and make sure not to go outside of the lines because if you do, then sandpaper will be needed later to smooth it out before gluing it. When you are done tracing the outlines, cut them out with an Exacto knife or box cutter.
Step 4:
Take your tap shoes and tape them together like so (you can also glue, but I prefer tape) so that only half is covered by tape on each side like this: And from there, put them on a flat surface and place your paper patterns down.
Step 5:
Use the hammer to make holes where there are outlines of an x. This will act as a guide for punching the holes in the shoe out with your hole punch. Make sure not to cut all the way through, or you could hurt yourself. If you do not have a hole punch, you can use a drill, but I prefer using my hands because it gives me more control over where they are placed. Continue making more holes until there is one in every outline of an x.
Step 6:
Take the tape off and grab your scissors, then carefully cut along each line that was previously punched out by placing your knife down into each hole made from step five and sliding it along the paper pattern to where the next hole is. Repeat this until all parts are cut out.
Step 7:
Glue each piece on one at a time with craft glue or carpet glue over more tape, then place that taped side down onto your tap shoe like so:
And when you have done that for all of them, then take the other half of the tap shoe off if there was any left from step four and repeat the process. Again, it may be easier to do it in sections because once you start gluing two together, it becomes harder to handle. Still, I find doing them all at once is much faster than doing two at a time (this will bring your total amount of parts that need to be cut and glued to around ten).
You Can Check It Out to Clean Tap Shoes
Which Glue is Better for Attaching Grips to Tap Shoes?
The main factor in choosing glues for tap shoe grip attachments is how quickly they dry out – which means that super thick adhesive might not work best, especially if you want to give them some time to sit overnight before using them in class.
For an all-purpose glue, I recommend Loctite Super Glue Gel Control. Its thick texture makes it somewhat difficult to spread across the shoe (use a small paintbrush for best results). However, once you’re done with all that, just set your shoes aside out of the way until the glue has dried completely and you have one solid piece again. Just be careful not to walk in them right after attaching the grips! Let them sit overnight.
Frequently Asked Questions
What Can You Put on the Bottom of Shoes to Make Them Less Slippery?
There are many options to help make your shoes less slippery.
- Spray them with some water and let them dry for about 10 minutes before you wear them.
- Sprinkle some talcum powder on the bottom of your shoes, let it dry for a few minutes, then remove the excess powder by rubbing them with a cloth or paper towel before wearing them.
- Put on athletic tape around the base of your shoe so that it doesn’t slip while you walk or run, and use athletic tape to hold down any laces to keep them from coming undone when you move too quickly.
Should Tap Shoes Fit Tight?
Tap shoes should fit tight enough that they feel comfortable and secure. If the tap shoe fits too loosely, it will not provide proper support to your foot, which could lead to injury. A too-tight shoe can also cause discomfort as well as a loss of performance and flexibility.
Are Capezio Tap Shoes True to Size?
Capezio Tap Shoes are true to size. The sizing for the shoes is based on your foot length and not your shoe size.
The best way to determine if a shoe will fit you is by measuring the distance from the heel of your foot to the toe, then comparing that measurement with our sizing chart.
Conclusion
The attachment of grips to tap shoes is a process that can be done at home. It’s simple and doesn’t require any specific tools or skills. All you need are the appropriate materials for attaching the grip material onto your shoe (some rubber bands, glue, scissors). Ensure to let dry overnight, then remove rubber bands from outside edges when ready to wear! Thank you, and have a good day.