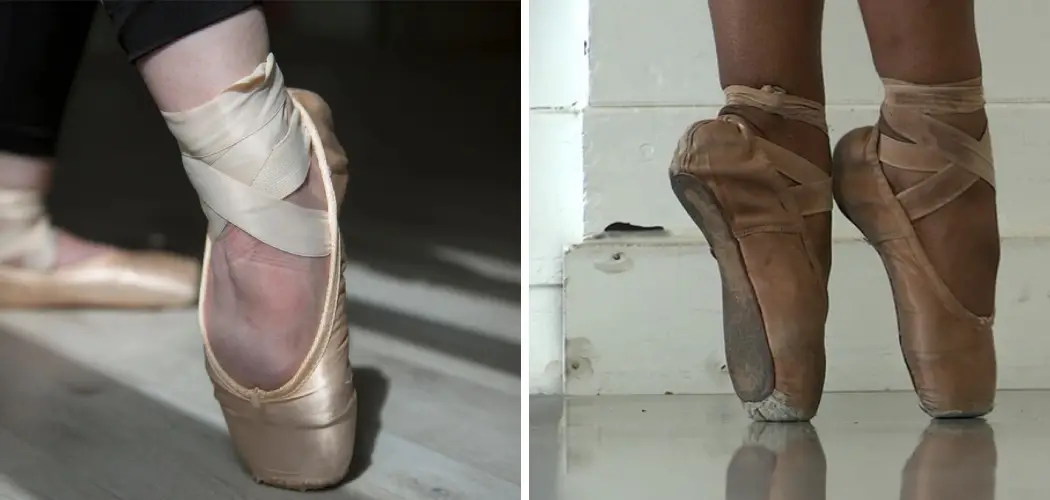
Dancing is a popular form of exercise and entertainment that people of all ages enjoy. While some people may prefer to dance without shoes, others may find them necessary for added support and stability. If you are looking for a way to make your dancing shoes more slippery so you can spin and turn easier, we have the perfect solution for you! Keep reading to learn how to make shoes slippery for dancing.
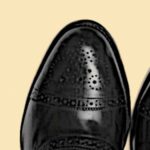
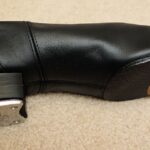
Slippery shoes are essential when you are looking to make turns and twirls. They are also handy when trying to keep your skid patches even. Generally, dance shoes and sneakers have a smooth rubber sole that provides enough traction to keep your footing on the floor. While this is usually sufficient for slow dancing, it can be pretty challenging if you want to try spinning and twirling, especially turning fast.
A Detailed Guide on How to Make Shoes Slippery for Dancing
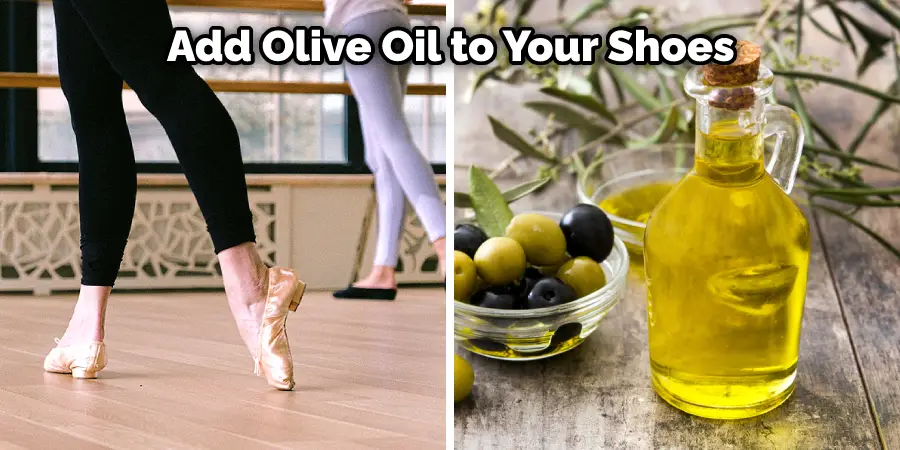
Method 1: Use Olive Oil
Olive oil is a lubricant that you can add to your shoes before dancing. It creates a smooth surface on the bottom of the shoe and makes it easier to move–almost as though you have no shoes on at all!
What You Will Need
Olive oil, a cloth, and a small bowl.
Steps
- Pour the olive oil into the small bowl, then wrap your foot with the cloth from top to bottom.
- Slowly dip your foot into the olive oil, then slowly remove it from the bowl.
- You may need to do this a couple of times to ensure your shoes are coated thoroughly with olive oil. First, try sliding your foot back and forth on a smooth surface to make sure you have created a slippery layer of olive oil on the bottom of your shoe.
- Repeat for other foot if necessary, then dance!
Method 2: Use Lotion
The lotion is specifically designed to make your skin smooth and hydrated. It does this by adding a layer of oil over the top of the skin, which will also work to create an extremely slippery surface for your feet.
What You Will Need
Baby lotion or any other good-quality cream, a cloth, and a bowl.
Steps
- Pour some baby lotion into a small bowl, then wrap your foot with the cloth from top to bottom. Make sure that both soles are covered in as much lotion as possible and between the toes (the more lube, the minor slip). How much lotion you apply depends on how long you want it to last until you have to re-apply–the thicker you use it, the longer it will last.
- Stand on a flat surface, then carefully dip your wrapped feet into the lotion bowl. How well you do this step will depend on how thickly you apply it during wrapping, depending on how much time you allow it to dry up. How long it takes depends on how much lotion you use and how thickly you apply the layer of lotion. The thicker you apply it, the longer it takes for everything to dry up completely.
- When you are safe to go out, take off your cloth layers and wash your feet with soap and water. If there is still some lotion left on your skin or between your toes after washing, simply remove it with more soap and rub well until all the residue comes out.
Method 3: Use Sandpaper
Sandpaper is used to polish surfaces or objects–which it does by making them incredibly smooth. For example, taping the sandpaper onto your shoe will create an extremely slippery surface for dancing on, with minimal effort to stay on during movement.
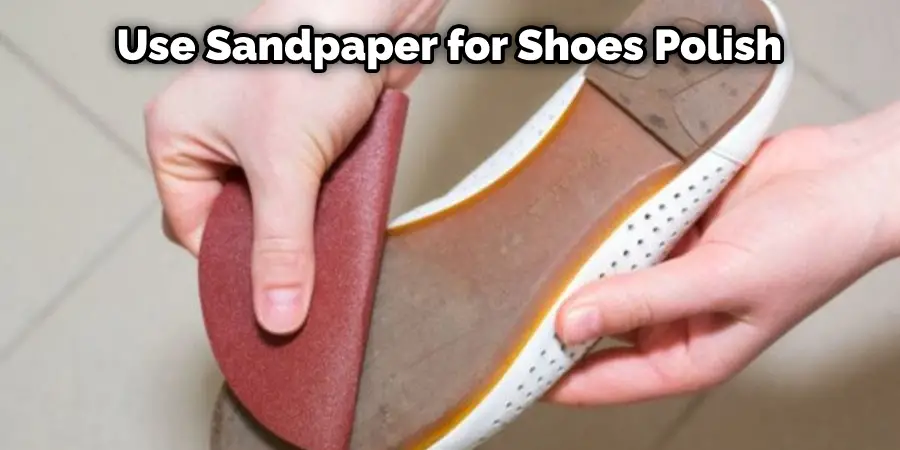
What You Will Need
A roll of fine-grit sandpaper, masking tape, good quality adhesive tape, and a cloth.
Steps
- Wrap one of the long sides of the sandpaper around your shoe and secure with masking tape. Make sure you wrap it tightly; otherwise, it will not be functional. If you do not want to tape it to your shoe, you can place a small adhesive tape under the center of each end of the sandpaper before taping it down onto your shoe.
- Tear off two equal-sized pieces of cloth which are slightly bigger than your foot (so that when folded over, they fit into your shoes without being too bulky), then soak them in hot water for at least 10 minutes until fully saturated with water.
- Place one piece of cloth over each sandpaper-covered shoe, and secure with adhesive tape. You can choose to wrap the second piece of cloth around your foot before securing it to the shoe for a better fit during dance movement. Using a damp paper towel, wipe off any excess water from your shoes after 10 minutes have passed.
- How you use them depends on how slippery you want them–if you would like to walk across a slippery surface, then simply slide your foot into one shoe and then the other, letting gravity take care of the rest! If you want more control while dancing, put on both shoes and make sure they are tight enough to don’t slip. Before you begin dancing, you will need to “break in” your new shoes by making a little pedaling motion or making small jumps up and down. If you want them even slipper, use the fine-grit sandpaper to smooth out the parts of your shoe that are still slippery from the water. Do not forget to wipe off any excess water afterward with a damp paper towel!
Method 4: Stick-on Suede Soles
Many dancers opt for stick-on suede soles to make their dance shoes slippery. However, they can also be worn over existing shoe soles–so if you want your rugged leather sole sneakers to feel like they have a new softer surface, wear them on top of these!
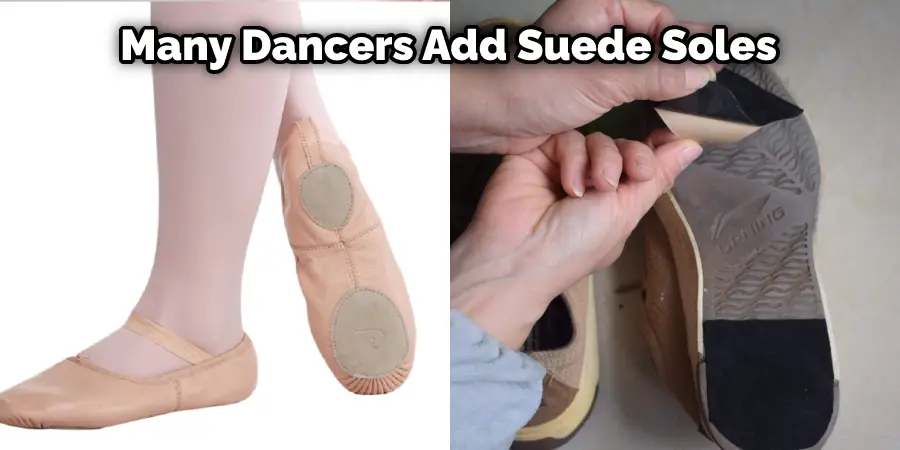
What You Will Need
Pair of dance shoes (preferably with rubber soles) that are clean and dry, two pairs of moleskin pads, scissors or sharp knife, strong adhesive tape (such as masking tape), measuring tool (optional).
Steps
- Cut out the pattern shown in the photograph below–equally sized parts of each moleskin pad should form two circles when placed next to each other.
- Stick the two pairs of moleskin pads onto your dance shoes with adhesive tape, making sure that they are positioned exactly where you want them (you can test if they are in the correct position by sliding your foot into both shoes one after another).
- How long it takes to make them slippery depends on how much lotion you use, how thickly you apply the layer of lotion, and how long you allow it to dry up. How long it takes depends on how much lotion you use and how thickly you apply the layer of lotion.
The thicker you apply it, the longer it takes for everything to dry up completely. How slippery your shoes will become also depends on the type of fabric used for your dance shoes and how much lotion you use (which ultimately affects how long it takes for everything to dry up).
Conclusion
If you’re looking to take your dance moves up a notch, adding some slippery shoes to your wardrobe might be the answer. With just a little bit of practice, you’ll be sliding and gliding across the dance floor like a pro! We hope this article on how to make shoes slippery for dancing will help you.