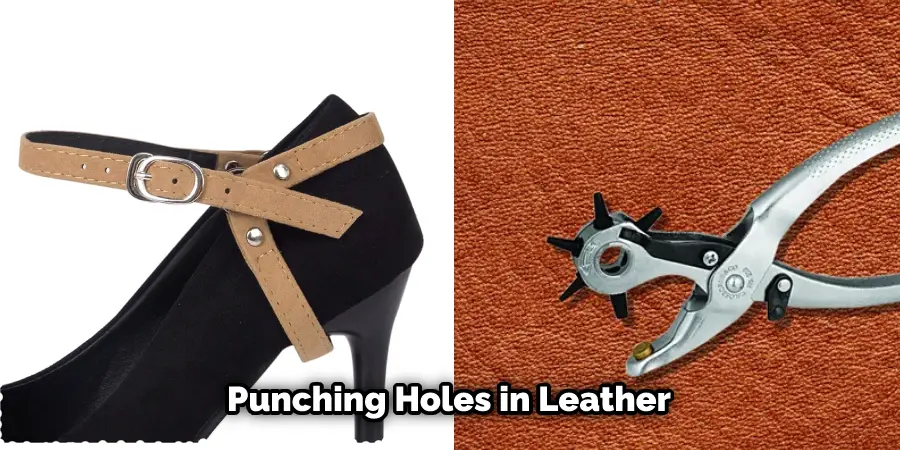
There may come a time when you need to punch a hole in your shoe strap. For example, it could adjust the fit, add decoration, or repair a broken strap. Whatever the reason, it’s easy to do with the right tools and basic instructions. This article will show you how to punch hole in shoe strap quickly and easily.
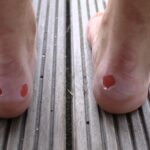
There’s nothing more frustrating than having a shoe with a broken strap. You can’t wear them, and you don’t know what to do about them. Well, have no fear! Read on for more.
Materials
- A shoe with a strap of some sort
- Keyring (The bigger, the better)
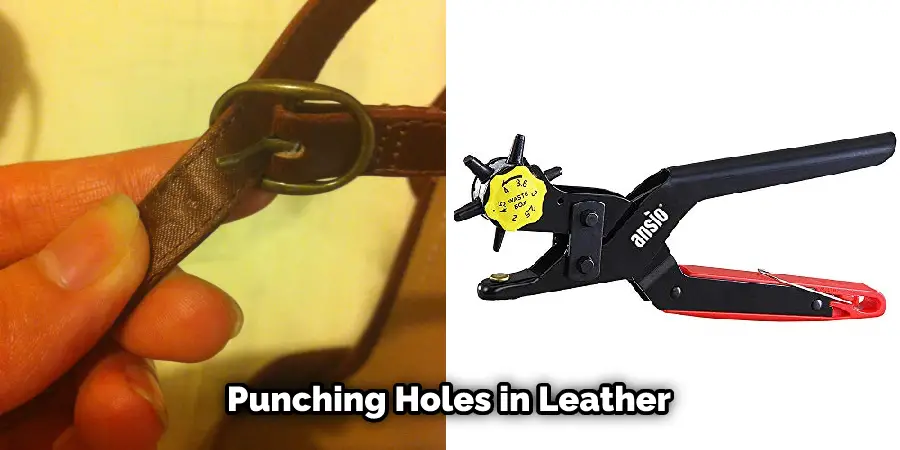
- Punch pliers (For reaching new depths in leather punching)
- X acto knife & cutting board or scissors/Exacto knife combination
A Step by Step Guide on How to Punch Hole in Shoe Strap
Step 1: Measure Your Foot Size
Now measure your foot size by wrapping a string around the center of your foot. How many inches you get is the length of your strap. Don’t forget to include a little extra for fit and comfort, like 1/4-1/2 an inch or so. Then measure the buckle width and height and compare to your measurements from Step 1 (the length of each side). If it doesn’t match up exactly, make sure you mark out enough space on either end of where you want your holes to be.
Step 2: Measure Your Hole
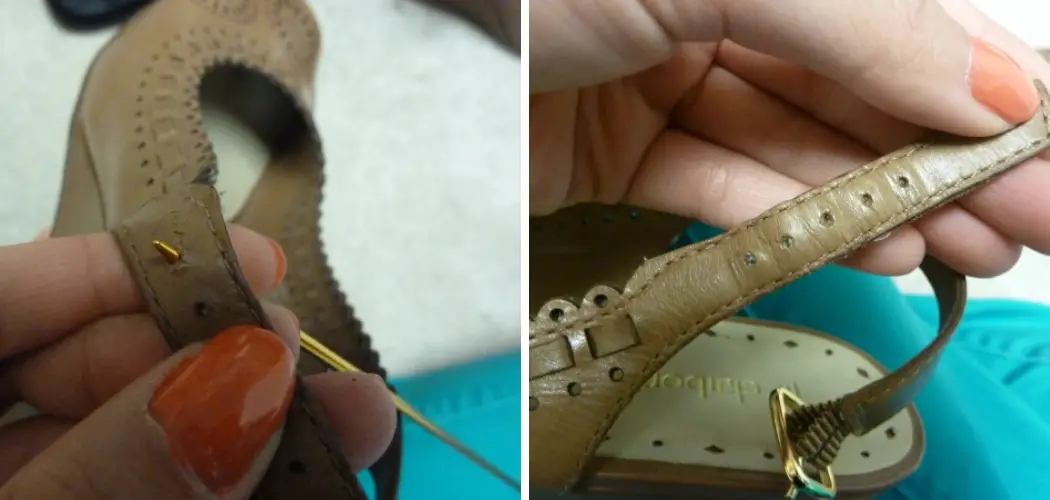
Measure your buckle’s width and height. Then determine how many holes you want on each side. I did two on each side for symmetry, but don’t feel like you have to do that if you don’t want to. You can mark this out by using your keyring as a guide against the strap, leaving enough space between each end of the keyring and the edge of the belt.
Step 3: Find the Accurate Spot
Now find the spot on your belt precisely in line with one of those holes you just made. Next, fold the strap over on itself and see if it fits right on top without being too tight or too loose. If it’s a bit off-center but still works, then go ahead and mark it out first before inserting your buckle to check if it lines up perfectly with both sides.
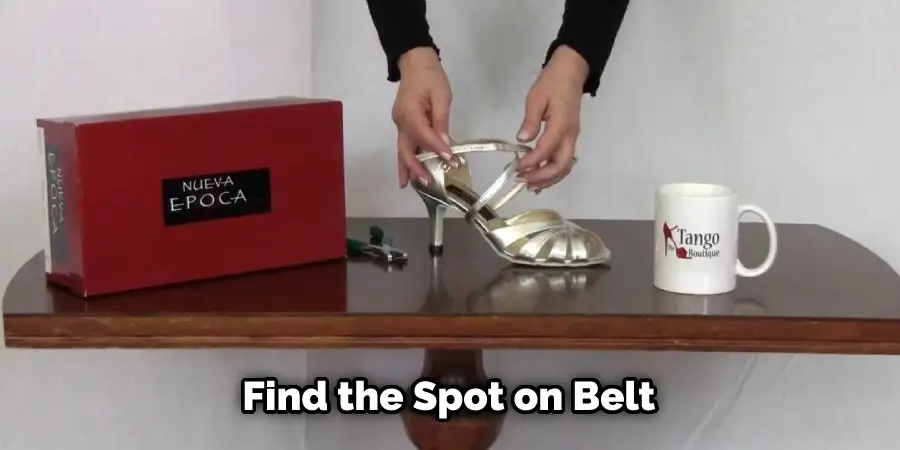
Once you’ve found your sweet spot (or spots), press the buckle firmly against your marked-out area so you can see where all four prongs are touching the leather. That’s where you’ll punch two holes through! This is a crucial step in how to punch hole in shoe strap.
Step 4: Hold Your Needle Pointer
Even though your buckle is secure, hold it in place with one hand to prevent sliding back and forth. Then grab either end of the needle pointer pliers (or key ring) with the other hand. Remember that when you are punching holes in leather or anything else, be very gentle with your movements so as not to slip!
Press down hard enough, so each prong goes through the strap, but try not to move around too much. If you have a small needle-nose plier, you’ll have an easier time getting in there next to where you’re punching to get an accurate shot. You can also snap pictures for reference before actually punching out your holes if you need detailed measurements on what exactly it should look like.
Step 5: Poke It Into Spot
When punching holes in leather, be careful not to slice through the leather-like butter. The most important guideline is to think of your punches as shallow indentations rather than entire holes. Start with the prong on the left by holding it down firmly and poking through at a slight angle so it can pass cleanly through both layers of leather.
After you’ve poked it about halfway through, turn your pliers 180 degrees so now it’s perpendicular to where you’re aiming at (for example, if you were looking south but then turned west, that would now be perpendicular). Keep hold of this position while pulling out your pliers entirely before moving on to the next prong on the right.
Be sure not to pull far out, though, because even just a little bit of space between the prongs can cause all kinds of holes to form, which is why it’s essential to get your angles right.
Step 6: Add a Threat Onto the Needle-Nose Pliers
Now you’re going to add a threat onto the needle-nose pliers. The danger is essentially just another tool that will help you get a better grip on your buckle while keeping it from sliding back and forth.
If you were making only one hole, then all you need to do is add a threat directly in line with where you plan on making the hole, but if there are two holes, then slant one threat slightly further out so that one side can push through while staying still.
How much space should be between the threats depends entirely on how big of a gap/overlap there is when your buckle’s prongs poke through their respective holes.
Step 7: Punch in the First Threat
Punch your first hole through the strap using the threat on your needle-nose pliers. Be very gentle, and make sure you use minimal force when punching holes in leather (or anything else, really). If only one spot is needed, then hold down one side of your buckle onto a piece of scrap wood and punch it with a hammer instead so you can get a much better view of what’s going on.
This will help ensure that all four prongs stay precisely inserted into their respective holes and create nice clean lines between them without too many spacey air bubbles.
Step 8: Retrieve Your Buckle
Once both threats have successfully poked thoroughly through your belt, retrieve your buckle by pulling it out. How easy it is to pull out your hook depends on how large of holes you punched and how much space is between the prongs, but in most cases, all it should take is just a nice gentle tug.
Pull slowly, though, because once again, spaces between the prongs will cause all kinds of unwanted punctures to form if you create too much momentum, which would be an unpleasant experience!
Step 9: Squeeze and Turn the Hairpin
Now you’re going to squeeze and turn the hairpin. How hard or firmly you press will determine how gripping this step is, but if it’s a tight fit, then gently squeezing shouldn’t be too much of a problem. Now slowly turn the pliers away from you one full rotation while keeping your buckle perfectly horizontal the entire time.
If you only want one hole in your belt, stop rotating as soon as the first side finishes poking through so that both ends point directly downwards with their respective buckles underneath them.
If there are two holes, though, keep turning until all four sides have poked through, so now each prong should have an equal amount of space between it and its adjacent neighbor on either side like a standard buckle would.
Step 10: Make Sure It’s All Good
Once you’ve wiped away any excess debris that may have gotten stuck in your holes, take another look at each spot and ensure that nothing is obstructing the prongs from poking out through both layers of leather without having to force anything.

If there are any bits of skin or other stray objects wedged between them, remove them carefully so as not to cut yourself on one or more of those prongs sticking out every which way! How easy these objects are to dislodge depends entirely on where they’re located since some parts of your strap may be more complex than others. As mentioned earlier, though, most debris can be wiped away with a damp cloth. These steps will help in how to punch hole in shoe strap.
Tips and Warnings
Tips
- If possible, try using a fine-tipped marker to make an indelible dot where the hole needs to be punched.
- This will help you get the placement right when punching.
- You can also use a pencil in making your mark for it to fade in a few days after you’ve done punching so that no one will notice it!
- If there’s no suitable sharp object you can use, twist the shoe strap tightly with your fingers and then pierce through with your tool of preference. This may take some effort but keep on turning and jabbing until you’ve successfully pierced through!
- To make the hole more presentable, you can twist the shoe strap with a pair of pliers and then punch it again.
Warnings
- It’s important to realize that doing the hole punching significantly weakens the shoe strap.
- This is because you’re making a puncture or cut that compromises its integrity.
- In time, it may cause your shoelace to loosen and eventually snap off even if you’ve double knotted it already.
Conclusion
I hope you have learned how to punch hole in shoe strap. If you’re the type of person who likes to make things on their own, then these instructions are for you. But, then, it’s time to get out your scissors and some rope! We’ll walk you through every step so that in no time at all, you have a pair of shoes with soles made from old slipper socks or other fabric. Let us know how it goes.
You may also read: How to Make Big Heels Fit Smaller