In this article, we’ll be discussing how to seal acrylic paint on shoes. Acrylic paint is a versatile medium that can be used for various purposes, including creating artwork, decorating items, and adding accents to clothing or accessories. Although it is possible to leave acrylic paint without any additional protection, sealing it will help prevent it from fading or wearing off over time.
Several methods can be used to seal acrylic paint, and we’ll cover the most popular ones in this article. So if you’re looking for tips on how to protect your painted shoes, keep reading!
Things You’ll Need
- Clear acrylic spray paint
- Acrylics
- Lace-up canvas shoes
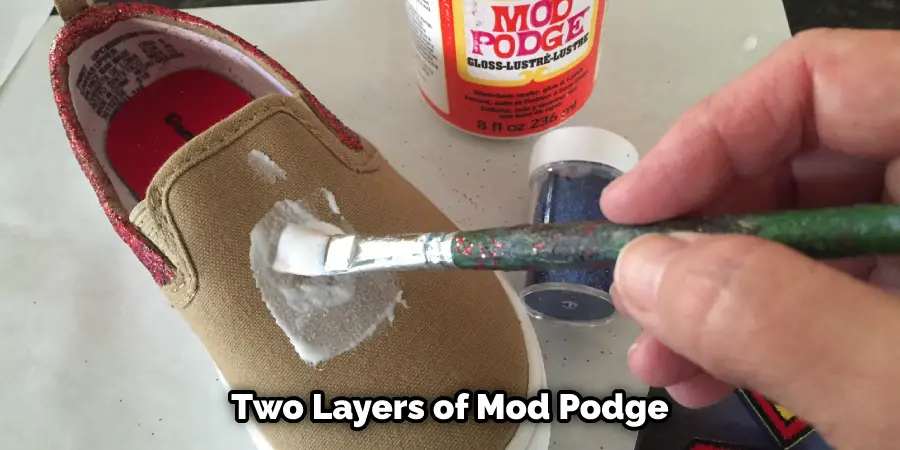
- Coat of Mod Podge (matte)
- Fan Brush
- Newspaper or Paper Towels
- Goggles
A Stepwise Guide on How to Seal Acrylic Paint on Shoes
Step 1: Prepare Your Working Area and Collect Your Painting Supplies
Make sure you have a well-ventilated area to work in. Clear the space of any rugs, pets, and dirt that can create bumps or lines on your shoe. Gather all your supplies: the acrylic paint colors of your choice, a fan brush, a few layers of paper towel or newspaper to use as an underlay for applying the paint, and one or two coats of Mod Podge (matte). You don’t want your shoes to be too shiny.
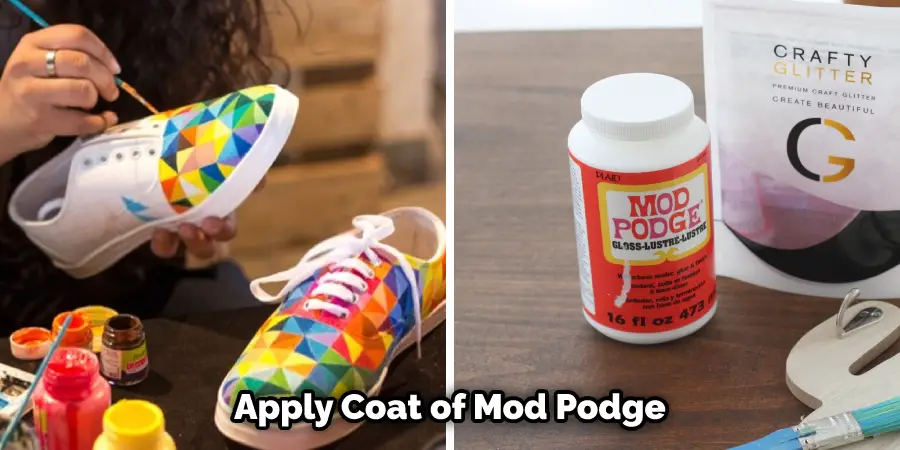
Step 2: Clean Shoes and Apply Coat of Mod Podge (Matte)
Before you do anything else, clean your shoes! Please remove dust and debris by wiping them down with a damp cloth. Do this outside, if possible. Once they’re dry, apply a thin coat of Mod Podge to the entire shoe. Allow 15 minutes for it to dry before proceeding to step 3.
Using your fan brush, apply one to two coats of Mod Podge (matte) on the desired areas of the shoe. You can use a natural-bristle paintbrush if you don’t own a fan brush; however, keep in mind that the bristles of a standard paintbrush tend to be very spread out and may result in your shoes looking bumpy after painting.
Be sure to let each layer dry thoroughly before applying the next coat. If you get bumps, go over them lightly with some sandpaper after they have dried to smooth them out.
Step 3: Apply Second Coat of Mod Podge (Matte) and Prep Shoes for Paint
After letting the second coat of Mod Podge (matte) dry, go ahead and layout some newspaper or paper towels. Put on your goggles and gloves to protect yourself from acrylic paint. Make sure you’re in a well-ventilated area that’s big enough for you to spread out and move around your project (like a garage or an outdoor patio).
Step 4: Apply First Layer of Acrylic Paint
Pour out half an inch or so of acrylic paint into a disposable container such as a lid or paper bowl; use one paint color per shoe unless you plan to make your shoes multi-colored (for example: black and white). Place one layer of newspaper underneath the spot where you will be painting to catch excess drips or splatters.
Use the fan brush to cover the shoe with paint, working quickly before the paint dries. Apply two coats of acrylic if you want a more intense color. For a lighter color, try one coat. Allow the paint to dry for 15 minutes before applying the next layer of newspaper and paint. This is a critical step in how to seal acrylic paint on shoes.
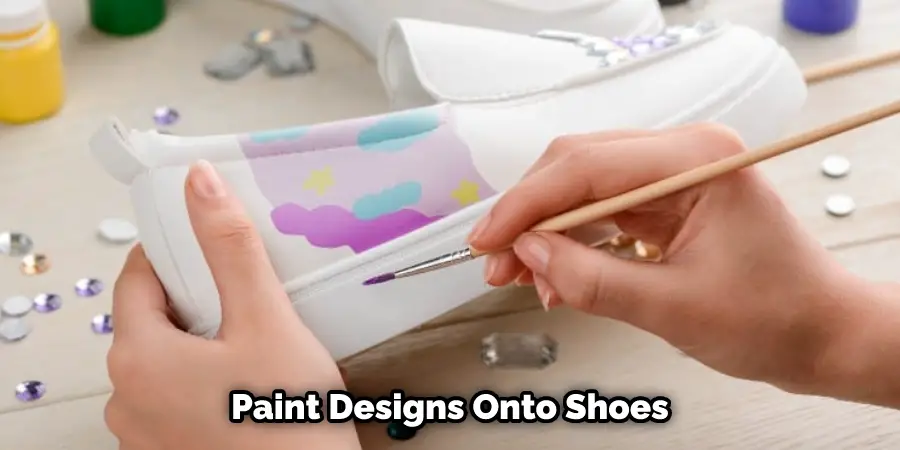
Step 5: Paint Designs Onto Shoes
For a quick and easy pattern, use two colors of acrylic paint to create a basic zigzag. If you’re feeling particularly ambitious, try a freehand design such as stars or flowers for an elegant look that requires more time and skill with the fan brush. You can also have fun painting simple shapes like squares or triangles on shoes.
Step 6: Apply Second Layer of Acrylic Paint
Using your fan brush, paint all desired designs onto shoes with acrylic colors of your choice. How you paint the shoes is up to you—you can use color combinations of two or three colors or get detailed and do one solid base color with dots of high contrasting colors here and there. Remember that no design will look the same on a shoe because every shoe has its shape and personality. Allow the paint to dry for 15 minutes before you start step 6.
Step 7: Seal With Two Layers of Mod Podge
Allow each layer of painted newspaper to dry before applying the next, about 5-10 minutes after you’ve applied enough coats so that it can’t be peeled off by hand. Before adding the final two layers of Mod Podge, sand down any bumps or ridges with sandpaper on a sanding block, which is just a dowel rod covered in sandpaper.
This will help prevent blemishes and bulges from showing through your final product later! Once sanded, repeat step 3; this time, make sure to go over the painted newspaper with Mod Podge to seal it. Allow the shoes to dry for an hour or so before step 6.
Step 8: Apply Second Coat of Acrylic Paint
Before you apply your final coat of paint, make sure that no bumps or ridges are showing through from underneath your layers of newspaper. To do this, use a toothpick to poke between crevices or lift any loose edges that have dried.
Once this has been completed, pour out another half-inch of your second color of acrylic paint into a separate container and continue as described in step 3 until all parts of the shoe are covered in two layers. As always, let each layer dry before applying the next one unless you want mixed colors on your shoes!
Step 9: Seal With Two Layers of Mod Podge and Let Dry Again
Once you’re entirely done painting, use the fan brush to go over all painted areas one last time with Mod Podge (matte). This will not only seal in your paint but give your shoes a beautiful sheen. Let the final coat of Mod Podge dry for an hour or so before spraying on your final coat of Mod Podge (gloss).
If you don’t like the way it looks when matte, feel free to skip this step! How you finish off is up to you; however, make sure that every layer of Mod Podge has dried before moving on to the next step. Allow each coat of Mod Podge to dry for 15 minutes after applying unless stated otherwise.
Step 10: Seal Shoes With Spray-on Gloss Acrylic Sealer
The final step is to seal your shoes with a spray-on gloss acrylic sealer. It’s recommended that you use the same brand of sealer like Mod Podge if possible, but you can also use Krylon or Rustoleum spray paint in a matte finish instead. How you finish off depends on what look you’re going for. If you want a high shine to match the sheen from your second coat of Mod Podge, go ahead and use the spray-on gloss acrylic sealer!
How much you apply is up to your discretion, but make sure each layer has dried before adding another layer unless stated otherwise by the instructions on the label of the product that you buy. How you finish off is up to you. You can spray on another coat of Mod Podge or leave it un-sealed for an unfinished look. How you seal your shoes is entirely up to you, so be creative! These steps will help in how to seal acrylic paint on shoes.
Tips & Warnings
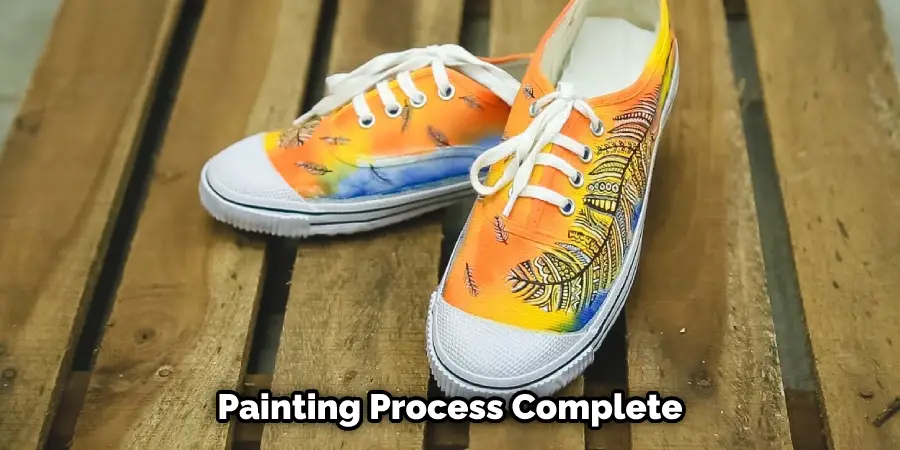
The painting process must be completed in one session because acrylic paint takes several hours to dry completely. It will take about 15 minutes for each coat of paint to dry before adding the next one unless otherwise stated by the instructions for the product you’re using. When painting newspaper onto your shoes, make sure that there are no wrinkles, ridges, bubbles, etc. If any flaws in the painted newspaper after it has dried, use a toothpick or finger to make the appropriate corrections.
This prevents your shoe from absorbing other colors, allowing you to reuse this method for several different looks. If you want to reuse the newspaper method but don’t think it will be possible to remove all the paint stains on the fabric, consider using an old pair of shoes instead of throwing them away after use without feeling wasteful.
Whenever you use paint or other materials to decorate shoes, always be sure that the surfaces are clean and dry. For example, if you’re using acrylic paints, your shoes must be clean of dirt and oil before painting. Otherwise, the color will not adhere correctly to the surface of your shoe. If there is dirt or oil on your shoe when you apply acrylic paint, make sure to allow enough time for them to dry thoroughly before attempting another project.
If anything spills onto the shoe when you’re working with other types of paints or stains (oil-based inks in particular), wipe up the spill immediately without allowing it to sit for any length of time because this can cause permanent damage to your footwear which cannot be removed or fixed.
Conclusion
You can find out how to seal acrylic paint on shoes with this article. We will share insider tips and tricks for getting a smooth, long-lasting finish that won’t chip or peel off after just one wear. This is important because we want you to enjoy those new heels as much as possible before they start looking old and worn down from everyday use. Let’s get started then!
You Can Check It Out Stop Vans From Rubbing Heel