The way that your shoe soles look can dramatically affect the overall appearance of your shoes. How many times have you seen someone wearing a nice pair of dress shoes, and then noticed how their shoe soles were all scratched up?
This is unprofessional, but it also makes them appear lazy or don’t care about their appearance. In this blog post, we will discuss some techniques on how to paint shoe soles so that you can improve the overall appearance of your footwear!
Required Materials
- White shoe polish
- Paintbrush
- Paper towel or rag
- Roller paintbrush
- Respirator mask (optional)
Instructions: How to Paint Shoe Soles
Step One: Clean the Surface of Your Shoe Soles
You’ll want to use a rag or paper towel – anything that won’t leave lint behind – and rub down each individual section. Once you have finished cleaning the soles, make sure you wipe off any excess shoe polish before it dries.
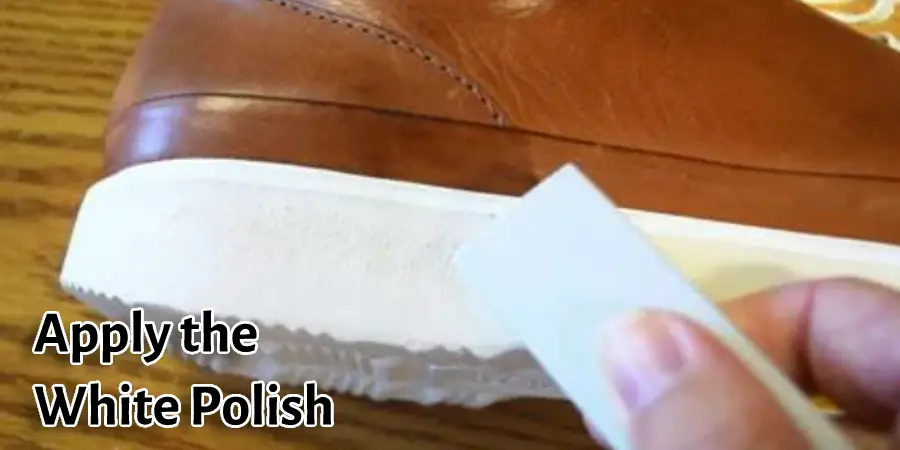
Step Two: Apply the White Polish
Next up is applying the white polish to your shoes. This step will help restore their original color and give them a clean appearance. You’ll want to apply two coats of paint for best results – making sure not to miss any sections.
Step Three: Add Paint to the Brush
You can do this next step two ways, and it will all depend on what type of brush you’re using if you’re using a roller paintbrush – which is wider than your typical paintbrush.
Then pour some white polish onto your surface (paper towel or rag and dip your roller brush into it before you begin painting. If you’re using a regular paintbrush, then just pour some white polish directly onto the top of your paintbrush head with one hand while holding on to the other end.
Step Four: Start Painting
Start painting the shoe soles with your white paint and work from one side to the other. The key here is not to slop on too much at a time, but instead, take your time so that you don’t miss any sections of the shoe sole. Apply two coats of paint for best results making sure not to miss any sections.
Step Five: Allow to Dry and Apply the Top Coat of Paint
Allow your paint to dry for at least a few hours before applying another coat. The topcoat is simply white polish, but this time you want it on fairly thick so that when you go back over it with black, the design will stand out better. You can also go back over the white with a little bit of black to achieve the same effect.
Step Six: Apply Black Paint
Now that your shoe soles are all painted, you’re finally ready for black paint! Use a brush and get some nice thick lines on your shoes by painting around what will be considered the visible area of the bottom of your shoe.
Step Seven: Allow to Dry Again
Allow the black paint to dry for at least an hour before applying another top coat to smear any white on there from just sitting around. This time you want the brush bristles to be fairly wet with clear polish but not dripping. The key is to make sure you get the edges of your shoe well so that they’re not see-through.
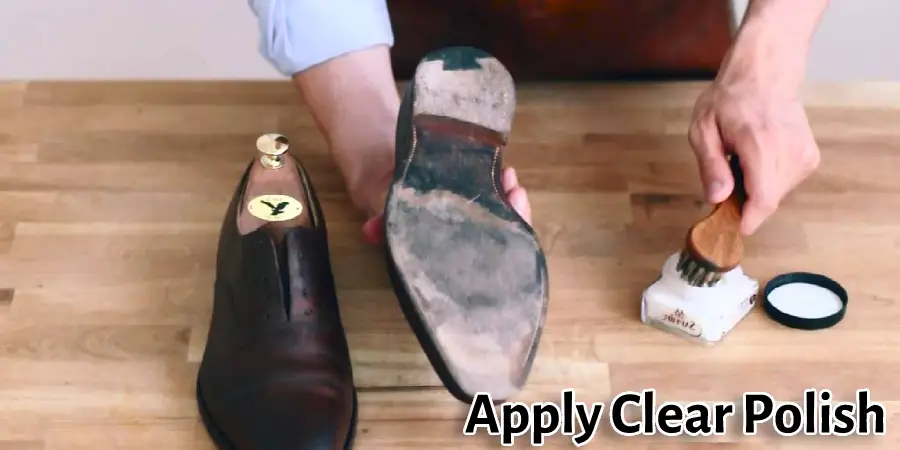
Step Eight: Apply Clear Polish
Finally, after your shoe soles have dried for at least an hour and you’ve painted them black again with clear polish to seal the paint on there, it’s time to apply some more clear polish. This is really just a final coat that will make sure no white shows through when your shoes are shining in the light! You’ll want to be sure that the brush bristles are fairly wet with clear polish but not dripping.
Step Nine: Allow Clear Polish To Dry Again
The final step in painting shoe soles is waiting for it all to dry! How many times have you heard of an artist waiting for their paint to dry before they’re able to put another coat on? How many times have you had your favorite painting ruined because the canvas wasn’t ready yet and it was bumped or something? It’s important that this final step is done in order so that your shoe soles will be durable.
Step Ten: Wear Your Shoes!
Your shoes are all done now, but you’ll want to wait until they’re completely dry before wearing them. How do you know that? Well, it’s pretty simple actually- if your shoe soles start sticking to the floor, then they need more time and can’t be worn yet. You don’t want any chance of your shoe soles becoming slippery due to the paint!
Step Eleven: Enjoy Your Newly Painted Shoes
Now that you’re all done, it’s time to enjoy those ridiculously cute shoes. How do they feel? How does the color look on them? You might want to take a picture and share it with everyone to see how great of an artist you are!
You Can Check It Out to Seal Acrylic Paint on Shoes
Some Tips and Advice for Painting Shoe Laces
1) Always fill an old pan with paint thinner.
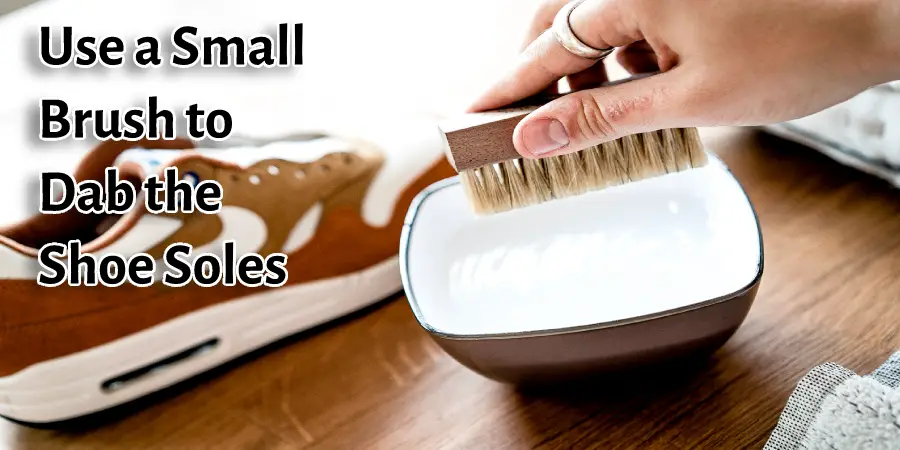
2) Use a small brush to dab the shoe soles and clean excess paint off of your hands.
3) Dip brushes into acetone-filled jars after each use before dipping them back in the jar of color, or simply buy pre-dipped brushes for less mess.
4) Place a small dish of thinner next to the paint colors and brush your soles with acetone before painting.
5) Dip brushes into the water after use, then shake out excess droplets on a towel or paper plate before dipping them in color again.
6) Make sure to have a damp towel nearby.
Frequently Asked Questions
What Kind of Paint Do You Use for Shoe Soles?
The type of paint you use for shoe soles is called a topcoat. It is an acrylic-based paint that provides a clear, hard finish to the sole of your shoes.
It helps prevent the paint from rubbing off onto other surfaces, and it also allows for better adhesion when you apply your first layer of color.
Can I Paint Rubber Soles?
Paint is a good idea for the bottoms of your shoes, but not for the tops. You can paint them with latex paint or acrylic paint that will dry to a clear finish.
If you want to create an interesting design for your shoes, use acrylic paints in different colors and mix them to create any pattern that you want.
For example, if you want to make stripes on your shoes, just put some green color into one cup of white paint and then add more blue or red color into another cup of white paint. Mix these two colors until they become darker and darker shades until you get the desired effect.
Can You Paint on Shoes With Acrylic?
Yes, you can paint on shoes with acrylic. Acrylic paint is an oil-based paint that is a little thicker than water-based paint and so can be used to paint on shoes. It dries very quickly, meaning it’s perfect for painting on shoes.
What Paint Is Best for Shoes?
Depending on the type of shoe, you should use paint that is compatible with the material and surface.
For instance, if you are painting shoes made from leather, it would be best to use wax-based paint because it will not damage the leather. If you are painting sneakers or athletic shoes, water-based paint is recommended.
Conclusion
Painted shoe soles are a great way to spruce up your sneakers! You don’t need to buy new shoes when you can make them look like new again. You can paint them with anything you want, and the results will be fantastic. Check out our easy instructions on how to paint shoe soles for painting your own shoes easily. Let us know if you have tried any of these painting methods!