Have you ever taken a step and felt your shoe’s sole fall beneath you? If so, you know how annoying it can be to have crumbling shoes. Whether the soles are made of rubber or leather, neither material is meant to last forever. But don’t worry: with a few simple steps and some basic supplies, you can make even the most worn-out soles look new again!

Your shoes are a reflection of your style and sense of fashion. You work hard to ensure they look good, feel comfortable, and last a long time. But after months or even years of wear, you may start to notice the soles getting thin or crumbly – an unfortunate sign of damage beyond repair.
In this blog post, we will talk about how to fix crumbling soles so you can keep rocking those beloved shoes for many years ahead.
Why Are the Soles of My Shoes Crumbling?
There are a few different reasons that your shoes may start to show signs of crumbling, including wear and tear, exposure to the elements, or improper care.
One common cause of crumbling soles is simply wearing down the material over time. While rubber is designed to be flexible and durable, it can break down over time if you regularly walk in rough conditions or put extra weight on your feet. Leather is also prone to damage from use over long periods of time, especially in wet or humid conditions.
Another possible factor is how you care for your shoes. If you don’t clean or condition them properly after each use, this can lead to cracking and other forms of degradation that weaken their structure over time.
What Will You Need?
You will need a few basic supplies and materials to fix crumbling soles. These include:
- Shoe glue or rubber cement
- Scissors or utility knife
- Sandpaper or rasp
- Screwdriver
- Small paintbrush or toothpick
- Nail polish remover (optional)
Once you have gathered all your materials, follow these simple steps to make your shoes look brand new again!
10 Easy Steps on How to Fix Crumbling Soles
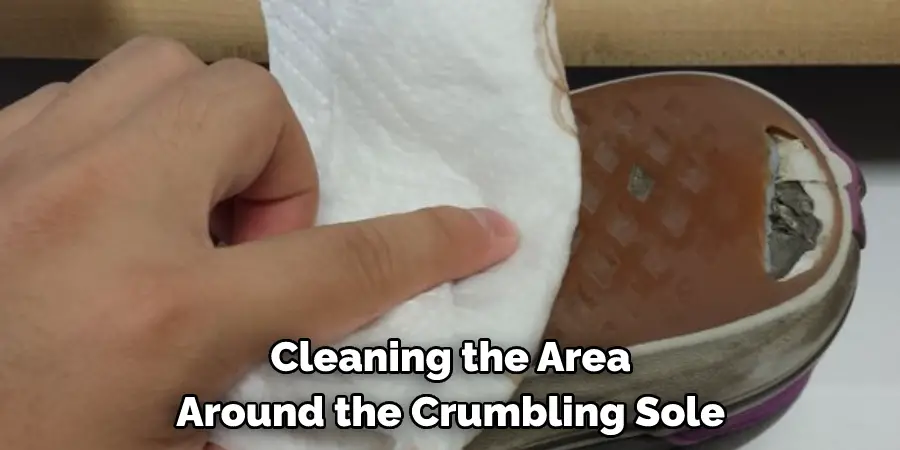
Step 1. Clean the Area:
Begin by thoroughly cleaning the area around the crumbling sole using either a damp cloth or nail polish remover. This will help ensure that your shoe glue or cement will adhere properly to the soles. Don’t also forget to clean the soles themselves and allow them to dry completely before moving on.
Step 2. Trim the Soles:
If your shoe’s soles are especially worn or damaged, use a pair of scissors or utility knives to carefully trim away any excess material around the edges of the sole. Be sure always to exercise caution while working with sharp tools, as you don’t want to cut yourself in the process accidentally. If needed, you can also sand down any rough or jagged edges to create a smoother surface.
Step 3. Apply Glue:
Next, apply a thin layer of shoe glue or cement all around the edges of your shoe’s sole using either a small paintbrush or toothpick. Be sure to allow plenty of time for the glue to dry completely before moving on to the next step. You can also use a hairdryer or other heat source to speed up the drying process.
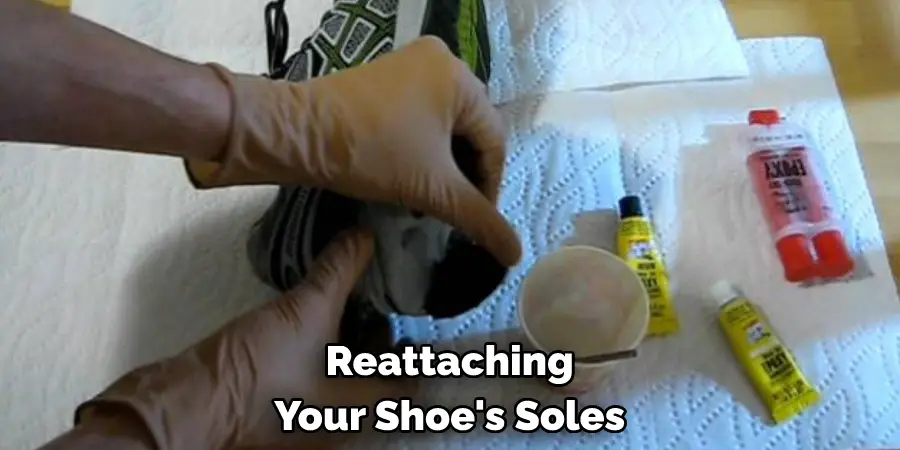
Step 4. Reattach the Soles:
Once your glue has completely dried, carefully align the soles and press them back onto your shoes with either your fingers or a small screwdriver. Try not to disturb the glue while doing so, and allow plenty of time for it to set before using your shoes again. It may help to place your shoes in a warm spot (such as under a lamp or near the heater) for an hour or so before stepping into them.
Step 5. Sand, File, and Polish:
After reattaching your shoe’s soles, you may find that they are still uneven or jagged in some areas. To smooth these out and make your shoes look new again, use sandpaper or a rasp to file any rough spots gently. Then, finish up by polishing your shoes with some shoe polish to restore their shine and sheen.
Step 6. Try Different Techniques:
If your shoes are extremely worn or damaged, you may need to try a few different methods before achieving the best results. For example, applying glue and reattaching the soles works well for most shoes, but it can be more difficult for those with holes in their soles. In these cases, you may want to try filling in gaps with some extra shoe glue before reattaching the soles.
Step 7. Keep Your Shoes Looking New:
After fixing your crumbling soles, there are a few steps you can take to keep them looking like new for as long as possible. This includes cleaning your shoes on a regular basis and storing them in protective covers when not in use. You may also want to consider investing in a shoe repair kit or service to quickly and easily fix any minor damage as it crops up.
Step 8. Avoid Wearing Your Shoes in Extreme Conditions:
One of the main causes of crumbling soles is exposure to extreme conditions and constant wear. To minimize the damage these can cause, try to avoid wearing your shoes in excessively wet or humid environments, such as during rainy weather or when walking through puddles. You may also want to consider adding an extra layer of protection by applying a waterproof coating or sealing spray before going out into inclement weather.
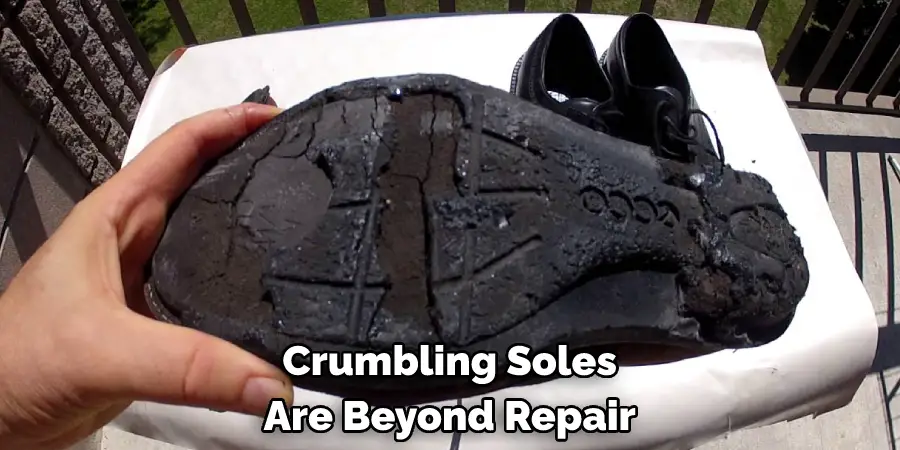
Step 9. Consider Professional Repair Services:
If all else fails and your crumbling soles are beyond repair, consulting with a professional shoe repair service may be helpful. These professionals can help you identify how best to fix your shoes and don’t tend to charge too much for their services, making them an affordable and convenient option for anyone needing a quick shoe fix. With the right care and attention, your shoes can look as good as new in no time!
Step 10. Enjoy Your Shoes!
Whether you’re heading out for a night on the town or just enjoying a casual day around town, having well-maintained, crumbling, sole-free shoes will help you feel confident and put together. So go ahead and enjoy wearing your favorite pair of shoes without worrying about how they might fare over the long term. With a little work and some dedication, you can keep those crumbling soles at bay no matter what life throws your way!
By following these steps, you can easily fix your crumbling soles and keep your shoes looking like new. Whether you’re tackling the issue yourself or enlisting the help of a professional shoe repair service, these simple tips will help ensure your shoes look great for years to come!
5 Additional Tips and Tricks
1. If your shoe soles are particularly crumbling or cracked, you may need to take some extra steps to restore them. Start by cleaning the soles and removing any loose debris with a soft-bristled brush.
2. Apply wax or paste to the crumbling areas using a small paintbrush or cotton swab. Be sure to cover the affected soles completely, and let them sit for at least 15 minutes before removing any excess product.
3. Don’t be afraid to experiment with different types of adhesives and sealants. There are a variety of products on the market that are specifically designed to repair shoe soles, so you may need some trial and error to find one that works best for your shoes.
4. If necessary, use household items like superglue or duct tape to patch up any loose seams or cracks in your shoe soles. Just be sure to test these solutions on a small area of the sole first to ensure they don’t cause any damage or discoloration.
5. In extreme cases where your soles have completely fallen apart, consider investing in a pair of quality replacement soles instead of attempting a DIY repair yourself. This will help ensure that your shoes stay in good shape and last for years.
If you’re dealing with crumbling or cracked shoe soles, don’t despair – there are a number of steps you can take to restore the condition of your shoes. Whether you opt for professional repair services or DIY solutions, just be sure to keep these tips and tricks in mind as you work towards restoring the health and stability of your worn-out soles.
Conclusion
With these tips, you’ll be able to fix your own shoes and save some money in the process. You don’t have to go out and buy a new pair of shoes every time the soles start to come undone – with a little bit of time and effort. You can make them last much longer.
While reaching for the nearest tube of super glue may be tempting, there are much better ways to fix your shoes. So next time your soles start falling apart, don’t panic. Instead, grab some supplies and get to work! Your shoes will thank you for it.
Hopefully, the article on how to fix crumbling soles has been helpful and has given you the tools you need to keep your shoes looking great. Good luck, and happy shoe-ing!