Sperry duck boots are a classic style of boot that can be dressed up or down. The laces on these boots can be tricky, but with a bit of know-how, you can have them looking great in no time. In this article, we’ll show you how to lace Sperry duck boots the right way. Then, keep reading for tips and tricks on achieving the perfect look!
Many people struggle with lacing Sperry duck boots. The faux shoelaces on these boots can be too short or too long, and there seems to be no rhyme or reason why. In our experience, the laces are handmade in a way that makes it incredibly difficult for even an expert eye to determine how they should be laced.

A Stepwise Guide on How to Lace Sperry Duck Boots
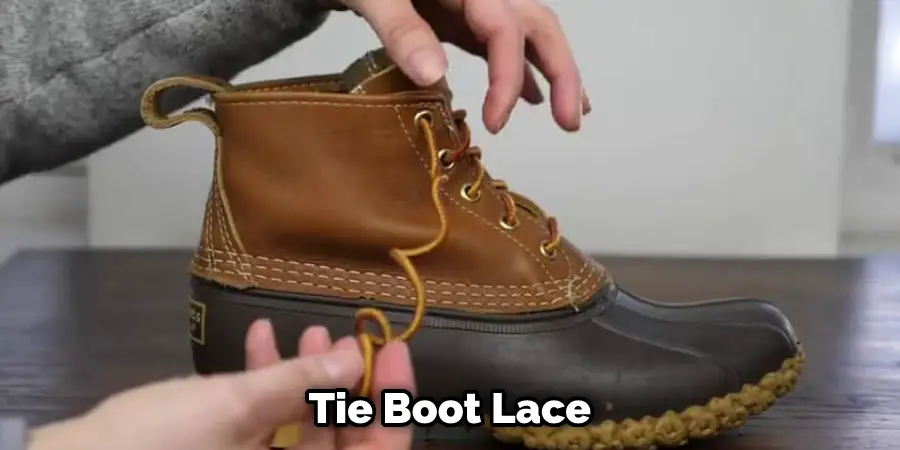
Trick 1: The Barrel Knot
This trick is probably the easiest to start with. Start by tying your laces together at the top of the shoe, making a square knot around your ankle.
Then take each lace and bring it up through their respective eyelet holes on the opposite side (so one goes up through an eyelet hole that’s closer to you, while one goes down through an eyelet hole that’s further away).
Bring both of them back down, so they’re both coming out of the same eyelet hole on opposite sides, creating what looks like an “X.” Make sure not to pull too tight yet.
Take one lace and go over the other lace (the one closest to you), then under itself. Then pull laces slightly apart to create a loop.
Take the other lace and do the same, going under itself then over the first one. Continue this process alternating between laces until you’ve reached the end of the eyelet hole. Finally, secure your knot by pulling tight!
Trick 2: The Cable Cross
This trick is slightly more complex than its predecessor because it involves crossing one’s laces instead of tying them together. Start at your ankle with two square knots, as in Trick 1.
Tie a square knot around your ankle as in Trick 1 but leave enough room to create another square knot below it. Start by bringing each lace-up through their respective eyelet holes on opposite sides.
Bring each lace back down and tie them together in a square knot right below your ankle, creating another “X.” Keep eyelets loose at this point, so you don’t tighten them yet.

Now take one of the laces and cross it over the other lace (the one closest to you), then under itself. Do this two or three times, making sure you’re alternating between crossing one lace over and crossing the other under to form an interweaving pattern. Leave enough room at the end to create another square knot with your laces.
Pull tight! It would help if you now had a barrel knot around your ankle and a cable cross running up each side of the shoe (with eyelet holes slightly looser than they were initially). This is a crucial trick in how to lace sperry duck boots.
Trick 3: The Snake Eyelet
This is a more difficult trick to master, and it’s not for the faint of heart. Start with all eyelets loose.
Bring your laces down through their respective eyelet holes on one side, then tie them together in a simple knot around the ankle (a square knot will do just fine), creating another “X” around your ankle. Keep this one slightly looser than you did in Trick 2 to make a snake eyelet!
Now bring both laces back up through the same eyelet hole on either side of where they came out from. Make sure you don’t pull too tight yet because we will create another snake eyelet with them!
Bring one lace across and under the other, so there’s a lovely interweaving pattern going on. Keep alternating and do this up both sides of your shoe until you reach an eyelet hole closed off.
Go back down through the same hole that your laces just came out from (the opposite side of where they started). Bring through the next open eyelet hole on either side and back up again. Alternate between these two steps until you’ve reached about halfway down your shoe.
Now bring each lace down through their respective eyelet holes on opposite sides.
Tie together in a simple knot around the ankle (the square knot will do), creating another “X” around your ankle. Keep this one slightly looser than you did in Trick 2 to make a snake eyelet!
Trick 4: The Chain Knot
This trick is challenging to master, but it’s worth the effort! It’s easiest to start with eyelets loose like we did in Trick 1.
Bring both laces down through their respective eyelet holes on either side, go around the ankle, and come back up through the first one (closest to you). You should now have two lace segments running around your ankle.

Take one lace and cross it over the other lace (the one closest to you), then under itself. Then pull slightly apart to create a loop. Bring that same lace back across itself again, so there are three loops, with two crossing over each other at this point. Pull tight! Keep alternating between crossing laces over and pulling them apart until you reach the top of your shoe.
Bring each lace down through their respective eyelet holes on opposite sides like you did in Trick 1, then tie them together in a simple knot around the ankle (the square knot will do), creating another “X” around your ankle. Keep this one slightly looser than you did in Trick 3 to create a chain knot!
Trick 5: The Mummy’s Mask
This trick isn’t complicated, but it requires knowing what you’re doing before attempting it, so I’ll only describe how to do it with rusted eyelet holes. If they aren’t corrupted, skip this step and move on to the next. Let’s begin by boiling water to rust your eyelet holes. Boil some water and dunk the shoo-in for about 30 seconds or so with the laces loosened around your ankle. Let dry completely before proceeding.
Bring both laces down through their respective eyelet holes on either side, go around the ankle, and come back up through the first one (closest to you). You should now have two lace segments running around your ankle.
Take one lace and cross it over the other like you would for a simple knot, then bring it back down on itself under its head (not where it goes into/under another loop) like shown here:
Now take that same lace again and make another figure-8 with it on top of where it first came down, like shown here:
Now take that same lace again and make another figure-8 with it on top of where it first came down, but this time bring the lace around your ankle. This keeps things tied up around your ankle so they don’t slip or move loosely.
Bring both laces back up through the closest eyelet holes to them on either side. Alternate between tightening one eyelet at a time until you reach halfway up your shoe (when pulling tight).
Then go back down through the closest eyelets to tie them together in a simple knot around the ankle (the square knot will do), creating another “X” around your ankle. Keep this one slightly looser than you did in Trick 3 to create a mummy’s mask. These tricks will help in how to lace sperry duck boots.
Which Type of Lacing Would You Recommend for Sperry Duck Boots??
There are two different types of boot lacing: traditional and speed. Traditional lacing is the standard method, where you insert one lace at a time up through the top eyelet before moving on to the next one. The benefit to this type of lacing is that it allows for a tight fit around your ankles and instep, which helps to reduce foot slippage inside the boot shaft.
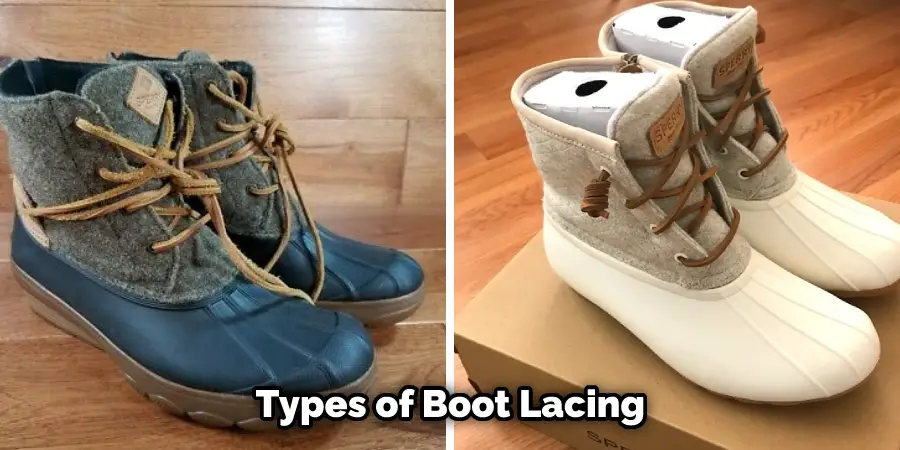
Speed lacing works just as it sounds – you pull both ends of the shoelace simultaneously to quickly lock it into place securely against each other at specific intervals along its length to keep your feet from sliding forward or back inside your Sperry. It’s best suited for sports activities where having snug- boots during highly physical activity is essential.
With both methods of lacing, you’ll want to begin on the outside of the boot and thread each shoelace up through its corresponding bottom eyelet at the top of the boot shaft before moving on to a new one.
Conclusion
The laces on your Sperry Duck Boots are a pain to put in. But they will make you love wearing them even more! So lace your Sperry Duck boots with confidence! If you want to save yourself some time, try these quick and easy methods for lacing up your Docksiders.
There are a few ways people lace their shoes to get the best fit possible; we have shown five tricks on how to lace sperry duck boots. We hope this helps make it easier for you next time you need help tying those knots! Happy shoeing!