Introduction
Peloton spin shoes are designed for indoor Peloton cycling bikes. The bestselling model of this brand is Suede, available in both men’s and women’s styles. For maximum efficiency while spinning, the ball of your foot should be centered over the pedal axle – if it’s not, you will lose power on each rotation.
This can lead to cramps or potentially cause injury to your feet. If you’re taking cycling classes at an intense level, having proper form is incredibly important! If Peloton does not fit your foot correctly, it may increase discomfort, decrease pedaling efficiency and reduce workout performance. In this article, I will discuss how to loosen Peloton shoes. So let us get started.
A Detailed Stepwise Guide on How to Loosen Peloton Shoes
Step 1:
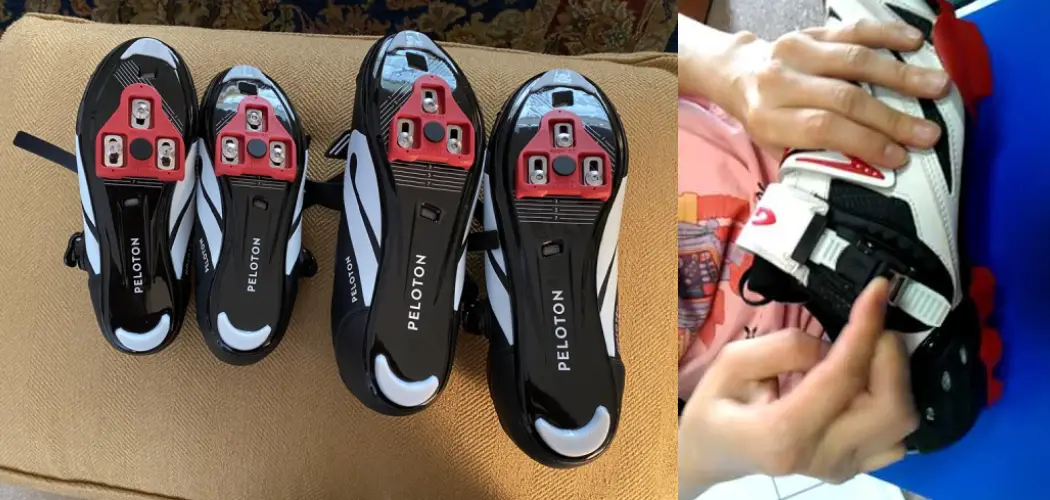
Remove the Peloton shoe from your bike. It is easy to remove; you simply grab it by the toe-end and pull up while twisting your heel downward at the same time to release its grip on your bike pedal. Once done, look for a small metal loop hidden inside a side compartment formed by an overhanging upper material that should be about 1 inch from the end of your shoe where you twisted it open.
Step 2:
Once you’ve located this small metal loop, use a large set of pliers or any tool with a large gripping surface to grab it. You’ll need to apply some pressure for this next part, so be careful if you’re using pliers that have any sharp edges on the gripping surfaces; otherwise, you might cut yourself!
Step 3:
You want to twist your pliers inward first, then outward – basically first go clockwise, then counter-clockwise (or vice versa). This will force the material inside out of its little compartment and relax it. Keep doing this until you feel your shoe slip relatively quickly off of your pedal.
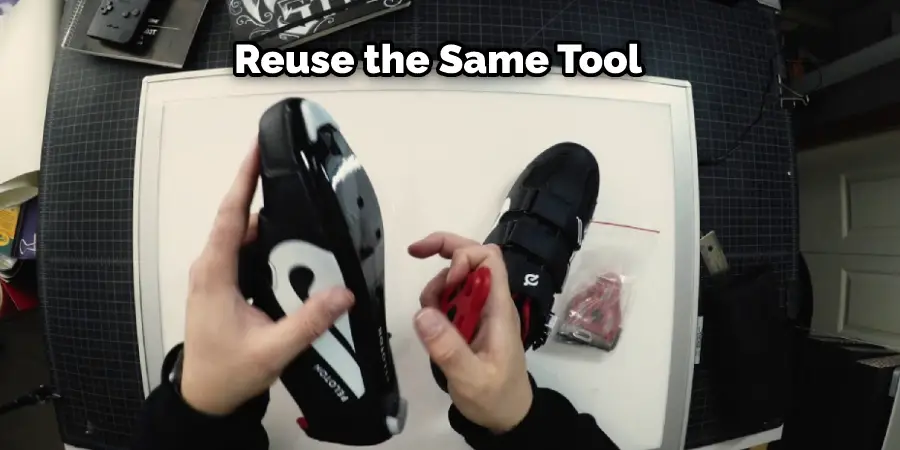
You can now reuse the same tool or a flat head screwdriver (one that won’t damage the shoe) and angle it at an upward 45-degree angle towards the small metal loop. You want to work it between the shoe and pedal while twisting up at the same time, then pull down toward your foot while bringing your heel upward to detach the shoe from your pedal finally.
Step 4:
Now that one shoe has been removed, repeat steps 1-3 for all three sides of each shoe. Once done, you can now turn over each shoe and look for specific hardware pieces on the bottom of each one, such as a snap or plastic ring where holes are formed to run an ankle strap through it (as seen below).
Keep in mind these directions will be different for women’s shoes than men’s, so you’ll need to view this part yourself if you’re using a female model. However, it should be pretty simple to figure out once you inspect the shoe on your own.
Step 5:
Once you’ve located these pieces of hardware, use your pliers or screwdriver again to pry it open while using another tool like a flat head screwdriver (again) at an upward 45-degree angle to catch the piece’s underside and lift with force. It should pop right off with little effort on your part. You’ll then need to take that same tool and force its blade into the hole where this snap was just popped off from to widen the opening (see below). Do this for all three sides of each shoe before moving on to step 6.
Step 6:
Look for two small hooks attached via some form of connecting material right between the sole and the upper of each shoe. It may be hard to see, so you’ll need to look closely to locate them. These hooks mate with two small loops attached via connecting material in your pedal (see below).
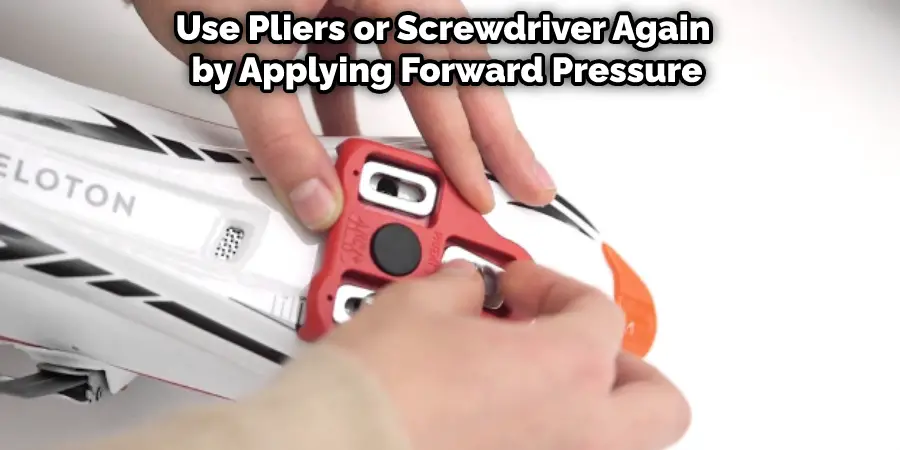
Once you’ve located these hooks, use your pliers or screwdriver again by applying some forward pressure while angling downward at an upward 45-degree angle into these hooks to break their grip on your pedal’s loops. This can take some leverage, so I recommend twisting back and forth while pushing down with the tool if you’re having trouble removing them.
Step 7:
Now that both shoes are off turn them over until you locate a small (vertically oriented) hole on either the toe or heel area. This is where you’ll have to use your pliers or screwdriver once more to pop it open as you did with all other pieces of hardware (see below). Continue doing this for all four sides of both shoes.
Step 8:
Once done, take your pliers and remove this piece of rubber by gripping underneath one end while applying some upward pressure. It should pop right out, allowing you access to the inside material you’ll need for step 9 (see below).
Of course, you can discard this small chunk of rubber/material if desired. Still, I recommend holding onto it in case it ever pops partially off during a ride resulting in an uncomfortable foot position while riding – reinsert it back into its hole and close it off with your pliers by depressing the surrounding material.
Step 9:
Inside each shoe, you’ll find another small piece of rubber (see below) that needs to be removed to expose some additional holes for your ankle strap/laces to run through. Use your pliers or screwdriver once more for this step but only apply pressure on one end of the piece at a time, slowly twisting back and forth as you do so until it pops out.
You Can Check It Out to Take Off Peloton Shoes
Precautions While Performing How to Loosen Peloton Shoes
Keep in mind that your feet are the only things holding the shoes on. If you lose control of them, they are going to fly off. Make sure there is nothing behind you with people/dogs/cars around, and make sure your seat is set up with enough room for your knees not to touch it when your feet are dangling.
Keep in mind that these shoes have stiff soles, so be careful about catching one on something while trying to loosen them up. I find it easiest to hold onto something or someone else while loosening my pelotons. If you’re alone, try leaning over the top tube of your bike.. remember to bend carefully so as not to go flying over it if you lose your balance.
What Are The Advantages of Wearing Peloton Shoes?
The Peloton bike comes with different types of pedals. For the sake of this article, we will only discuss the standard road shoe (it looks like a cycling shoe without clips). These shoes, when worn correctly, provide the following advantages:

- It allows you to connect to the pedal to apply maximum force during your workouts. This is particularly advantageous if you are short on time and need to get in as many miles/hours a week as possible while still applying maximum power throughout your workout.
- Builds strength in your calves faster since it forces them to be engaged throughout the entire pedal stroke.
- Provides comfort if appropriately worn due to its snug fit around your feet and toes, providing support.
- Keeps your feet from slipping off the pedals. This is especially important during sprint workouts where speed may exceed 35mph.
How To Properly Put On Your Peloton Shoes?
Before putting on your shoes, please make sure you wear socks that provide some cushions (preferably ones made for cycling). This is necessary because cycling shorts without padding combined with the stiff soles of your shoes can be uncomfortable. Furthermore, do not wear ankle socks with these shoes as this will lead to discomfort and may cause chaffing/blisters due to how tightly they fit around your feet if worn correctly.
1) First step is to buckle the shoe’s velcro strap at the bottom of your ankles. The important thing here is that you have about one finger width between your skin ends and the shoe begins.
2) Next, tighten the velcro strap around your arch. The importance here is to make sure that it’s very snug when you pull the belt and do not move. It doesn’t need to be too tight, but it needs to be much faster than you think. You can tell if your shoes are too loose by looking at the wrinkles in the sole.
When they’re in their proper fit, these wrinkles will disappear, and there won’t be any excess room between the shoe and your feet. If there is extra room, please note how far back or forward your heel moves for you to get a better idea of whether or not you have them appropriately buckled/sufficiently (too loose). Don’t worry though, once you’re on the bike; your feet will be pretty much stuck in place.
3) Next, adjust your velcro strap around your ankle by tightening it once more to give you some support/stability while cycling. Note that this is different from what you did in step 2). It’s also important that when doing so, no wrinkles are being formed under the sole of your shoe at this point.
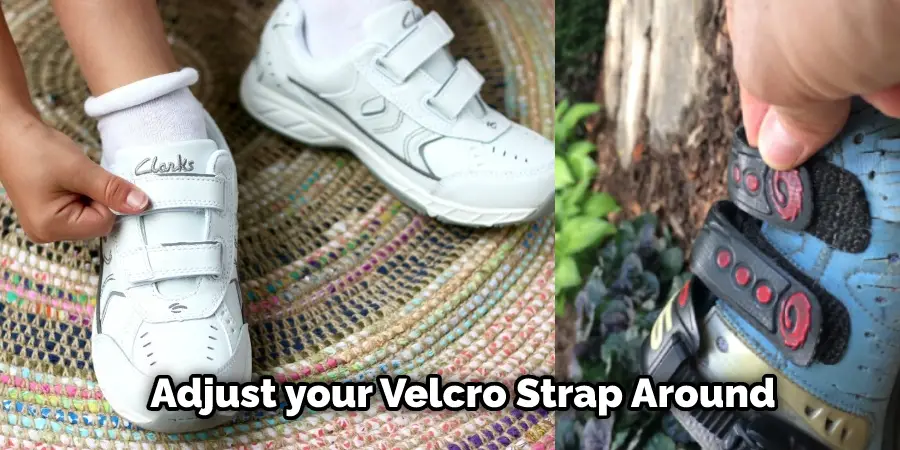
If they are present, please note where they are coming from, so you can get a better idea of how tight or loose to buckle them next time. Just remember, these straps should be too tight than too loose because not only will it provide extra stability, but it’ll help prevent blisters and discomfort.
4) Lastly, tighten your buckle around your ankle to make sure there are no wrinkles under the sole of your shoe. This will determine whether or not you need to bend down and tighten them one last time.
Frequently Asked Questions
Should Peloton Shoes Be Tight or Loose?
Peloton shoes should be tight. This is because they are intended to give the maximum amount of power to your feet while you ride on them. However, if you’re having trouble fitting into them, you can use a bike pump or air compressor to adjust the pressure inside of the shoe.
Are Peloton Shoes Narrow?
Peloton shoes are not narrow. Narrow shoes can be uncomfortable to walk in, especially for people with wider feet or those who have had foot surgery.
Do You Wear Socks With Peloton Shoes?
We need to understand some key things related to wearing socks with Peloton shoes.
- Yes, you can wear socks with your Peloton bike shoes, and it is recommended that you do so to provide a better fit and comfort for your feet.
- You should be aware of the different types of socks that are compatible with your bike shoes, as well as their proper use and care guidelines, before deciding on which type of socks will work best for you.
- When choosing the appropriate socks for your ride, make sure they are long enough so that they stay tucked into the shoe when in use or not visible at all while stationary or during a ride (preferably hidden by shorts).
Are Peloton Shoes the Same as Cycling Shoes?
Peloton is home-based workout equipment and app that has recently taken the fitness world by storm. It is basically a stationary bike with an HD screen, but you can also watch videos or read articles on it.
The Peloton Bike is different from regular cycling shoes because it does not have clipless pedals, so you cannot get in the “clutch” position while riding, which makes it difficult to pedal smoothly.
However, if you want to cycle outdoors, this product will work for you because it provides resistance when pedaling and offers a wide range of workouts such as spinning, interval training, and climbing hills.
Conclusion
If everything is done correctly, there should be no pain when standing up straight after this point. However, if it hurts standing up honestly, you’ll need to adjust your heel placement in the shoe by squeezing/pinching together that area between where the tongue of the shoe rests against your feet.
You mustn’t “pull” on this part with your hand because doing so can cause some severe damage to these shoes over time. I hope you have obtained a clear concept of how to loosen Peloton shoes. Thank you and have a nice day!