Introduction
Shoes are a popular article of clothing for everyday wear. They come in different colors, shapes, and sizes to fit many other people’s tastes and needs. In addition, there are many brands of shoes and shoe care items such as polish and glues, which can be used to keep the shoes at their best appearance possible.
One may wonder if shoes benefit us so much that we spend money on buying these articles of clothing. Still, there is actual evidence showing how much our feet change when wearing shoes: The bones in the feet collapse and flat bones begin growing due to pressure from wearing tight-fitting footwear. In this article, I will discuss how to make a big shoe box. So let us get started.
A Detailed Stepwise Guide on How to Make a Big Shoe Box
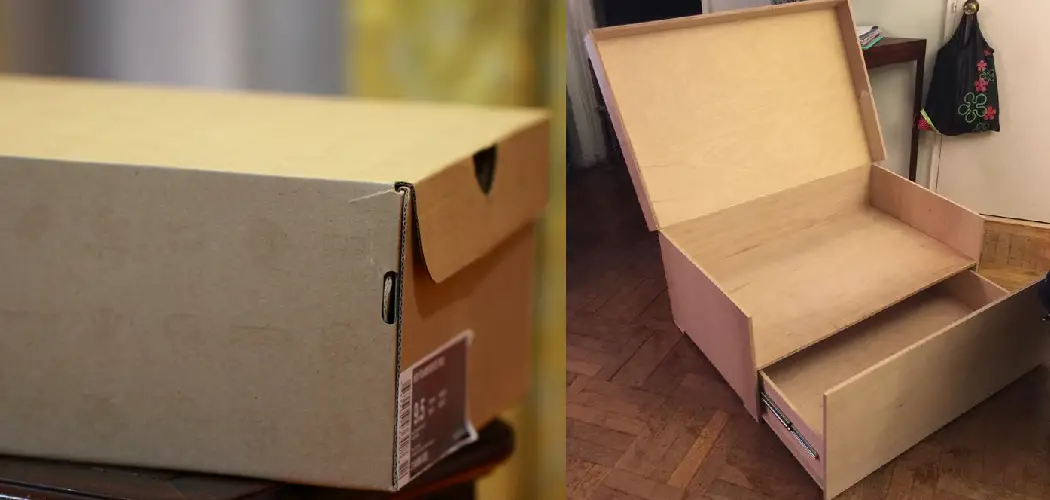
Design-wise, the “big shoebox” is a simple rectangular structure with foldable flaps on the front and back. For strength and durability, we will use chipboard (thick corrugated cardboard) for this project. First, let’s look at what materials and tools you need:
Materials
4 Sheets of shoebox-size Chipboard (at least 10mm thick) (Korean supermarkets usually sell it in 2 packs) Note. When buying chipboard for this project, remember that its thickness is generally expressed as millimeters (e.g., 5mm = 0.2 inches). Scissors Ruler Pencil and ample space to work in, like an open room or garage.
Tools: Scissors Ruler Printer Pencil Glue (wood glue, PVA glue, rubber cement, etc.) Exacto-knife (optional) Heavy objects like dustbins or heavy books to use as weights while the glue dries.
Step 1:
Print out the template file (click on it to download) and cut around the dotted line. Then cut along the solid lines, fold on all the dotted lines and stick (with glue/rubber cement).
Step 2:
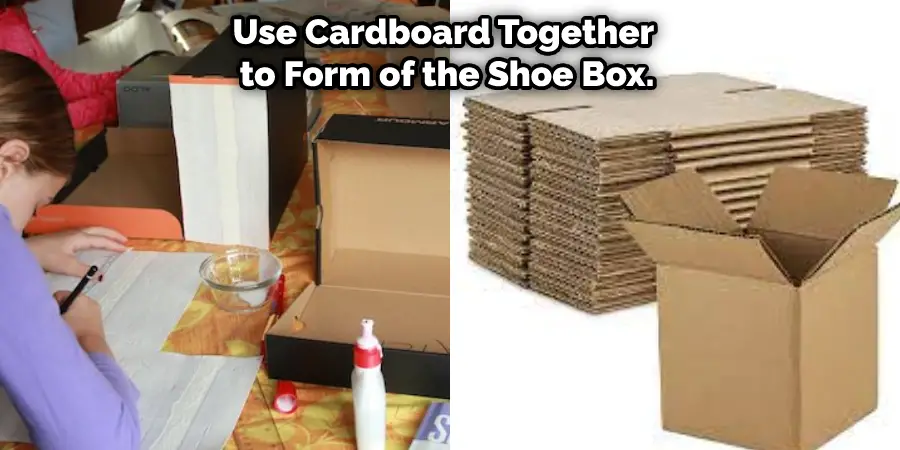
Cut out each of the four box pieces with scissors (in our case, we used cardboard for extra strength – your choice if you want to do this too).
Step 3:
Place two opposite pieces of cardboard together to form the lid of the shoe box. To do this, place one piece on a flat surface with its flaps folded towards you and then place the other piece on top with the flaps facing away from you.
Step 4:
Fix them together by folding in each flap along the crease lines. Use an object like a ruler to press down firmly and make sure it’s well-fixed before proceeding.
Step 5:
Now add glue to all parts that will come into contact during assembly (e.g., where two flaps meet and where any folds meet). Let it dry for at least 30 minutes before moving on to
step 6:
If your chipboard pieces are thicker than 5mm, you should double-check the manufacturer’s specifications for maximum adhesive life.
Step 6:
Now, bring together the four pieces of a different set and place them on top of each other, with the inside facing outwards. To ensure that they’re all in line correctly, fix them together by folding in each flap along the crease lines (see photo below). Again use an object like a ruler to press down firmly and make sure it’s well fixed before proceeding.
Step 7:
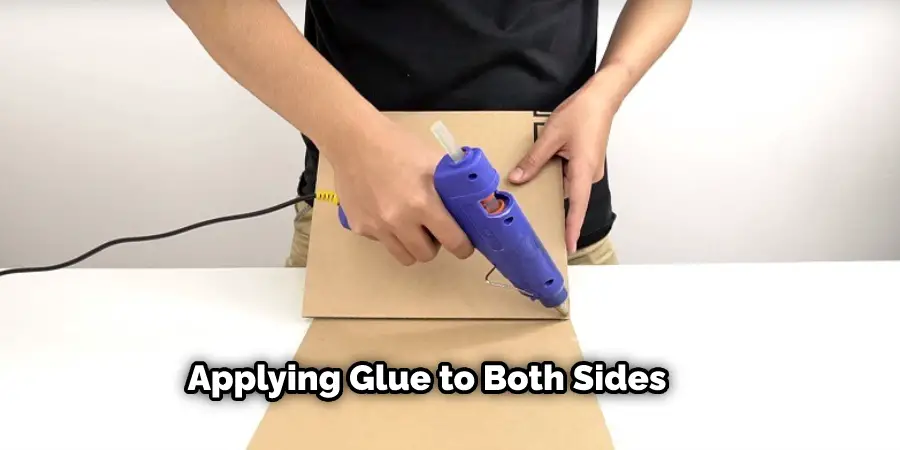
Fix them together by applying glue to both sides of where two flaps meet and also any folds/creases. Fold-down this side too!
Step 8:
Let dry entirely until not sticky at all (at least 30 minutes).
Step 9:
Glue the flaps on one side of this “box inside a box” together to form the base of the shoebox (see top photo). Then repeat step 8.
Step 10:
Repeat steps 3-9 for each of the remaining sets of four pieces. It may seem like overkill, but it’s best if you do two batches at first, let them dry for an hour and then go back and finally glue together all four sets.
Step 11:
Let dry completely overnight or even longer if possible (although it should be strong enough after 4-8 hours, depending on how suitable your adhesive is).
Step 12:
Carefully cut out along each red dotted line with an Exacto knife or scissors.
Step 13:
Fold into a place were indicated by the red arrows below. Make sure that you’ve already glued together all four sets of pieces first before doing this! Then do not proceed to step 14 until these hinges are dry and sturdy enough. Otherwise, it will all fall apart. We gave ours 8 hours drying time which was fine for most places, but they fell apart slightly near the corners, so if you’re using chipboard thicker than 5mm, I suggest at least 12 hours drying time.
Step 14:
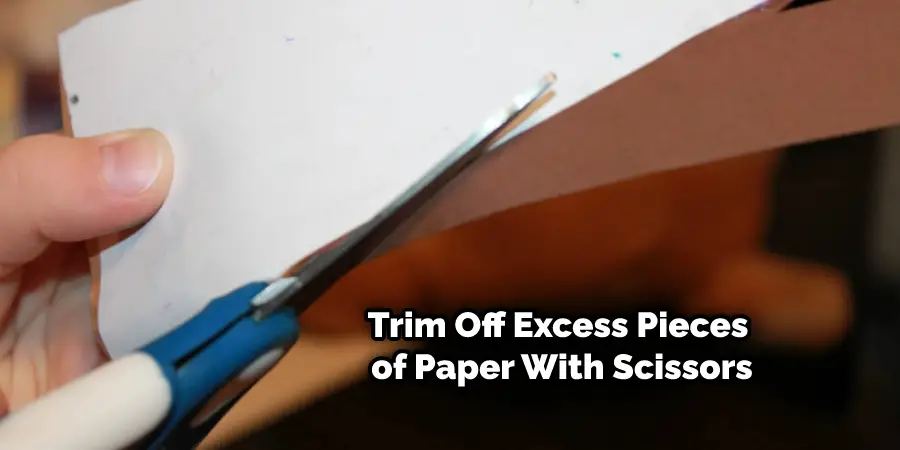
Trim off any excess pieces of paper with scissors or an Exacto-knife (if you used cardboard-like us), and cut out the four shoebox flaps on the dotted lines. With very sharp scissors, simply slice along each line to remove them without folding. (If you used a thick cards as we did, gently fold back each flap first before cutting them out). That’s it! You can now use these shoebox flaps to open and close your shoebox quickly.
Precautions While Making a Big Shoe Box
1. The height of the shoebox should be more than five fingers above your shoulders while sitting. While writing, you should always sit on a chair with armrests or cushion. Get an elevated stand for your desk if your feet do not touch the floor even while sitting.
2. When attempting to build something like this, make sure that all carpentry tools are within reach before starting anything else (in case you need them). Also, create sure that there is no one under you to bump into or trip over when working because it will save you from physical injuries to yourself and others around if someone happens upon you by accident at full speed while building something like this.
3. Make sure that no one is standing near to drop or shake something on you. Remember that this is different than the typical incidents that occur every day because someone could accidentally bump into your desk, which might lead to an accident if they are not careful.
4. Make sure your room is well lit or provided with a lamp for this type of work to prevent eye strain, and also make sure you have a sound vision before trying anything like this. Also, switch off all fans in your room, including table fans, because accidents happen quickly.
Frequently Asked Questions
Why Do Shoes Fall Apart if Not Worn?
It is a question that arises in the minds of many people. If you have bought a pair of shoes and it doesn’t look worn out, why does it fall apart when not worn? There are many reasons for this phenomenon:
- The shoe material may be less durable, or the shoe construction may be faulty.
- The stitching could have been poorly done and has broken down with time.
- shoes get wet from rain or sweat, and this damages the shoe material and causes it to break down.
Should Shoes Be Stored in Plastic Containers?
Storing shoes in plastic containers is a great way to keep them from getting dirty or ruined. However, there are some drawbacks to this method of storage. First, when you store your shoes in a plastic container, they can get discolored over time and start to look old. This is especially true if the container gets wet with water that has touched your shoe.
The other drawback is that plastic will not be as airtight as other types of packaging and could lead to moisture being trapped inside, resulting in mold or mildew growth on the surface of the shoe.
Conclusion
I hope you have obtained a clear conception of how to make a big shoe box from this article. Ensure all the precautions while performing the process. Thank you and have a nice day!
Check it –Best Shoes for Arthritis in Big Toe