Introduction
EVA foam is a term to describe expanded polystyrene beads mixed with phenolic resin, which are shaped into sheets before being heat-cured by an autoclave or oven. The beads are made of polystyrene, making them strong yet lightweight, so they don’t create too much pressure on the foot when walking in high heels.
The phenolic resin helps keep the shape of the plastic beads while also making them waterproof, fireproof, and resistant to ultraviolet radiation from the sun. In some countries, EVA foam is called Styrofoam due to the materials being essentially the same. In this article, I will discuss how to make shoe armor with EVA foam. So let us get started.
A Detailed Stepwise Guide on How to Make Shoe Armor With EVA Foam
1. What you’ll need:
- EVA foam in desired thickness and color (you can use this for the base, details, and edge). I used about 4mm black and white.
- Scissors / Knife / Cutting Mat (use a cutting mat to protect your surface from getting cut).
- Ruler.
- Marker. [I recommend a water erasable fine point marker.] [Other tools such as an Exacto blade or hot knife/razor might be good to have on hand depending on what you do but will not be necessary for this tutorial]
2. Draw out your pattern pieces onto the foam in marker. Make sure to leave extra all around so it can be sanded down afterward. Use a ruler to get straight lines and a vice to hold the foam steady while drawing it out with a marker or Exacto blade.
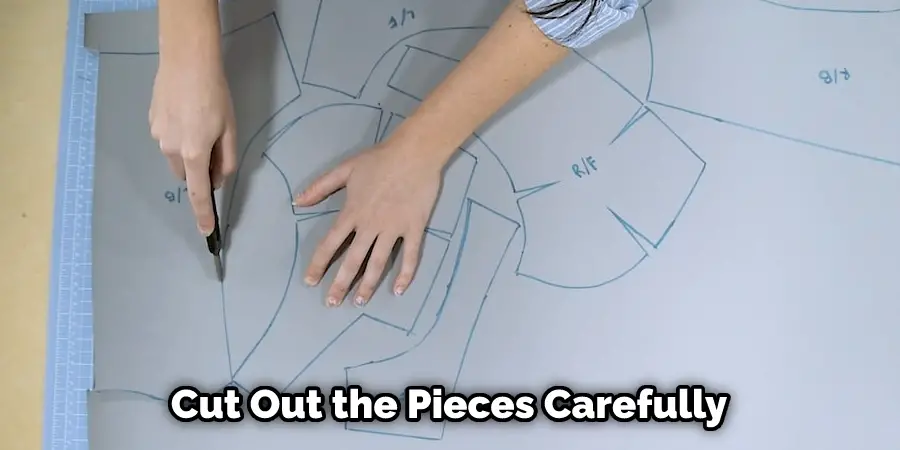
3. Cut out the pieces carefully using scissors or knives.
4. Sand down all sides of your new armor pieces for smooth edges where needed. [You can also use an electric sander for this but be careful not to touch any bare metal to your advantage, that will rust!] This is important because if there are jagged foam pieces on the inside of your armor, it will hurt when you move around in cosplay! If you don’t have access to sandpaper at home, you can use wet/dry sandpaper at your local hardware store.
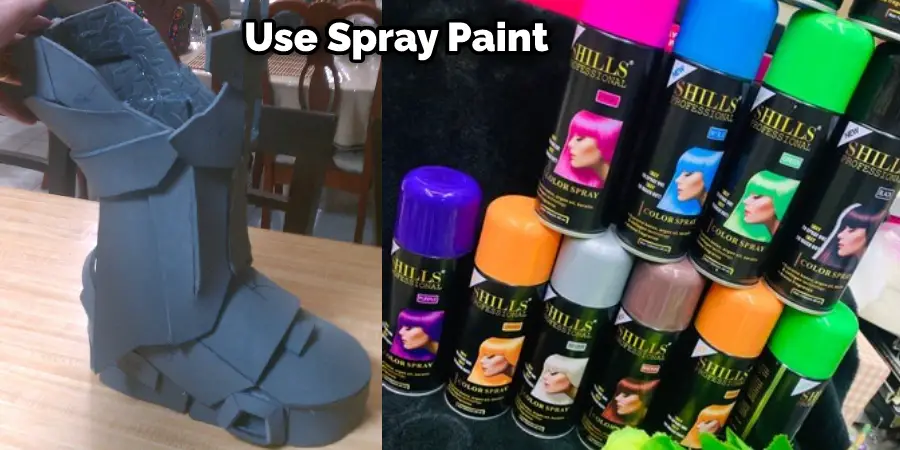
5. Once the edges are all sanded down, you can then paint them with a base color or spray paint as I did here. You might want to do a few coats of spray paint for smooth, even coverage. Be sure to hold the can far away from your workspace, so it doesn’t get wet/hit by drips! [For painting without a can, you could use acrylic paints and a brush instead.] There are many different ways to finish your foam pieces, depending on what look you’re going for.
I went with white armor padding with black rubber straps so my metals wouldn’t shine through as much if they were painted gold later on, but that’s not necessary at all. It all depends on your armor design. After the paint has dried completely, you can seal it with a matte finish acrylic spray so it won’t get damaged easily if they are knocked around or handled a lot.
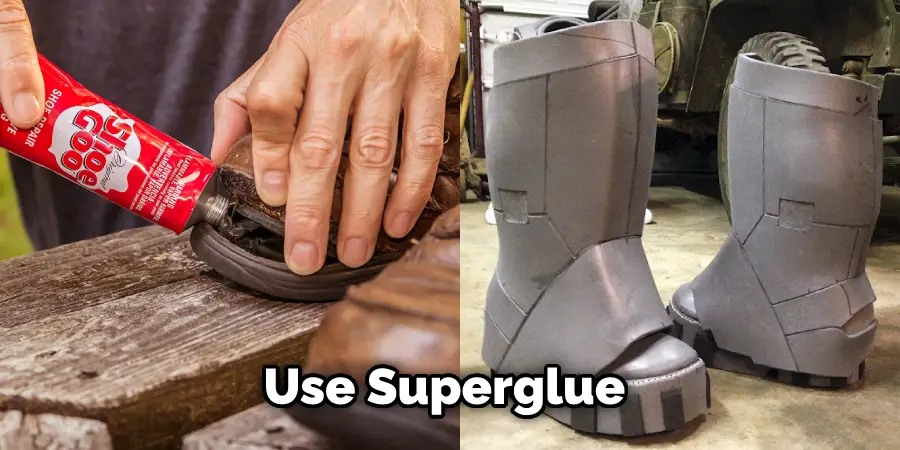
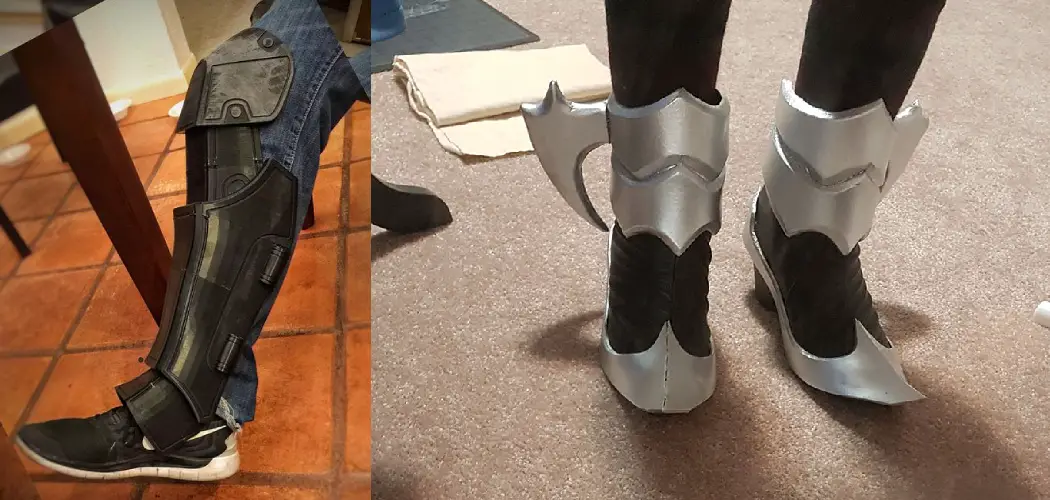
6. Once the paint and sealer are dry, you can start putting your pieces together using superglue or hot glue, as I did here. First, glue the padding to the rubber straps as shown, leaving an extra 1/4″ gap from where your leg ends, and begin for adjustment purposes later on. There are many different ways to connect foam pieces, too, depending on what look you’re going for or how much weight you want them to hold up. For example, velcro strips would work well for this too.
You Can Check It Out Dye Satin Shoes
7. After everything is dry, you can now start customizing your armor with details made out of EVA foam or worbla/Foamies! As I mentioned before, the possibilities are endless for this part, depending on what look you’re going for.
Just make sure to use a hot glue gun for detail pieces because it’s quick and dries hard to avoid snapping pieces off while handling them. [If using solvent-based paint to adhere your pieces together, that will work too.] You can then sand down any sharp edges from cutting or gluing, which helps smooth it out even more if need be.
8. For finishing touches, add rivets to give your piece an industrial look. You can also dye your detail pieces black to provide them with a worn-out look or spray paint them gold, silver, etc.
9. I then primed and painted the armor pieces with several coats of primer, followed by aluminum-colored metallic paint. I used Rub N’Buff for painting this part, which gives it an antique metal finish. You can do several layers of this or just one, depending on how many colors you want it to have in the end. Then I sealed it in with a matte acrylic sealer so it won’t get damaged easily if handled a lot at conventions etc.
10. I then went back and did some final touch-ups to make sure everything was smooth and even. Next, it will be time for riveting! Unfortunately, I don’t have any pictures of the riveting process because my hand got tired from hammering, lol. But it’s straightforward.
Just drill holes in your foam where you want the rivets to go, put a small dab of glue on the end of an old screwdriver with a flat top [I used superglue], stick it inside your drilled hole, and flatten/bend down the stops on a hard surface until they are flat against your armor piece. Make sure you trim off any excess from hammering, which you don’t want to stick out from your armor.
11. As I mentioned before, there are many different ways to connect your foam pieces. But if you want them to look good and hold up weight without breaking, you’ll have to have some metal rings or eyelets for stitching or riveting the armor pieces together.
You can get these at a local hardware store in the rope/baling wire section. They come in all different shapes and sizes, which is nice when trying to customize it with your armor design. Depending on what kind you end up getting, you may need pliers to help bend the ends flat against the ring.
Frequently Asked Questions
What Can You Make Out of Eva Foam?
Eva Foam is a type of foam made out of open-cell polyurethane foam, which means that it can be molded and shaped. It can be used for all kinds of applications like packaging, furniture, or any other application where you need to make something in the shape of something else. The most common use for Eva Foam is as insulation for wall cavities such as attics and walls.
Can You Use a Hairdryer for Eva Foam?
Yes, you can use a hairdryer for Eva Foam. This is a popular question that has been asked by many people. We have found that the answer to this question is yes. You can use a hairdryer for the technique of Eva Foam.
At What Temperature Does Eva Foam Melt?
Evaporating the liquid inside of a can creates foam. The liquid will freeze at 0 degrees Celsius but will evaporate and become gas as soon as it is above this temperature. The lowest temperature that Eva Foam melts is approximately -20 degrees Celsius.
Conclusion
I hope you have obtained all the necessary information on how to make shoe armor with EVA foam. Ensure all the precautions while performing the process. Thank you and have a nice day!
read our other article – Best Shoes for Shooting Range