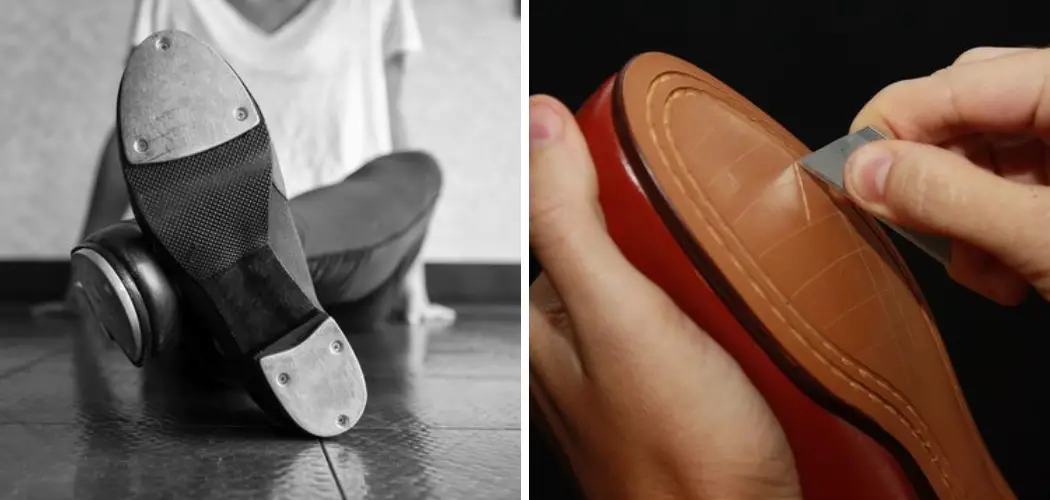
When you’re first learning how to tap dance, one of the most important things to know is how to make your tap shoes not slippery. This is because if your shoes are tricky, it will be difficult for you to make any sound with them, and you’ll look like a beginner. Luckily, there are a few things that you can do to make your shoes less slippery.
In this article, we’ll discuss some of the methods on how to make tap shoes not slippery. So, whether you’re just starting or have been dancing for a while, keep reading for tips on how to make your tap shoes less slippery.
Required Materials
- Tap Shoes
- Fabric
- Scissors
- Sewing Machine or Needle and Thread to Hand Sewn Taps
A Step by Step Guide on How to Make Tap Shoes Not Slippery
Step 1: Preparation
When making tap shoes, start by deciding the color of fabric you want. Then cut a piece of cloth that would cover the sole and sides of your shoe. Please make it so there is a decently sized overlap since your tap will need to fit in between the two pieces of fabric as well as over the top.
Step 2: Measure & Sew
Lay your tap shoe on top of your fabric and cut a small slit in the middle. Add about 1cm worth of space between both pieces, so you have room to sew it together correctly. Fold one side over to meet the other and sew a straight line around the entire thing, leaving a small gap open for your tap.
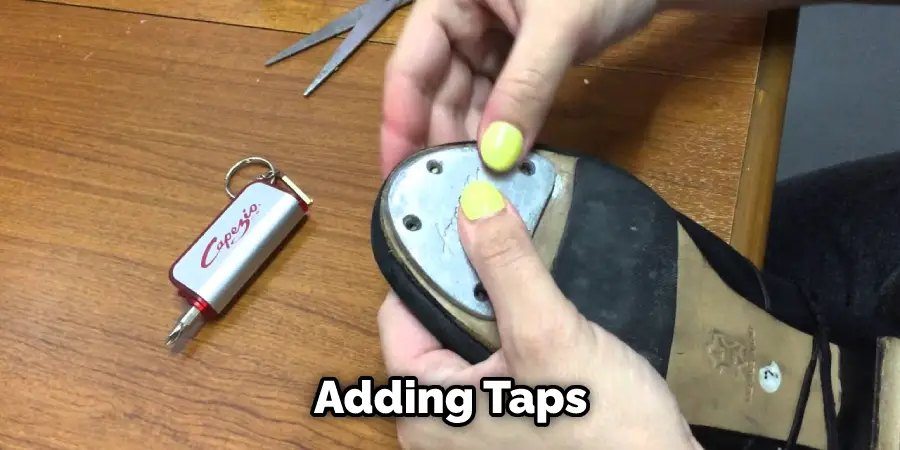
Step 3: Insert Taps
Once you’ve sewn both sides together, use pliers to pull out the stitches from each end until they’re big enough to fit your taps inside. Then, put them in at an angle (about 45 degrees). Now that your fixtures are in place, you can finish sewing the ends shut! Again, stitch along the original thread path and make sure not to go through any of your taps.
Once you have sewn the bottom of your tap shoes, you can add extra grip by adding a thin fabric strip around the base. This will ensure that your new tap shoe not only looks cute but functions how it should! It is a vital step in how to make tap shoes not slippery.
Step 4: Use Grip Pad
If you’re still slipping on the bottom of your shoe, placing a grip pad underneath will ensure that this doesn’t happen during performances. Once you have sewn the tap properly and cut out your fabric strip to size, simply staple/tape it to the bottom of your shoe; if needed, add padding beforehand so you can properly attach the grip.
Step 5: Use Duct Tape
Grab your duct tape and a tap shoe. Hold the end of the tape up to one side of your shoe, making sure it’s straight. Once you’re satisfied with where you’ve stuck it down, press another piece on top of that one at a 90-degree angle, going from corner to corner. Continue this method until you have covered both sides of your sole.
Let the duct tape sit for about 5 minutes so it can completely stick to the bottom of your shoes before wearing them onto any surfaces. How long they last is dependant on how many times you wear them and how often you dance in them on different floors/surfaces!
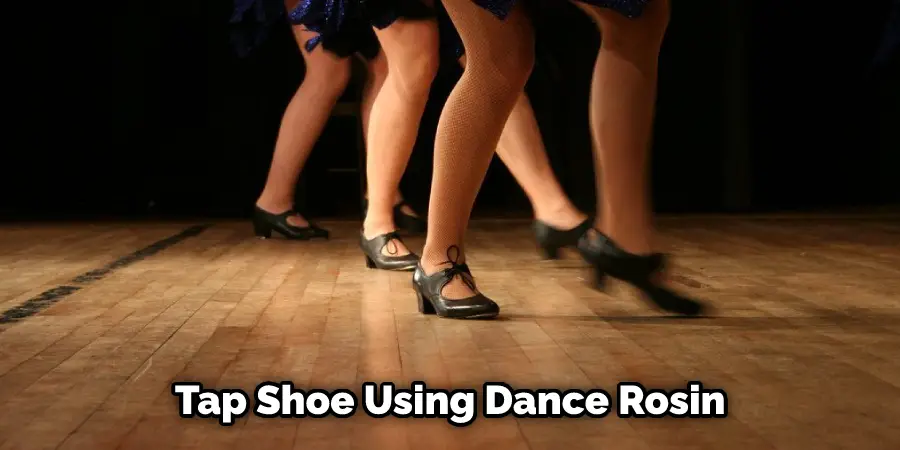
Step 6: Use Dance Rosin
Another option to ensure that your tap shoes do not slip is using dance rosin. Dance rosin has many uses, and the primary use for this item would be on a dancer’s feet so they can grip the floor better while dancing.
You want to make sure when applying rosin; it is only used in small amounts at the bottom of each tap shoe (be careful not to apply too much). Once you’ve rubbed the rosin into the sole of your tap, make sure you cover it up with clear tape or plastic (this will keep the rosin from rubbing off).
Dance rosin typically lasts about two weeks before it wears off. Once it does wear off, repeat the process until you have found your desired results!
Step 7: Sandpaper
Many tap dancers will use sandpaper to rough up the bottom of their shoes. First, you’ll want to tape off the top of your shoe (to ensure that no extra texture is added). Then, you’ll want to begin applying small amounts of sandpaper around the sole until it feels like small bumps are sticking out.
The idea behind using sandpaper is that because there are now rougher parts on the sole of your shoes, when you dance, bits and pieces collect onto these parts, which then gives your feet more grip as they dance!
Step 8: Use Water
Keeping your tap shoes in a humid area (underneath or inside something such as a sink) can make them less slippery. The idea behind this is that because the sole of your shoe was made to absorb water and expand, if they’re placed in an environment where there’s humidity and moisture around, your shoe absorbs these elements and then expands slightly. This then makes it easier for you to grip the floor while dancing!
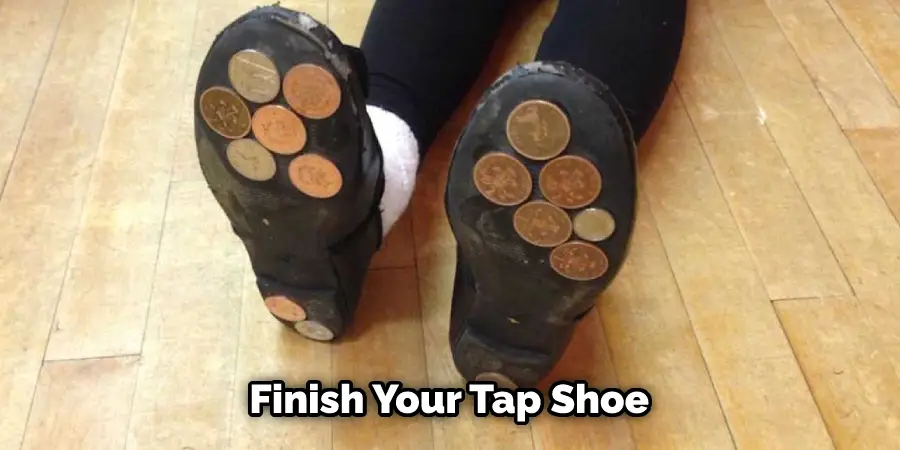
Step 9: Finishing Touches
If none of the above work, you can try adding a bit of chalk to the sole (before or after your tap shoes are finished). Once you’ve added chalk to the bottom of your shoe, dance as you usually would and then wipe off any excess chalk. These steps will help in how to make tap shoes not slippery.
Is There Any Permanent Way to Make Tap Shoes Non-slip?
It is possible to make tap shoes not slip, but it takes time and dedication. How to do so will vary depending on the material your tap shoes are made of and your personal preference. Controlling the amount of moisture on your feet can make a huge difference in keeping your taps from slipping. Here are some tips:
- Dry off your feet after every use with a towel or, even better, an electric fan(not too close!) (you could also let them air dry).
- Making sure that you clean off any sweat or dirt before wearing them again can help prevent slippage and increase their life span. If you have smooth soles without rubber traction, you can use a lint roller to pick up any dry skin or dirt that may accumulate.
- Use tap shoe grips (rubber pads that stick to the bottom of your shoes). Some people don’t like the tackiness of these; others find they’re perfect for absorbing sweat and not allowing their taps to slip. There is also a spray-on grip!
- Invest in non-slip soles made from suede, leather, rubber, etc. (You can use double-sided tap shoe tape)
- Use No-Slip grip spray (can also use WD40, etc.)
- Some people find that foot powder or corn starch helps control moisture and keep their taps from slipping.
Frequently Asked Questions
Can I Remove the Tap From My Tap Shoes to Stop Slipping?
You cannot remove the tap from your tap shoes to stop slipping. If you do, you won’t be able to play on a floor made of a different material than a stage surface. When purchasing a quality pair of taps, they should have been installed on rubber soles that grip both materials. You can buy replacement pieces if needed.
Does Dust Cause Tap Shoes to Slip?
Dust on the floor below your feet will not cause tap shoes to slip, although it is advisable to avoid walking through dusty areas wearing tap shoes due to concerns with tracking that material into buildings or homes. You can clean materials like wood or laminated surfaces using a soft dry cloth. If you’d prefer, you can use a damp cloth so long as it’s lightly wrung out in water only.
Do You Always Slip With Tap Shoes?
You may occasionally slip with tap shoes, but the feeling should be very unusual. If you are constantly falling, make sure your shoes fit correctly and are tied tightly to ensure the taps themselves do not move around excessively on the soles.
Does Rubbing on Concrete Damage Tap Shoes?
Walking on concrete with tap shoes can damage the taps if they are not correctly installed. If you have a high-quality pair of fixtures, you may be able to walk across a very smooth surface like glass without damaging them. Otherwise, it’s best not to take tap shoes out on cement or another rough surface while wearing them.
Do You Wear Socks With Tap Shoes?
You can wear socks when playing with tap shoes, but it isn’t necessary. If you’re wearing the proper size and type of tap shoes, they should be able to fit snugly so that your feet stay in place during a performance.
You Can Check It Out To Make Shoes in the Wilderness
Conclusion
At the end of this post, you should better understand how to make tap shoes not slippery. If you want to get your hands on some new tap shoes that will allow for more traction and less slipping, then we’ve got just what you need! Check out our selection at www.tap-danceusa.com today and save big with free shipping over $75.
We hope these tips help keep you from sliding all over the stage or floor while performing – and remember, if it gets too slick, try adding grip tape to your shoe bottoms before getting back up there again!
You Can Check It Out To How to Store Cowboy Boots