When it comes to sneakers, there’s no shortage of ways to customize them. From adding new laces to painting the soles, sneakerheads are always finding new and creative ways to make their sneakers unique. But one customization that often goes overlooked is removing glued insoles.
Removing the glued insole can be a great way to change up your look, and it’s a modification that anyone can do themselves. In this article, we’ll show you how to remove glued insoles and give you some tips on how to customize your sneakers using this method. So read on for all the details!
What Is the Use of Shoe Insole?
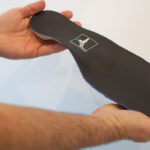
The shoe insole is an essential part of the shoe. It can be made of different materials such as cork, cloth, felt, foam, leather, rubber, and vinyl. Its essential function is to provide comfort and support to the foot. It also helps in absorbing the sweat and moisture from the foot. Moreover, it improves the fit of the shoe.
The shoe insole can be glued or inserted into shoes. They provide additional comfort and cushioning effect. If the shoe’s sole is damaged, it should be replaced with a new one. The shoe insole also helps maintain hygiene as they absorb sweat and moisture from the foot. In addition, it protects the feet against external injuries by providing shock absorption properties.
Shoe insoles are used extensively by athletes for their protection during training sessions. When the shoe sole wears off due to prolonged use, there is a need to replace the shoe insoles.
A Step by Step Guide on How to Remove Glued Insoles
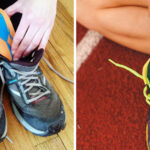
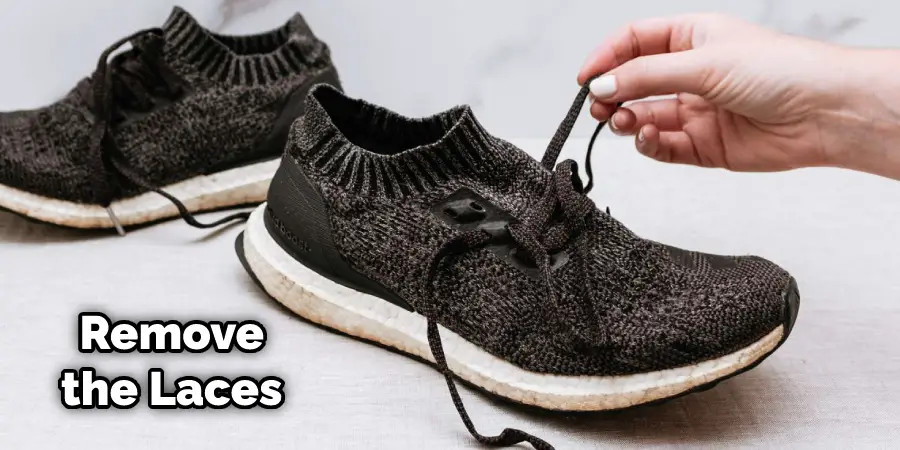
Step One: Remove the Laces
The first step is to remove the laces from the shoes. This will make it easier to access the insoles.
Step Two: Use Hairdryer
The second step is to use a hairdryer. Place the hairdryer on the highest heat setting and hold it about six inches away from the glued insole. Heat the glue until it becomes soft and pliable.
Step Three: Put the Shoe in an Oven
If the glued insole is still attached to the shoe, you can put the shoe in an oven on the lowest heat setting. This will help soften up the glue and make it easier to remove.
Step Four: Remove the Insole
The fourth step is to remove the insole from the shoe. Place your fingers underneath the glued insole and pull up. Continue this process until you have entirely removed the glued insole from your shoe. This step will help in how to remove glued insoles.
Step Five: Call a Professional
If you cannot remove the glued insole from your shoe, you can call a professional to help you out. They will have the proper tools and experience to remove the glued insole quickly.
Step Six: Clean the Insoles
The fifth step is to clean the insoles. You can do this by using a brush and water. Dab the insole with a towel and ensure it is entirely free from dirt, dust, residue, etc.
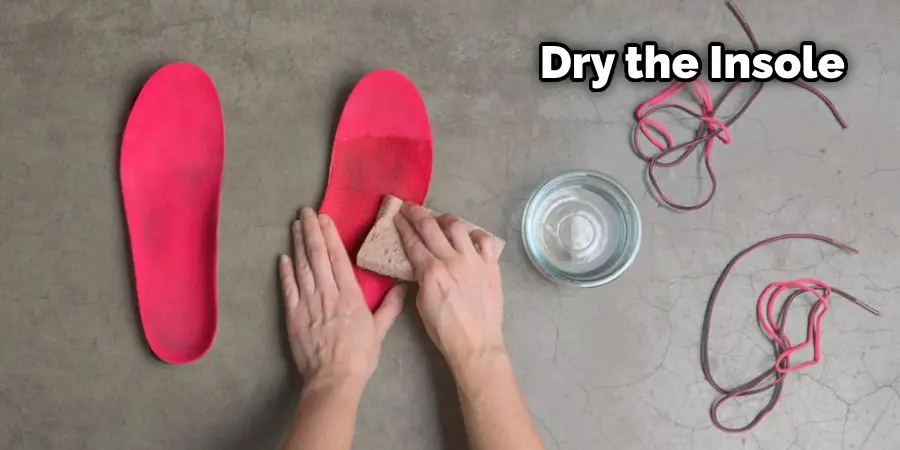
Step Seven: Dry Insole Completely
The sixth step is to dry the insole completely. This will ensure that there is no moisture left on the insole’s surface. If you have a hairdryer, you can use it to dry off your insoles after cleaning them. Once they are thoroughly dried out, place them back into your shoes where they belong.
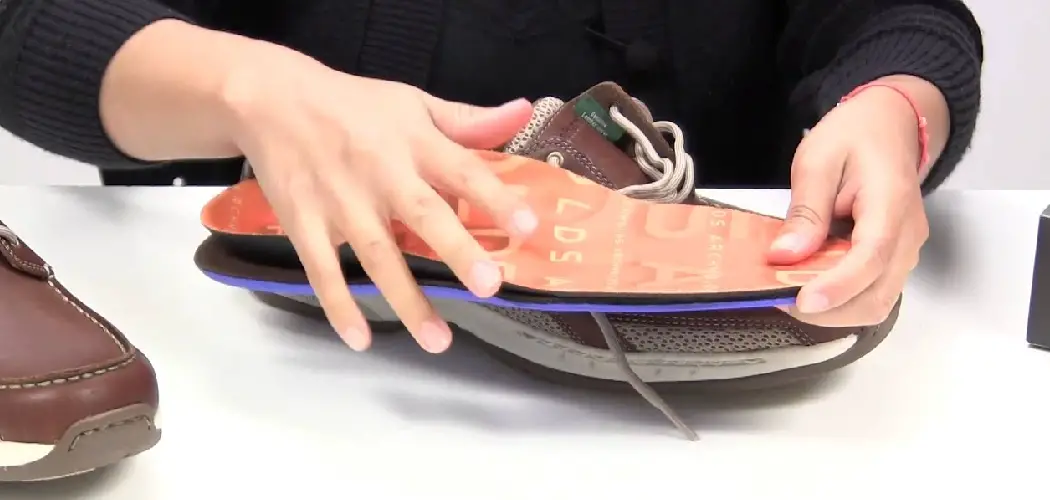
Step Eight: Add Your Insoles
The final step is to add your insole. You can use a craft knife and cut out the shoe’s shape into an existing shoe insole. Then, glue the new replacement insole into place, or try out some neoprene insoles like these. And that’s all there is to it! How easy was that? Now you’re ready to start making custom sneakers with your very own unique insoles.
Tips and Warnings
Tips
- If the adhesive is powerful, you can try using a hairdryer to soften it up before attempting to peel it off.
- If there is any residual adhesive left on the insole or shoe, you can try using rubbing alcohol or a petroleum-based product like Vaseline to help loosen it up.
- Be careful not to damage the insole or shoe when removing the adhesive.
Hopefully, these tips will help you remove those pesky glued insoles! Good luck!
Warnings
- Do not use a sharp object to pry the adhesive off, as this could damage the insole or shoe.
- Do not use excessive force when removing the adhesive, as this could damage the insole or shoe.
- Do not soak the insoles in any liquid, as this could damage them.
- Do not try to heat the adhesive with a hairdryer or other heating device, as this could cause it to ignite.
Be very careful when removing glued insoles – you don’t want to damage your shoes or insoles in the process! If you’re struggling, these tips might help. But always use caution and be safe!
You Can Check It Out to Measure Insole of Shoe
What Are the Benefits of Removing Glued Insoles?
If an accident happens and the glued insoles of your shoes become undone, you may find it simpler to remove them instead of trying to correct the problem. Glued insoles often cannot be fixed like some other problems with foot alignment, such as bunions. Attempting to fix glued insoles can make the problem worse and cause damage to those particular shoes before they become unusable.
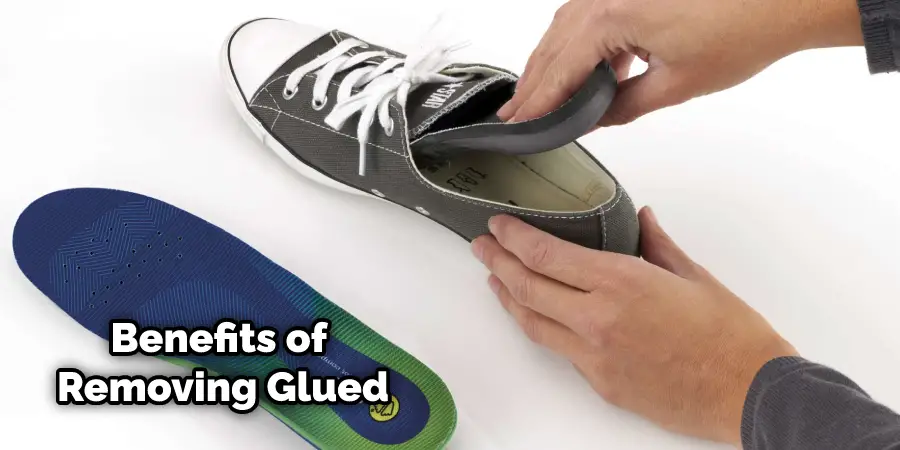
It may also prevent you from wearing those specific shoes until the glued insole is removed and that area is allowed time to heal. Removing glued soles immediately after becoming loose will give you more time out of those types of shoes instead of taking a chance on causing them further damage later on down the road.
Can All Converse Insoles Be Removed?
Converse insoles can be removed. For most users, this is easy to do. However, some people find it more difficult than others, depending on the adhesive they use for their glue-in insoles. Therefore, converse Insoles can not fully guarantee that Converse will work for everyone due to the varying types of feet and adhesive individuals have.
The people at Converse customer service can best assist you with removing any glued insole treatment from your shoes should you feel additional help is needed. How to remove a glued insole? Take a hairdryer and heat the glue – start from the back and then slowly move towards the front while peeling it off, taking care not to pull too hard, or it can fray and cause damage to the shoe.
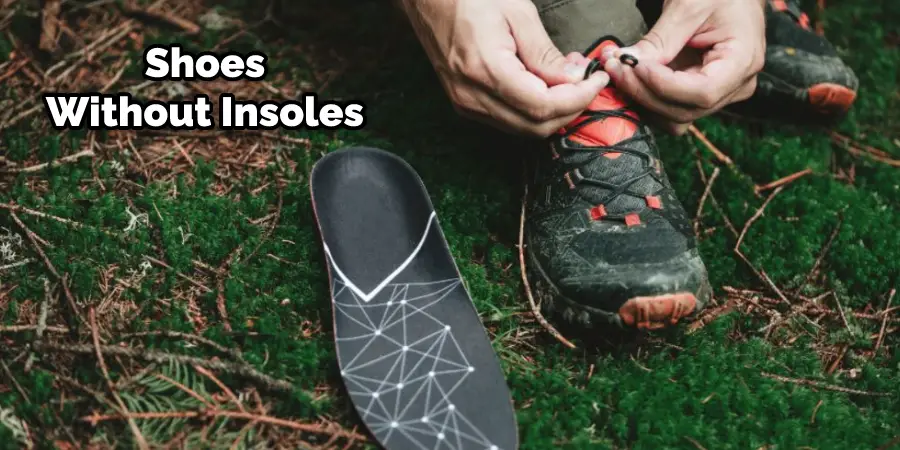
Is It Ok to Wear Shoes Without Insoles??
A lot of people ask this question, and the answer is yes. Many shoes are made without insoles, especially if they are a specific size or width. For example, if you have a wide foot, you may need to purchase shoes specifically designed for wide feet, as they will have a wider sole and more space in the toe box. It is perfectly safe to wear shoes without insoles in most cases, but there are a few exceptions.
If you suffer from plantar fasciitis or another foot injury, you will likely need to wear insoles in your shoes. Insoles can help support your feet and help to reduce pain and inflammation. If you do not have any foot injuries or problems, you can likely go without insoles. However, if you do not feel comfortable wearing shoes without insoles, you can always purchase and insert them into your shoes.
Frequently Asked Questions
Do You Remove Insoles When Using Orthotics?
If you’ve been prescribed orthotics, your doctor may have also given you instructions on when and how to remove the insoles from your shoes. Most people with orthotics remove their insoles when they’re not wearing their orthotics. This allows their feet to breathe and also helps to keep the orthotics in good condition. However, if you’ve been prescribed glued-in orthotics, your doctor will likely tell you to leave the insoles in your shoes at all times. This is because glued-in orthotics offer more support and stability than removable insoles.
Does Taking the Soul Out of a Shoe Make It Bigger?
There’s nothing quite like the satisfaction of a new pair of shoes. The anticipation of that “new shoe smell” is almost as reasonable as the feeling of taking them for a walk for the first time. When your new shoes start to feel a little too tight, You could try breaking them in or remove the glued insoles and make them a little bit bigger.
By removing the glued insole, you can make your shoes a little bit bigger. This is an excellent option for people who have problems finding shoes in their correct size or for those who want a bit more wiggle room in their footwear. It’s also a great way to stretch out.
You Can Check It Out to Wear Insoles in Shoes
Conclusion
This is the last step in how to remove glued insoles. It may feel like you’ve broken through some glue, but that’s just because it’s been on for so long! Take a deep breath and be patient as you work at loosening any remaining pieces. Once all the adhesive has come off, store them in an airtight container. Depending on how often you wear these types of shoes, this process can take anywhere from two weeks to six months before they’re ready again for use!