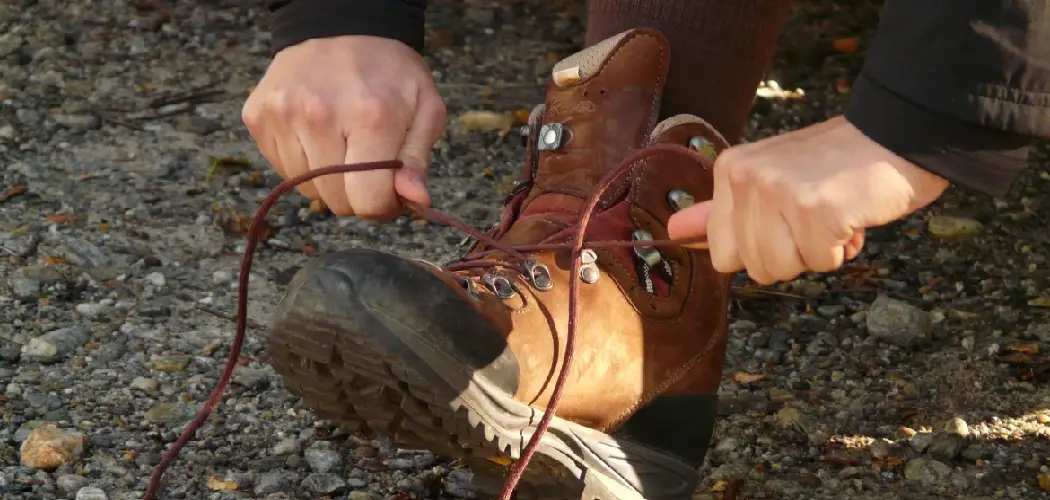
We’ve all been there. You’re in a hurry, you’ve got to leave for work or school, and you can’t find your shoes. They’re just not where you left them last night. It’s happened to the best of us. But what do you do when you can’t find your shoes and have to leave right away! In this article, we’ll teach you how to tie your shoes book quickly and efficiently so that you never have to worry about being late again. Stay tuned!
A Step Wise Guide on How to Tie Your Shoes Book
Step 1: Find the Right Length of Lace
Once you have determined what kind of shoelace is needed for when you tie Shoes Book, it is time to find out how long they need to be. For round laces, the length will vary depending on your shoe size and design. Generally speaking, round laces should be more than long enough to tie and will work best when about two feet in length.
Flat shoelace lengths will vary depending on the style of shoe that you have. They should be no shorter than 12 inches or longer than 36-inches, but the best size is usually 18-inches.
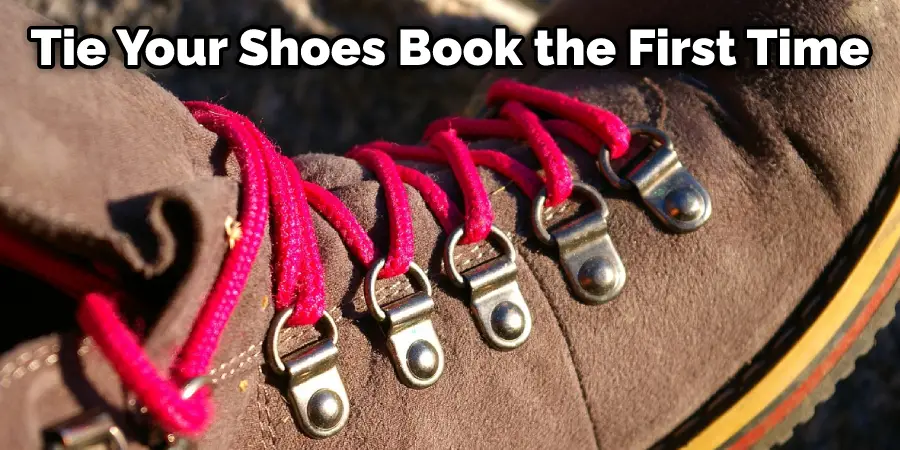
Step 2: Tie Your Shoes Book the First Time
Always begin with your shoe completely untied. Next, place your shoes in front of you on a flat surface. Now make sure that the right shoe is on the right side. The next step is making sure that the laces are not twisted. If they are, twist them counter-clockwise until they come untwisted.
After ensuring that the laces are not twisted, start by placing one lace across your toes and the other lace under your foot toward your heel. You should cross the laces from one side over to the other. Now take each lace and pull it up through your shoe’s holes. Your shoelaces should resemble cross shapes at this point.
You will need to take each part of the lace on the same side. Then, take one lace in each hand, without crossing them around or under each other, just holding them both straight out next to each other.
You can hold them by their tips or wrap your middle finger around the lace for a more secure hold. Now pull tight on both laces to make sure they are taut and snug against your shoe.
Step 3: Standard Shoelace Knot
Once you have your laces tight, take one lace in each hand. Make sure that the lace on the right side is in your right hand and the other lace is in your left hand. Start by crossing one end of the lace over to form an x-shape around the other shoelace.
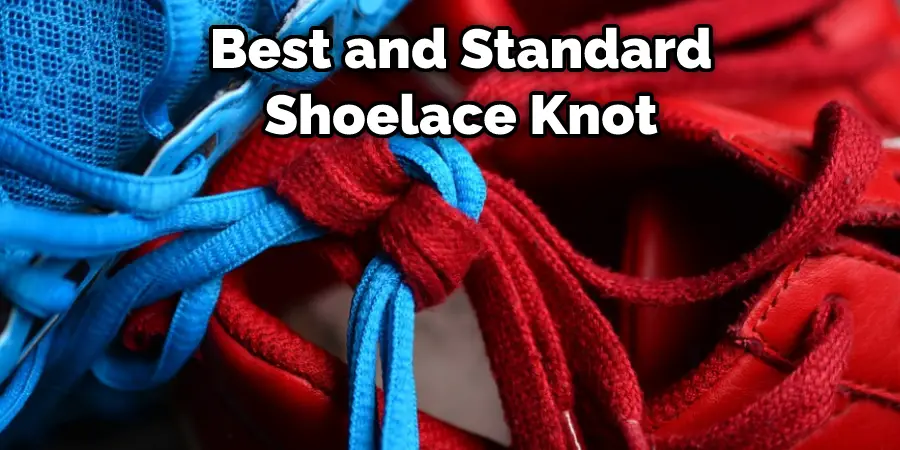
Then make a loop with the laces on the left side, crossing it over. Bring your loop into place by pulling one of the arms of the x through the loop you just made. The next step is to ensure no twists in your shoelace and bring each lace-up through its respective shoe’s hole. Push down gently on both loops with your thumbs. Next, pull each side of the laces tightly with both hands to tighten the slipknot.
Conclusion
If you’re looking for a fun and quirky way to learn how to tie your shoes, then this article will help you. This whimsical article is perfect for kids and adults and makes learning this essential skill easy and entertaining.