Introduction
Buckles on shoes can be a nuisance. If you’re unlucky, they might break and leave your shoe flapping open with no way to tie it. Of course, you can always replace the buckle or try tying the laces together instead of using the buckle, but if neither of those works for you, there is another option: Elastic!
Elastic is designed to stretch and hold things in place like sweaters and socks that seem too big for their size. It’s also handy for sewing into clothing as it will help keep whatever you are sewing tight against itself without having to worry about pins coming loose (and possibly poking someone). In this article, I will discuss how to fix elastic on shoe buckle. So let us get started.
In this article, I will discuss how to fix elastic on shoe buckle. Buckles on shoes can be a nuisance. If you’re unlucky, they might break and leave your shoe flapping open with no way to tie it.
A Detailed Stepwsie Guide on How to Fix Elastic on Shoe Buckle
There are a few ways to fix elastic on a shoe buckle. Knowing how to do this yourself will save you money and allow you the opportunity to make your shoes fit better. It is essential that these instructions are followed carefully since doing it incorrectly may cause damage to your boots or break your shoe buckle completely. Shoes stretched too far can be extremely uncomfortable, so here’s how to fix elastic on shoe buckle!
Tips: Do not attempt this tutorial if you have expensive shoes with precious buckles because they may cause damage. Also, try to avoid wear and tear around the crease area as much as possible to prevent further stretching of the band. However, if done correctly, there should be minimal signs of wear after the effect has been completed.
Materials You Will Need
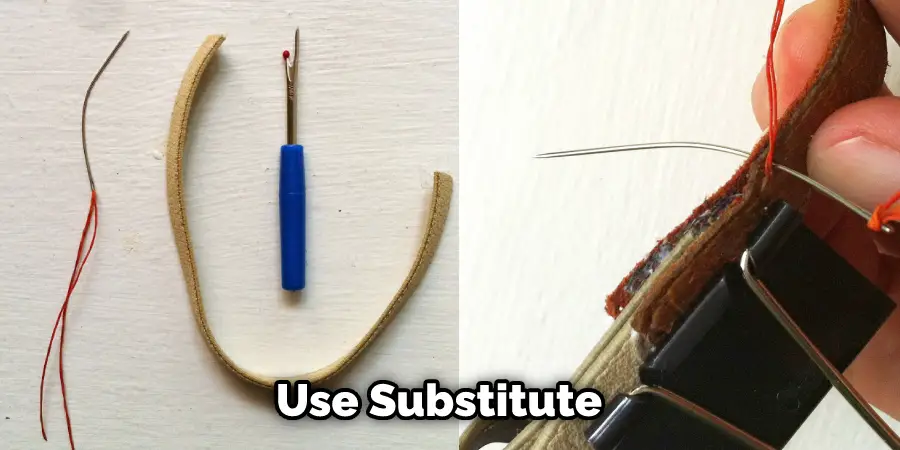
– Shoe buckle with an elastic band (If you don’t have another pair of shoes to practice on, your belt may be used as a substitute) – Small needle-nose pliers – Scissors – A new piece of elastic (if your shoe buckle has lost its elastic band, this will be needed to replace it) – Paper clip
Instructions:
Step 1:
Cut the paper clip in half. You should now have two pieces that are each about 3 inches long. Each of these pieces will serve as a replacement elastic for your shoe buckle. Be sure to cut them on an angle, so they look like fish hooks.
Step 2:
Open up the metal prongs on one end of the shoe buckle using your needle nose pliers (you may need to bend the tip of the fish hook shape inward). Do this with care since you don’t want to break the metal prongs off completely! It is okay if there is still some resistance when you open the prongs.
Step 3:
Open up your paper clip and straighten it out. You will then thread this through one of the ends of your shoe buckle with elastic, leaving approximately two inches on each side.
Step 4:
Now that you have attached the paper clip to one end of the elastic band, you need to connect another piece of a paper clip (the same way) to the other end of your shoe buckle. Make sure they are parallel!
Step 5:
With both pieces threaded onto one end, use your needle nose pliers to close up the metal prongs at each end securely around each part of the paper clip hook. Then do this again for any loose ends if needed. Be sure not to over-tighten or break one of the metal prongs!
Step 6:
Straighten out your shoe buckle band to make sure it isn’t warped. If you notice any problems after this step, you will need to remove and adjust each metal prong until everything is attached correctly and there are no kinks in the elastic. This can be slightly difficult due to how small some parts are that need adjusting, but be patient since you don’t want to cause damage!
Step 7:
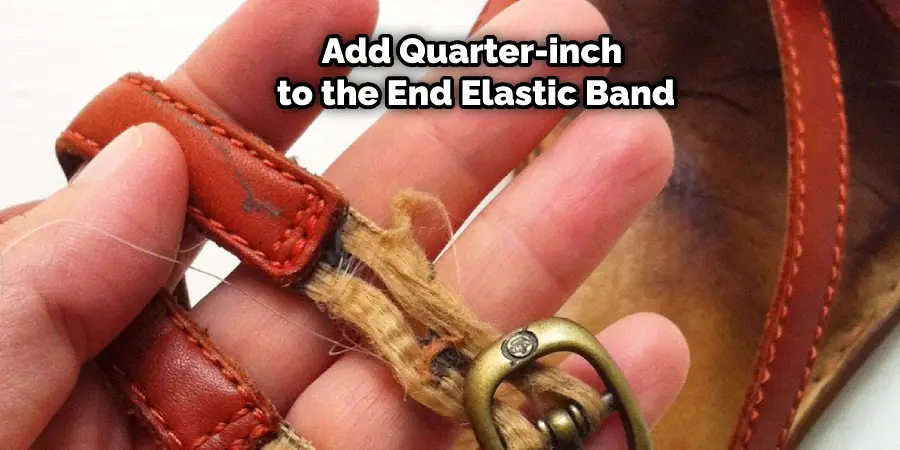
Place your shoe on your foot and tighten up the shoe width if needed by using the shoelace holes. Make sure they’re nice and snug! If you would like them slightly more relaxed than fit-to-size, subtract a quarter inch from the end of your elastic band. If you would like them to be snugger, add a quarter-inch to the end of your elastic band.
Step 8:
Cut off any excess or leftover elastic material from the shoe buckle using your scissors. Be sure not to leave extra hanging material because it can make it harder for you to tighten up the shoes!
Precautions While Fixing Elastic on Shoe Buckles
- Try to do it when there is no tension in the shoe string
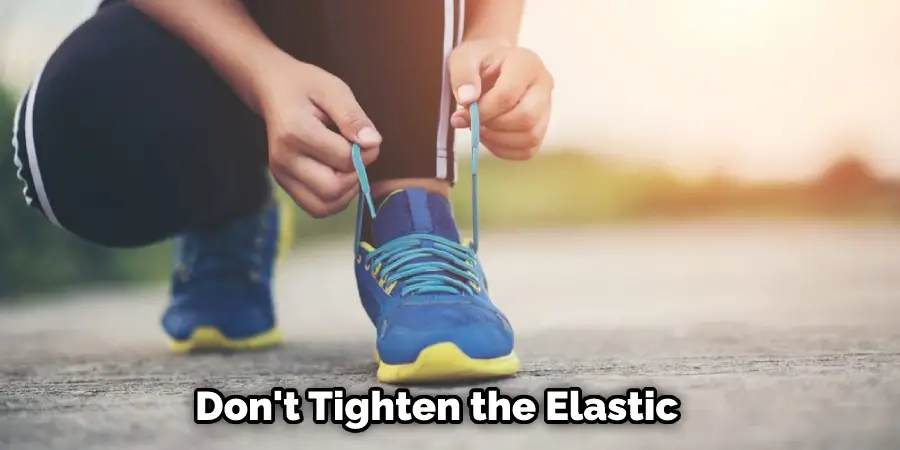
- Don’t tighten the elastic too tight with pliers since this may break the metal part of the brooch.
- Make sure that your hands are clean before you start working on it. Otherwise, dirt and oil particles will prevent the glue from setting properly onto shoestring making it lose or not fixing!
- Prepare adhesive for sensitive skin if required
- Do not fix elastic at a stretch because this makes it lose its strength after some time
- Place cloth fabric between foot and heel so that elastic does not get fixed on heels
- Ensure that the place where you are stitching is free from bacteria by using antiseptic
- Ensure that you place the brooch correctly to avoid it getting loose after a few days though elastic might take about a week to lose its strength
Features of a Good Quality Shoe Buckle:
- A good quality shoe buckle should have very few sharp edges/points if any. If it does, that is an indication of poor manufacturing.
- A good quality shoe buckle should be very rounded on the corners and not at all angular
- A good-quality belt will feel smooth when you run your hand along with it in contrast to feeling bumpy or rough.
- The size of the belt holes should match up with standard-sized buckles (i.e., 1 cm vs. 1 cm).
What to Look for When Examining a Shoe Buckle?
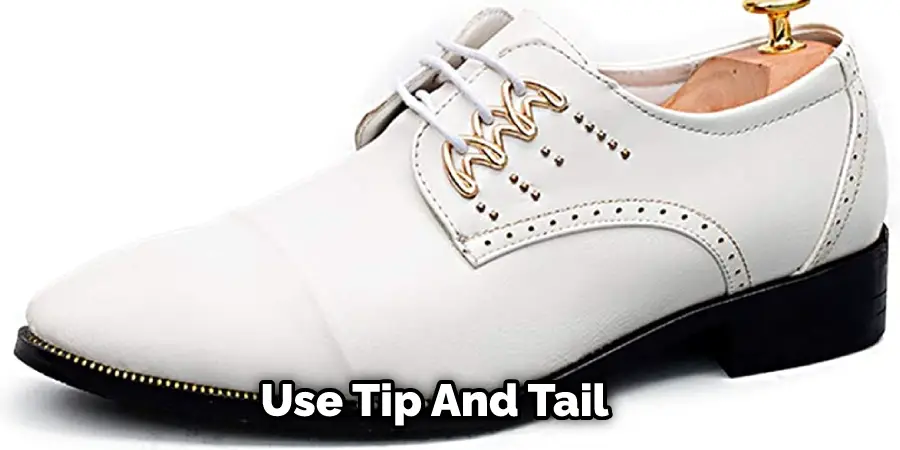
1) A visual inspection of the tip/ tail end of the prong (closest to where the buckle attaches to the belt) should reveal a smooth and rounded tip/ tail end, as well as no sharp edges.
2) The circumference of each prong (the thicker part; the one that doesn’t move) should be uniform and not at all misshapen or irregular in shape.
3) A visual inspection along the length of the entire prong should reveal no misalignments, bumps, grooves, etc.
4) At least 2-3 inches from either end of each hole on the belt should have some form of reinforcement around it. If this is not present, you are likely viewing an older, low-quality belt that has either been repaired or will break soon after heavy use.
Frequently Asked Questions
Can Shoe Repair Add Ankle Strap?
Yes, the ankle strap is an optional accessory that can be added to a shoe. Ankle straps are available in many different colors and styles. They are commonly found in sneakers or running shoes.
When Were Shoe Buckles Worn?
The earliest shoe buckles were made of leather. Leather was used for a number of reasons, one being that it is sturdy and can be easily molded into the shape needed for a buckle. Shoe buckles became popular during the Renaissance period in Europe. This was when shoes began to be made with steel and metal instead of wood or leather.
What Are Shoes With Buckles Called?
There are many types of shoes with buckles like sandals, boots, and sneakers. Shoes with buckles usually have a strap that wraps around the ankle or heel and attaches to the buckle on the other side. These straps are designed to keep your foot in place while you walk or run, so they’re perfect for people who have trouble keeping their balance.
Why Did Shoes Have Buckles?
Buckles are useful for securing the shoe to your foot and also making it easier to pull on. Buckles also prevent the top of the shoe from coming undone, which can happen when you’re putting on shoes with tight laces.
Conclusion
I hope this article has offered you all the necessary instructions on how to fix elastic on shoe buckle. Ensure all the precautions while performing the process. Thank you and have a nice day!