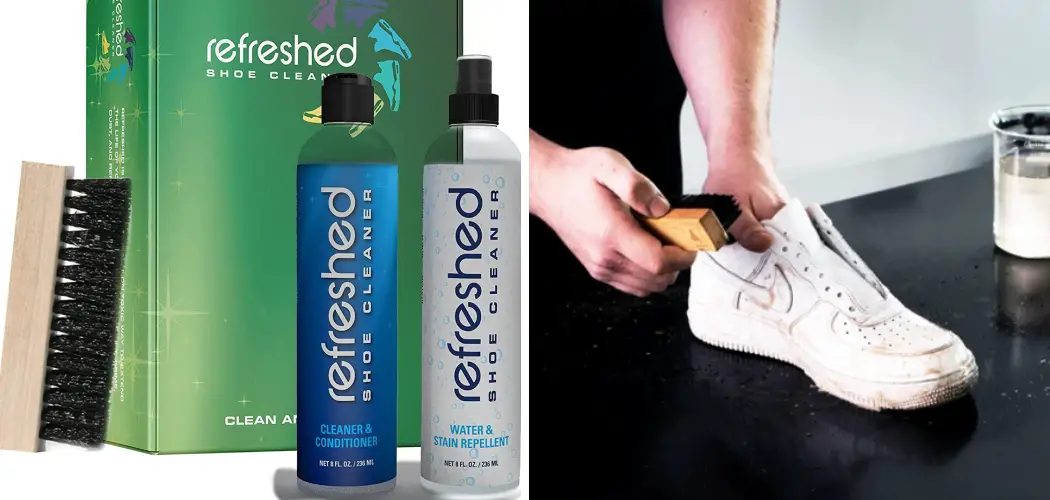
Like most people, you have a few pairs of shoes that you wear regularly. And if you’re like most people, those shoes require some serious cleaning. Fortunately, a new product on the market makes shoe cleaning more accessible than ever: Refreshed Shoe Cleaner. This article will show you how to use refreshed shoe cleaner.
This powerful solution is designed to erase even the most stubborn stains and marks from your shoes, making them look new again. This article will teach you to use refreshed shoe cleaner on your shoes for the best results. Keep reading to learn more!
What Is a Refresher Shoe Cleaner?
A refresher shoe cleaner is a refreshed version of the original shoe freshener. It looks similar to the original design, but it does not have any strong odor, unlike its predecessor. In addition, the absence of solid perfumes makes this product ideal for use in public areas where people will be passing by close to you, such as an office or a restaurant.
Refresher shoe cleaners are available in different designs and colors. Most people prefer using black refreshers because they can choose from various attractive prints on them. Some people like using refresher shoe cleaners because they can personalize them. You can draw or write your name on them so that everybody knows whose shoes those are whenever you’re not wearing them.
A Step by Step Guide on How to Use Refreshed Shoe Cleaner
Step 1: Prepare the Shoe Cleaner
If your shoes are new, you need to start by conditioning them. First, prepare the shoe cleaner and evenly apply it on all parts of your shoes until you see a consistent cover-up. A brush will help you distribute the dirt at places where it’s hard to reach, such as the stitching. Next, let the conditioner sit for an hour and wipe off any excess product with a dry cloth or towel.
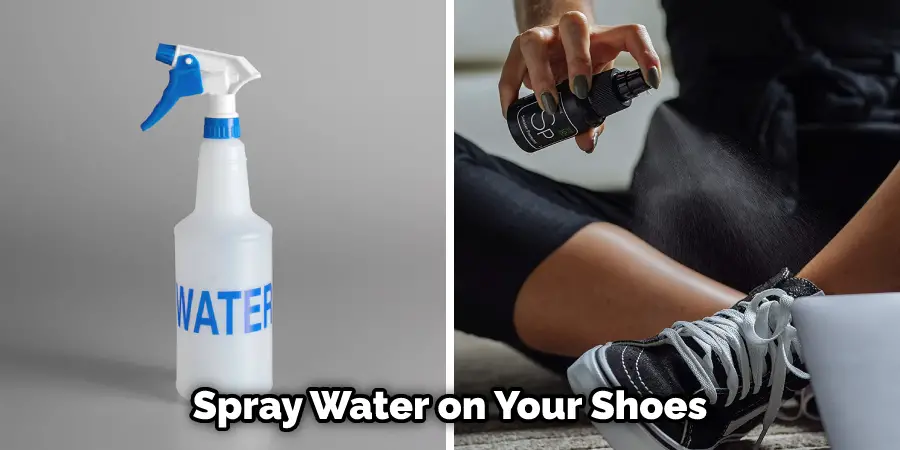
Step 2: Spray Water on Your Shoes
Next, start spraying water on your shoes. Water removes the dirt and prepares it to be wiped off with a damp cloth or towel. This step also allows you to see even the most challenging places that need cleaning and will let you fix any mistakes before they set in as stains. Make sure not to soak your shoes as this can cause them to lose their shape.
Step 3: Wipe Off Any Excess Dirt
After letting your shoes dry for fifteen minutes, wipe away any excess product stuck on the surface of your shoes using a new damped cloth/towel. For more stubborn parts where there is dirt, try brushing again with a stiff-bristled brush and then wipe away with a cloth.
Step 4: Generously Spray Selected Area With Shoe Cleaner
After fifteen minutes, it’s time to apply an even layer of the selected shoe cleaner. Again, you can choose to use your product or opt for another brand that works best. The only thing that matters is that the conditions are stiff and allow excess dirt to stick when sprayed on top of them. Remember not to soak your shoes in water during this step, as this will undo all the previously hard work in cleaning. This is a critical step in how to use refreshed shoe cleaner.
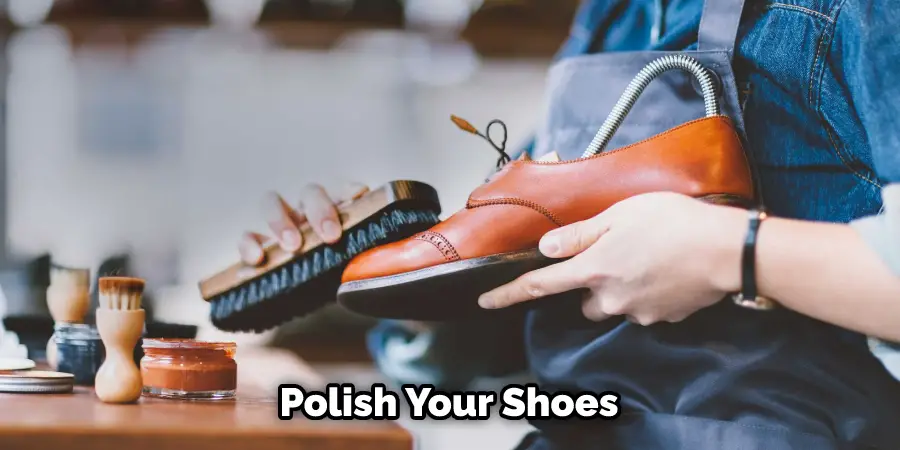
Step 5: Polish Your Shoes
To give your shoes an even more finished look, use your chosen type of shoe polish to coat the surface of your shoes. If this is your first time using a product, test on some old shoes or boots to feel how long you need to apply it and how it should be done.
You can also select colors that will perfectly match your outfit if you want to go that route. Ensure not to overuse the shoe polish as this dries up quickly and requires an immediate follow-up on more conditioning if applied too much.
Step 6: Wipe Away With Cloth or Towel Again
Wait for about five minutes after spraying your selected area before wiping off any leftover dirt with a damp cloth or towel again. Please make sure not to scrub too strongly since this may cause scratches in the surface of your shoes which would defeat the purpose of cleaning them.
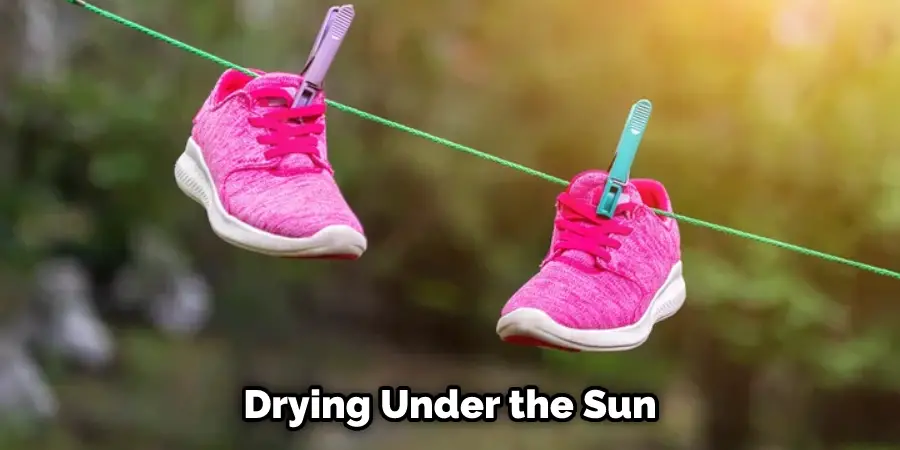
Step 7: Wait for Your Shoes to Dry Out Completely
Hang your shoes outdoors where the sun can dry them out thoroughly before you wear them again. Keep an eye on their condition as they’re drying and avoid leaving them in places with stagnant air, which may cause molding. Leave the shoes hung outside overnight to let them dry faster if necessary, but make sure that there is no water left on its surface since this will trigger rotting at the cellular level.
Step 8: Brush or Polish Your Shoes Again
After a thorough drying under the sun, use a shoe brush or polish cleaner to give your shoes a glossy finish and remove any excess dirt before you wear them again. This step gives your shoes a natural sheen that will make them look new again.
Step 9: Polish Exterior With Leather Conditioner or Paste Wax
To give your shoes a clear coat of protection, condition the exterior with a leather conditioner that protects them from any future damage. Alternatively, you can opt for paste wax if you like but make sure not to overuse this on your shoes since it thickens quickly and may warp or rot some materials faster than its intended shelf life. These steps will help in how to use refreshed shoe cleaner.
Pros and Cons of Refreshed Shoe Cleaner
Pros
- Up to 50 launderings per sponge
- Leaves a fresh leather scent
- Mild enough for suede and nubuck
- Reduces the need for brushing shoes before polishing
- Does not contain harsh chemicals such as ammonia or acetone
Cons
- Slightly more expensive than regular shoe cleaner
- Not suitable for highly textured leathers
- Cannot remove deep stains
Tips and Warnings
Tips
- For best results, start with a clean canvas. This will ensure the cleaner gets into all the nooks and crannies of your shoes.
- Apply multiple thin layers instead of one thick layer for better effect.
- Let the shoe cleaner sit on the shoes for at least 5 minutes between each layer to allow it to penetrate deeper into the fabric.
- For best results, start with a clean shoe. This will ensure the maximum effectiveness of the more hygienic product.
- Remember, patience is key! Be prepared to let your product do its thing for up to an hour or more if necessary!
Warnings
- Be sure to test the cleaner on an inconspicuous area of your shoes first before applying it to the entirety of your shoes.
- Avoid using this product on suede, leather, patent leather, and other delicate shoe materials, as it may cause damage to the surface of those types of shoes if not used properly.
- For best results, do NOT use heat or place near an open flame when using this product! This will melt and warp most surfaces! If you must apply with a hairdryer, keep the hairdryer at least 12 inches away from the surface and keep constantly moving; never hold in one spot for more than 2 seconds!
- Do NOT wash or rinse off immediately after application!
- This product is NOT recommended for use on suede, patent leather, delicate fabrics, or faux leathers as it CAN/WILL cause damage to those surfaces if not applied properly!
- This product is NOT recommended for use on vinyl surfaces as it WILL cause damage to those surfaces if not applied properly!
- On some extremely delicate fabrics, this product may leave an ever so slight “sparkle” effect that can usually be removed with another cleaner application or by washing your shoes immediately after application (repeat steps 3-7).
- Due to the nature of most shoe cleaning products, many people need to clean their shoes more often when using these cleaners due to the cleaner stripping away all the dirt and grime that builds upon our shoes over time! If you want to avoid frequent dressing changes/costly shoe re-dos, regular cleaning is necessary before applying any type of cleaner to your shoes!
- Keep away from open flame as this product is flammable and may cause fire/damage if misused!
- Any type of shoe cleaners or polishes should be applied by using a soft, lint-free cloth and NOT directly onto the surface of your shoes unless expressly stated otherwise on the label instructions.
- Keep out of reach of children and pets: The product can be harmful if ingested, and prolonged skin contact (5 minutes or more) with the liquid can lead to irritation!
You Can Check It Out To Open Kiwi Shoe Polish
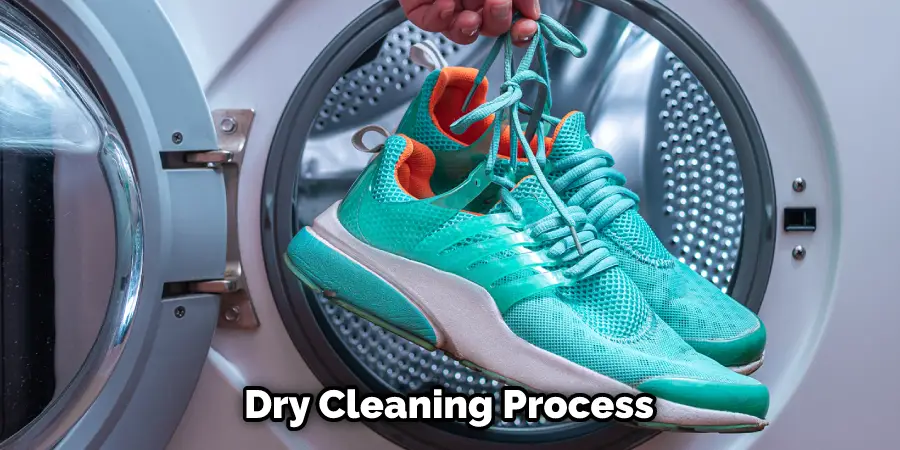
How Long Does Dry Cleaning Take?
Dry cleaning is a process that removes stains and dirt from your garments, restoring them to their original condition. How long it takes for dry cleaning to be completed depends on the garment being cleaned. For example, most textiles take between 3-4 days to dry clean when there are no stains or problems with the fabric. However, the time it takes can vary depending on what you’re having done.
For example, if you have a very delicate hand in your dress or shirt, then it will take longer for your garments to be appropriately cleaned not to damage their quality. Therefore, it’s best always check with your local cleaners beforehand so you know how long it’ll take lace trimming, especially if you need something done quickly.
Conclusion
We hope you have gone through the article on how to use refreshed shoe cleaner. Make your shoes look like new with Refreshed! Our shoe cleaner is easy to apply and leaves behind a pleasant scent. We have plenty of reasons why you should try our product, so we hope you give it a go. If not for yourself, then do it for the environment. Don’t let those dirty shoes take up space in your closet—refresh them today!